
Build app pages with blocks (Custom Pages)
Build Your App · Dokumentacja AppPresser
Build app pages with blocks (Custom Pages)
Ten artykuł nie został jeszcze przetłumaczony, dlatego jest wyświetlany po angielsku.
Your app journey: step 4 of 9, Add pages and features. New here? Read Start here: build your app with AppPresser first.
What you'll do: Make the pages of your app on the Custom Pages screen by stacking blocks. A block is one piece of a page, like a title, a button or a list of posts.
Before you start
- Connect your app to your WordPress website. See Connect your WordPress site and turn on Features.
Make a new page
- In the left menu, under Customization, click Custom Pages. A list of your pages opens.
- Click Add New Page. A window titled Add New Page opens.
- In Title, type a page title, for example About Us.
- Under Page Type, keep Page Builder selected. This is the type that uses blocks. The other types are Custom HTML and Media Playlist.
- Click Create Page. Or click Cancel to close the window without creating a page.
This guide covers Page Builder pages.
Add blocks to the page
- Below the last block on the page, click Add Block. The Add Block window opens.
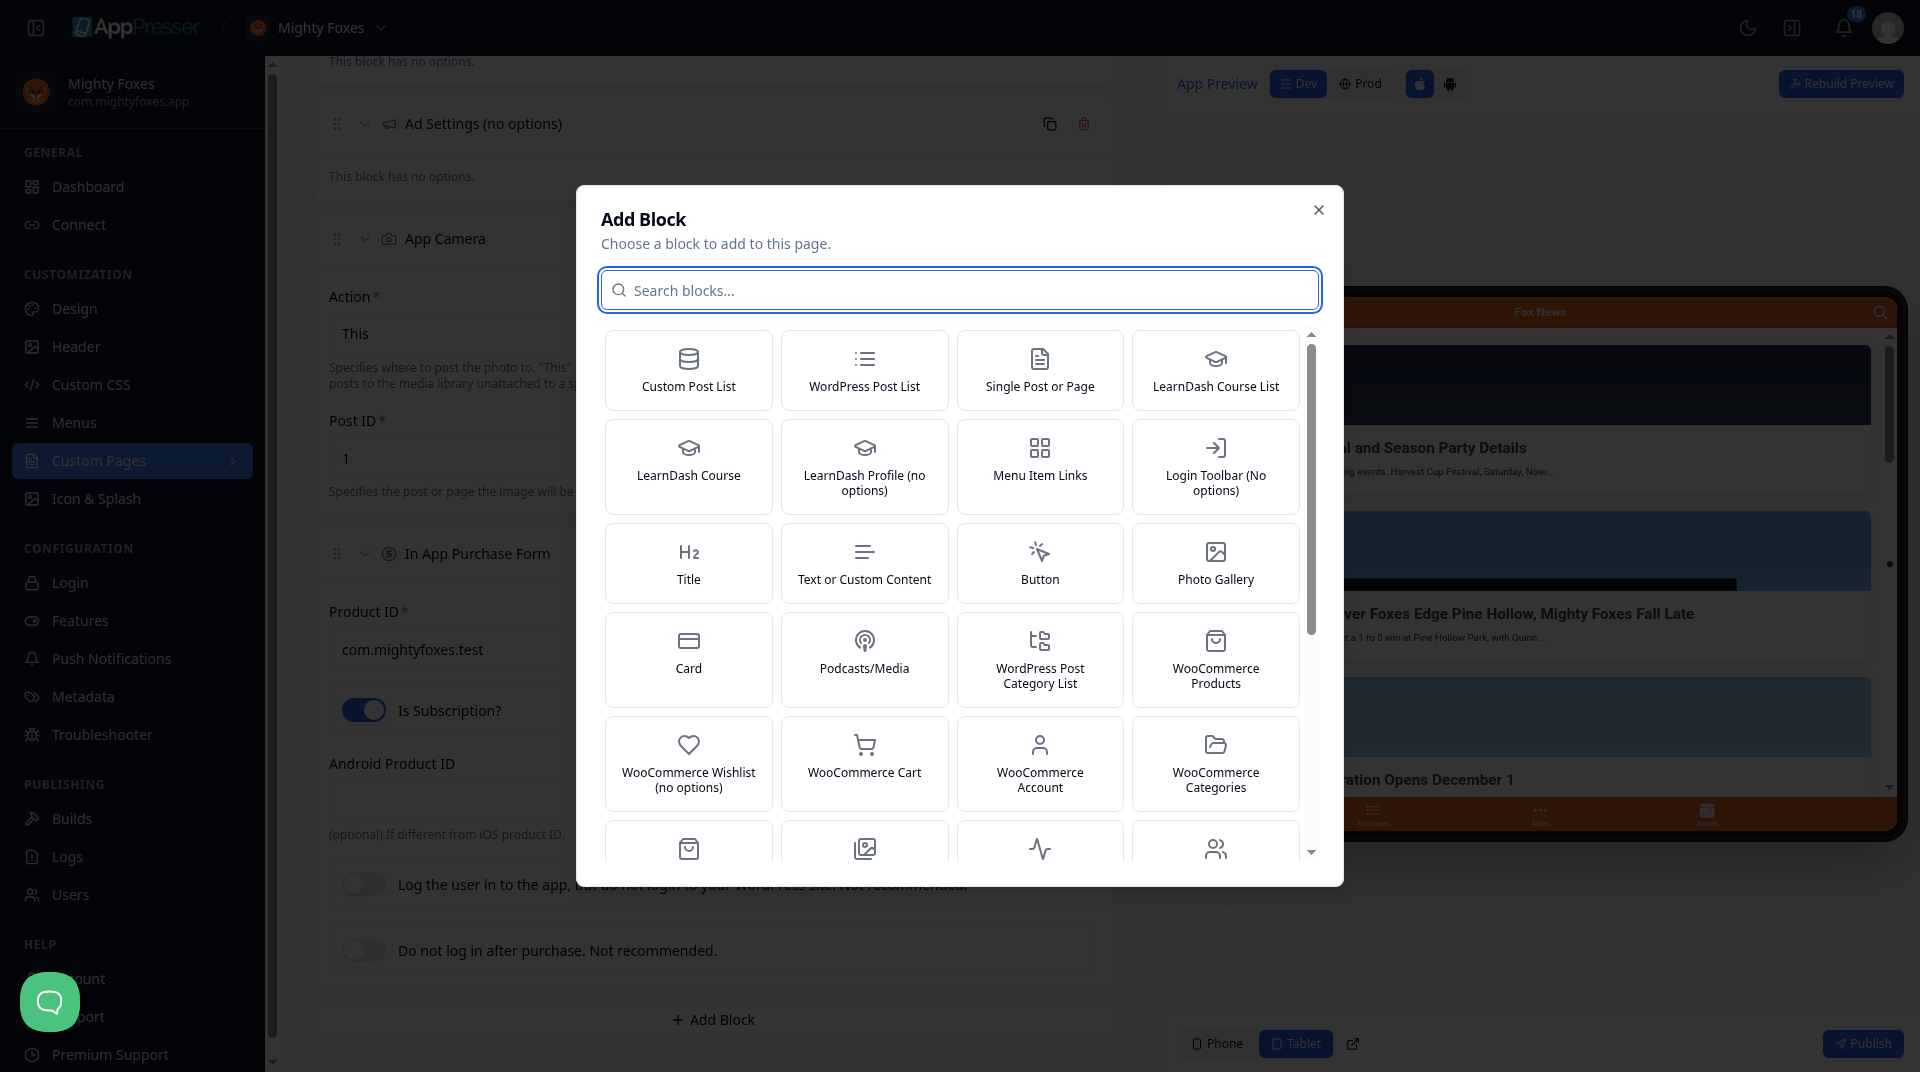
- Type the block name in Search blocks…, or scroll the list.
- Click the block. It is added to the bottom of the page.
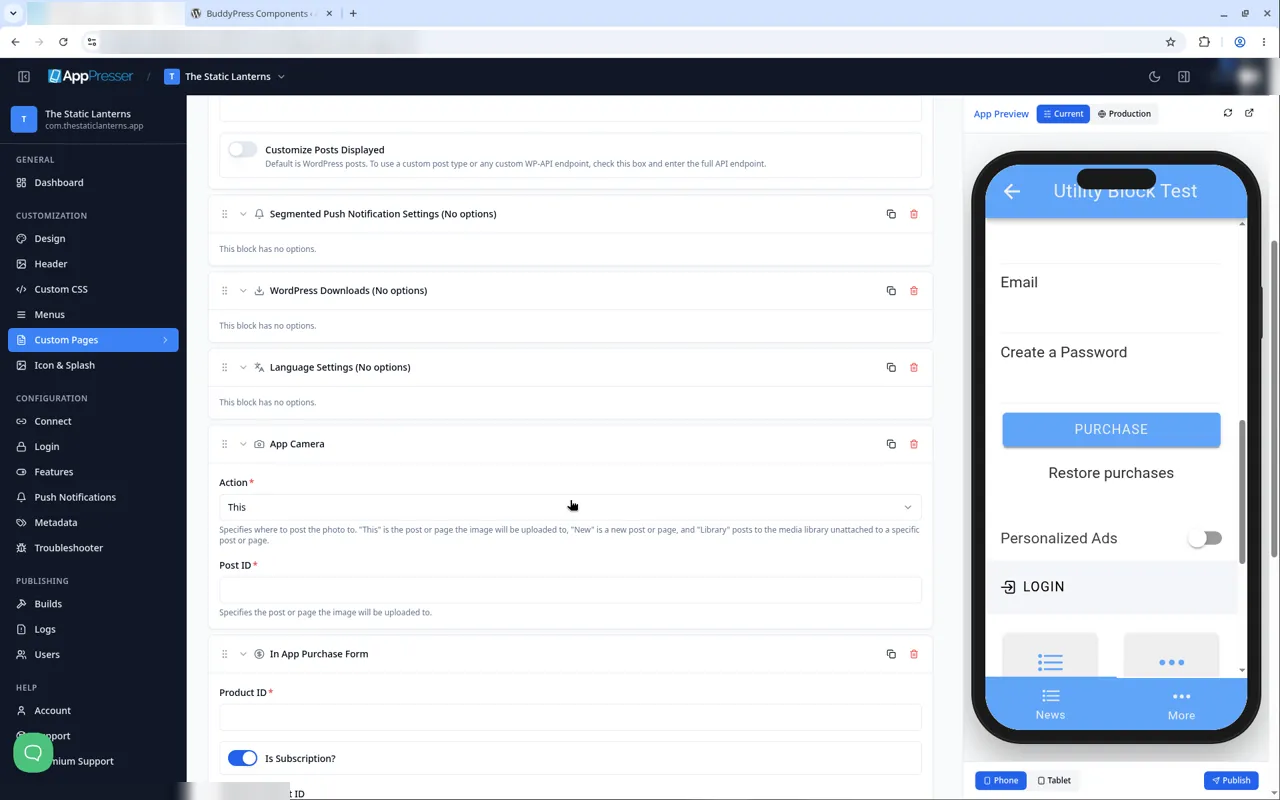
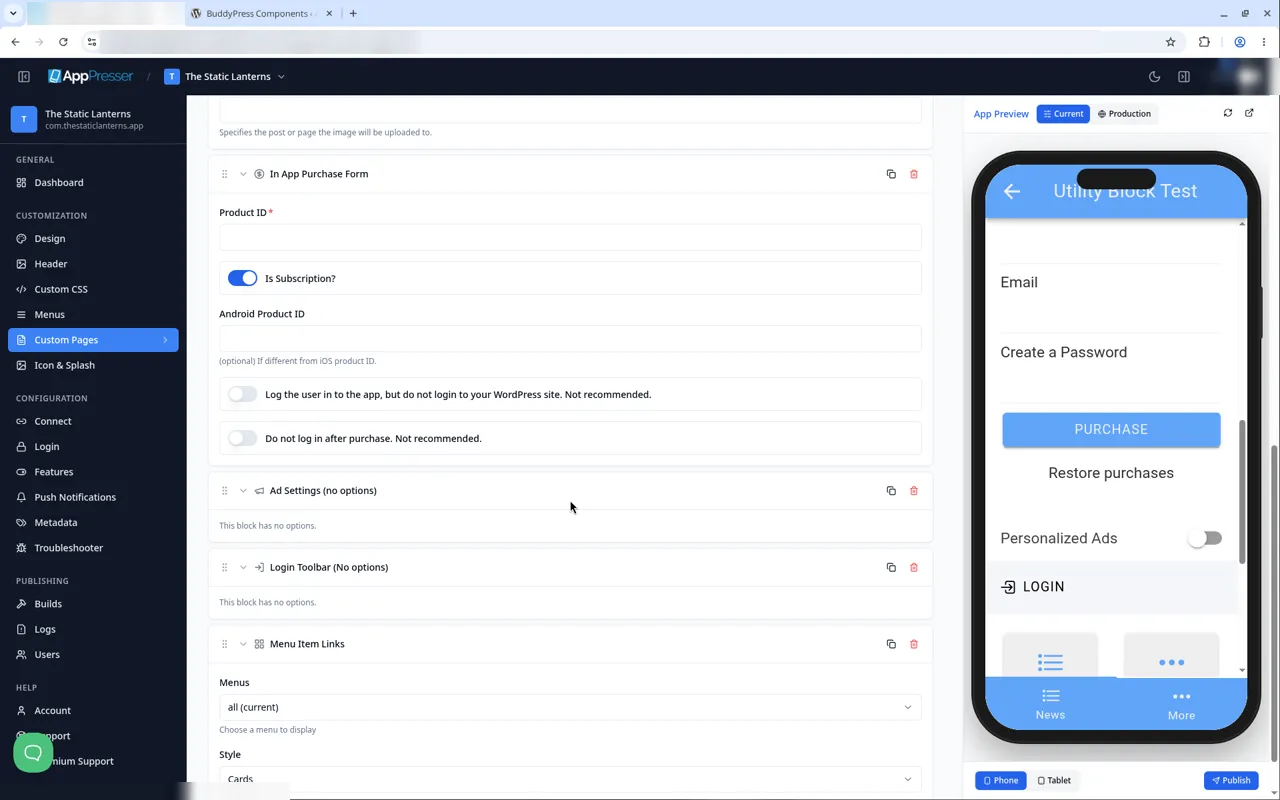
- Fill in the block's settings. A box marked with * must be filled in.
- Add more blocks the same way.
- Click Save Changes at the top of the editor.
Show the page in your app
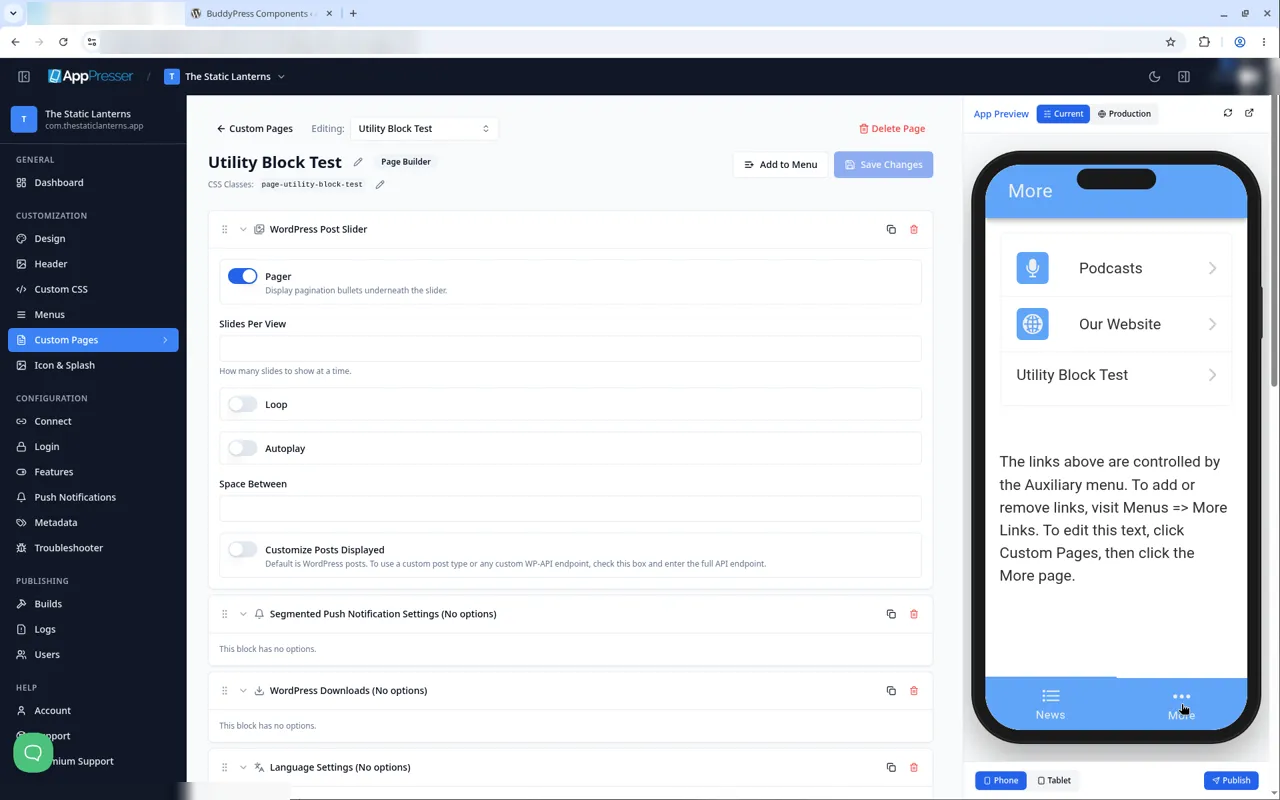
A new page shows in your app only after you add it to a menu. See Add a page to your app menu for the steps. Then open the page from that menu in the App Preview.
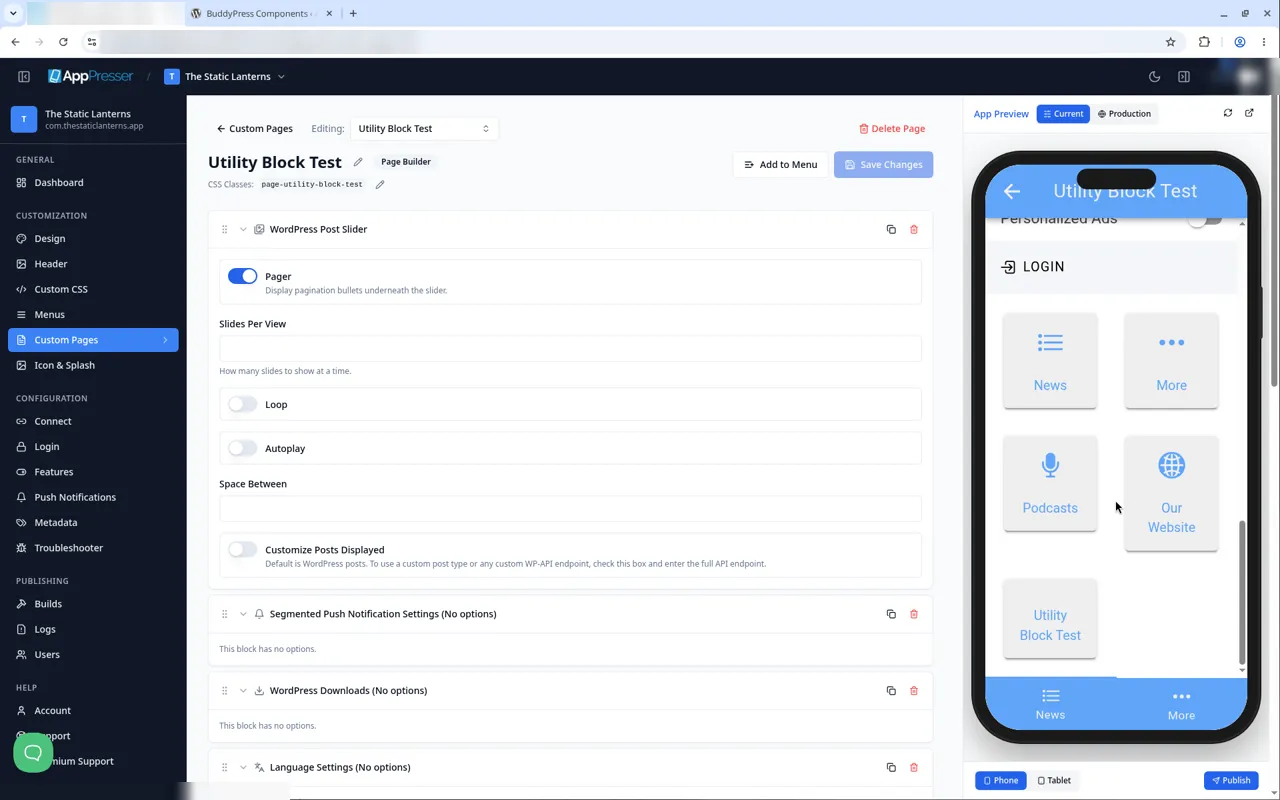
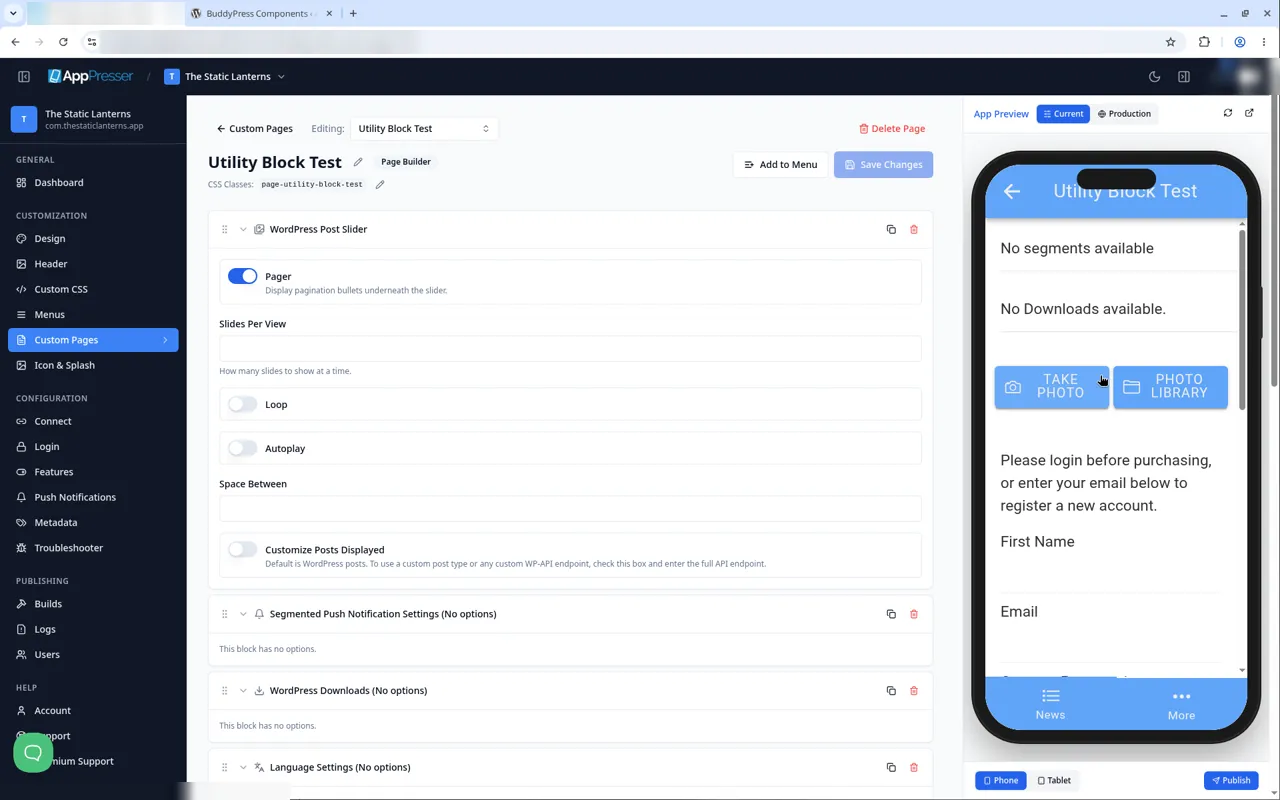
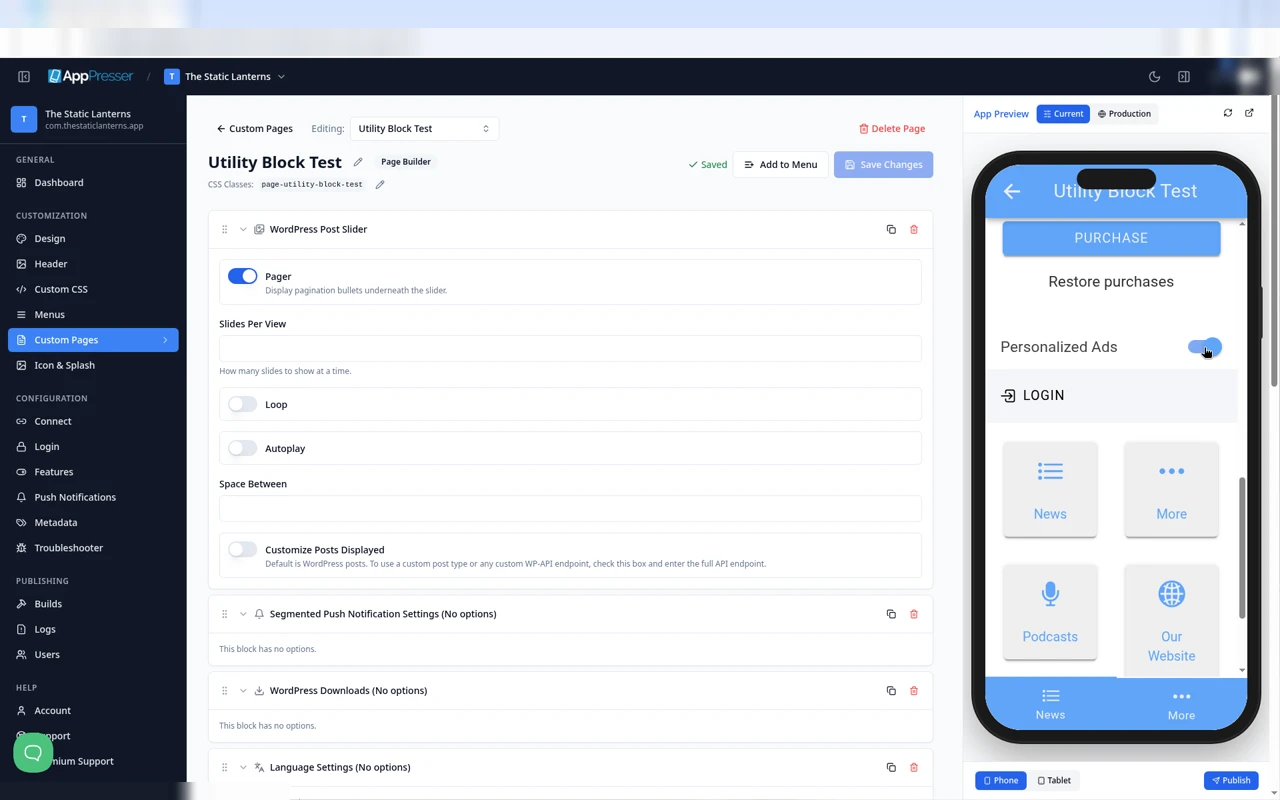
Some blocks only work on a real phone
The App Preview shows these blocks, but some parts work only in the app on a phone:
- App Camera: taking or picking a photo.
- In App Purchase Form: buying.
- Segmented Push Notification Settings, WordPress Downloads and Ad Settings: these need features that only run on a phone.
All the blocks you can add
WordPress content
- Show your WordPress posts (WordPress Post List block)
- Show posts from any API (Custom Post List block): a list from any public JSON web address
- Show your post categories (WordPress Post Category List block)
- Show a post slider (WordPress Post Slider block)
- Show one post or page (Single Post or Page block)
- Show your events (Events block)
- Show podcasts, audio and video (Podcasts/Media block)
- Add menu tiles to a page (Menu Item Links block)
- Show downloaded media (WordPress Downloads block)
Building blocks
- Add a heading (Title block)
- Add your own text and pictures (Text or Custom Content block)
- Add a button (Button block)
- Add a card (Card block)
- Add a photo gallery (Photo Gallery block)
- Add a login bar (Login Toolbar block)
Phone features
- Let people upload photos (App Camera block)
- Sell in-app purchases (In App Purchase Form block)
- Let people choose personalized ads (Ad Settings block)
- Let people choose their push topics (Segmented Push Notification Settings block)
- Let people choose a language (Language Settings block)
WooCommerce (online shop)
- Show your products (WooCommerce Products block)
- Show your product categories (WooCommerce Categories block)
- Show a product slider (WooCommerce Slider block)
- Add a shopping cart (WooCommerce Cart block)
- Add a wishlist (WooCommerce Wishlist block)
- Show orders and account details (WooCommerce Account block)
LearnDash (online courses)
- Show a list of courses (LearnDash Course List block)
- Show one course (LearnDash Course block)
- Show a student profile (LearnDash Profile block)
- Show courses from your website (LearnDash Courses (Iframes) block)
BuddyPress and BuddyBoss (community)
- Show your community activity feed (BuddyPress/Boss Activity block)
- Show your community members (BuddyPress/Boss Members block)
- Show your community groups (BuddyPress/Boss Groups block)
- Add private messages (BuddyPress/Boss Messages block)
- Add a member profile (BuddyPress/Boss Profile block)
Tips
Tips
- To move a block, drag it by its handle (the dots on the left). Click the arrow to fold it closed.
- To copy a block, click the Duplicate icon.
- To turn a setting on or off, click the switch itself, not the words next to it.
- After you save, open the page in the App Preview and check your changes.
Careful: The trash icon removes a block right away. Check before you click.
You're done when your page has the blocks you want and you have clicked Save Changes.
Next step
Related articles
Czy to było pomocne?
Wyniki aktualizują się podczas pisania. Naciśnij ukośnik, aby przejść do wyszukiwania.
Nie mogą Państwo znaleźć?
Nasz zespół wsparcia pomoże w konfiguracji, buildach i sprawach sklepów z aplikacjami.