
Show your community groups (BuddyPress/Boss Groups block)
Build Your App · Dokumentacja AppPresser
Show your community groups (BuddyPress/Boss Groups block)
Ten artykuł nie został jeszcze przetłumaczony, dlatego jest wyświetlany po angielsku.
Your app journey: step 4 of 9, Add pages and features. New here? Read Start here: build your app with AppPresser first.
What you'll do: Show a list of your community groups, each with its picture, name and description.
Before you start
- Install and activate the BuddyPress or BuddyBoss plugin on your WordPress website. These plugins add a community to your site, with members, groups and messages.
- In BuddyPress, turn on the User Groups, Friend Connections and Private Messaging parts. You find them in your WordPress admin under Settings, then BuddyPress, then the Components tab.
- Install and activate the AppCommunity plugin, AppPresser's add-on for BuddyPress and BuddyBoss, on your WordPress website.
- Connect your app to your WordPress website. See Connect your WordPress site and turn on Features.
Add the block
- In the left menu, under Customization, click Custom Pages.
- Click the name of the page you want to change. To make a new page instead, click Add New Page, type a title, keep Page Builder selected and click Create Page.
- Below the last block on the page, click Add Block.
- In Search blocks…, type BuddyPress/Boss Groups, then click the block. It is added to the bottom of the page.
- Turn Show Filter, Show User Notifications Icon and Show Search on or off. Show Filter adds a Sort by menu above the list.
- Click Save Changes at the top of the editor.
- To see a new page in the App Preview, add it to a menu. See Add a page to your app menu.
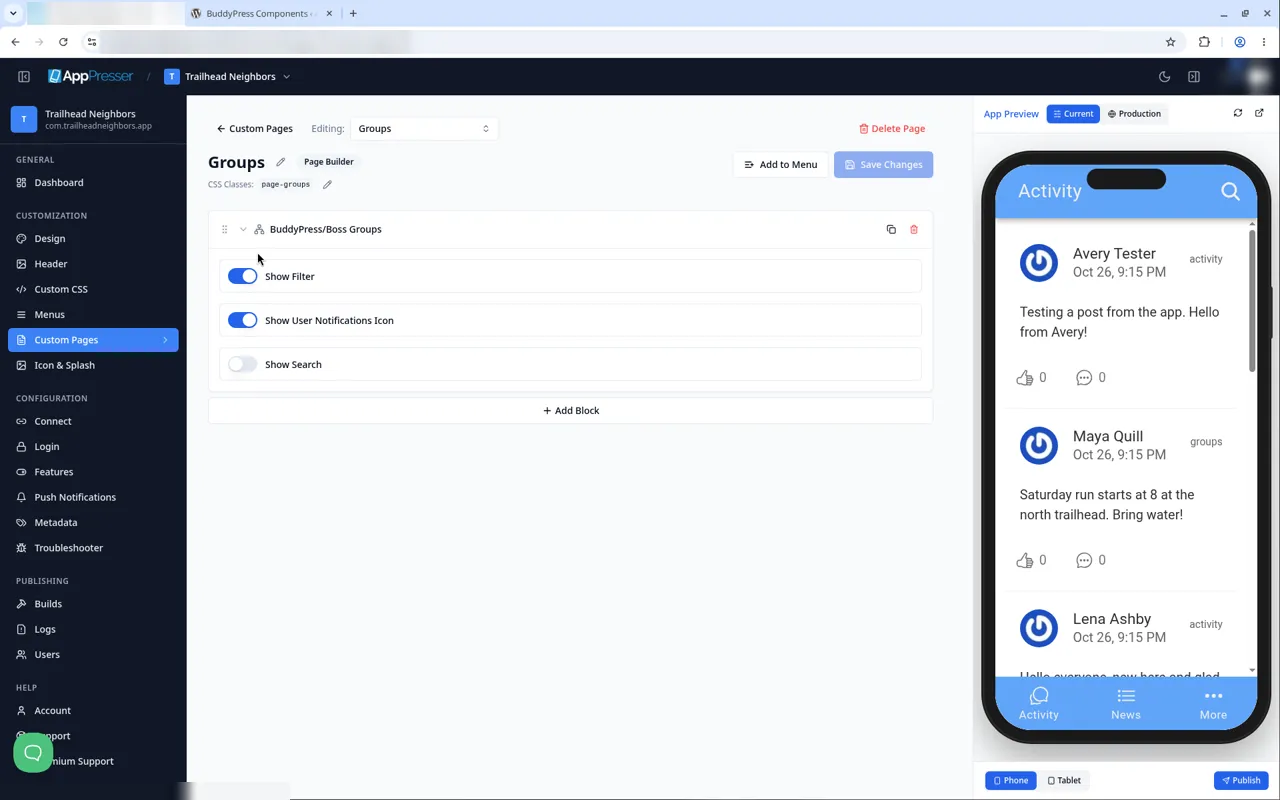
What you see in the app
The groups can take 10 to 15 seconds to load. Gray rows show while they load. If no groups show, check that User Groups is turned on in BuddyPress.
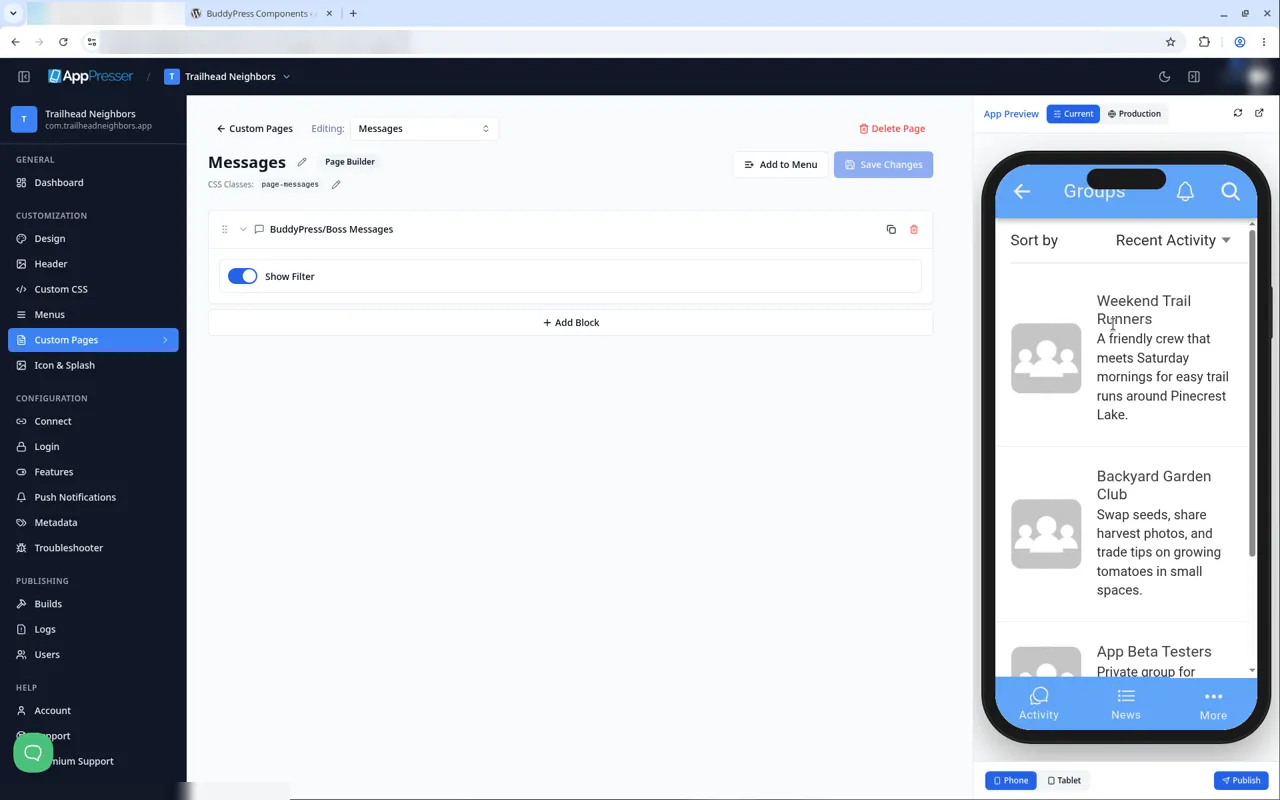
When a member is logged in, the list has two tabs: ALL and MY GROUPS. MY GROUPS shows the groups the member has joined.
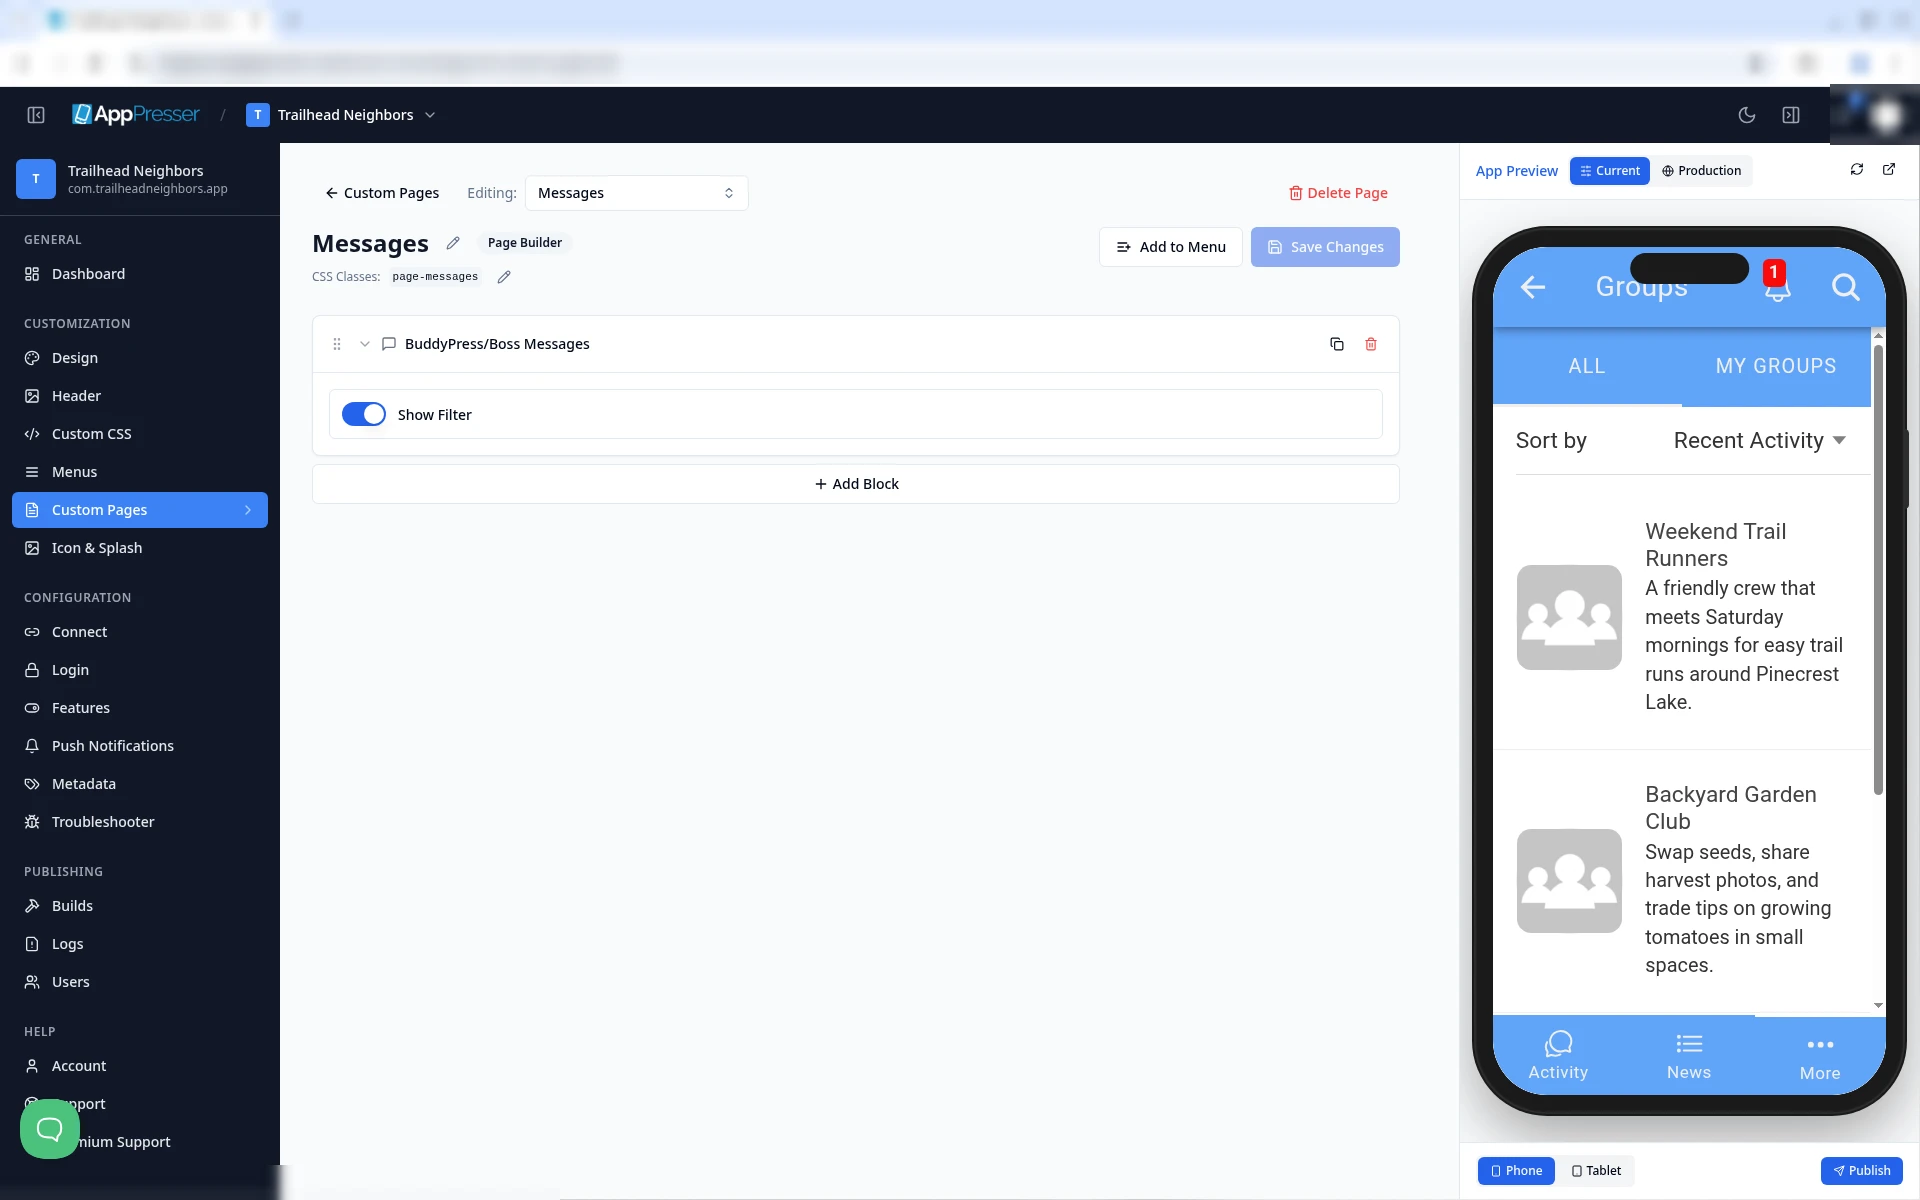
Tapping a group opens it. The group page shows its picture and name, whether it is Public, how many members it has, its description and the rows Join group and Group details.
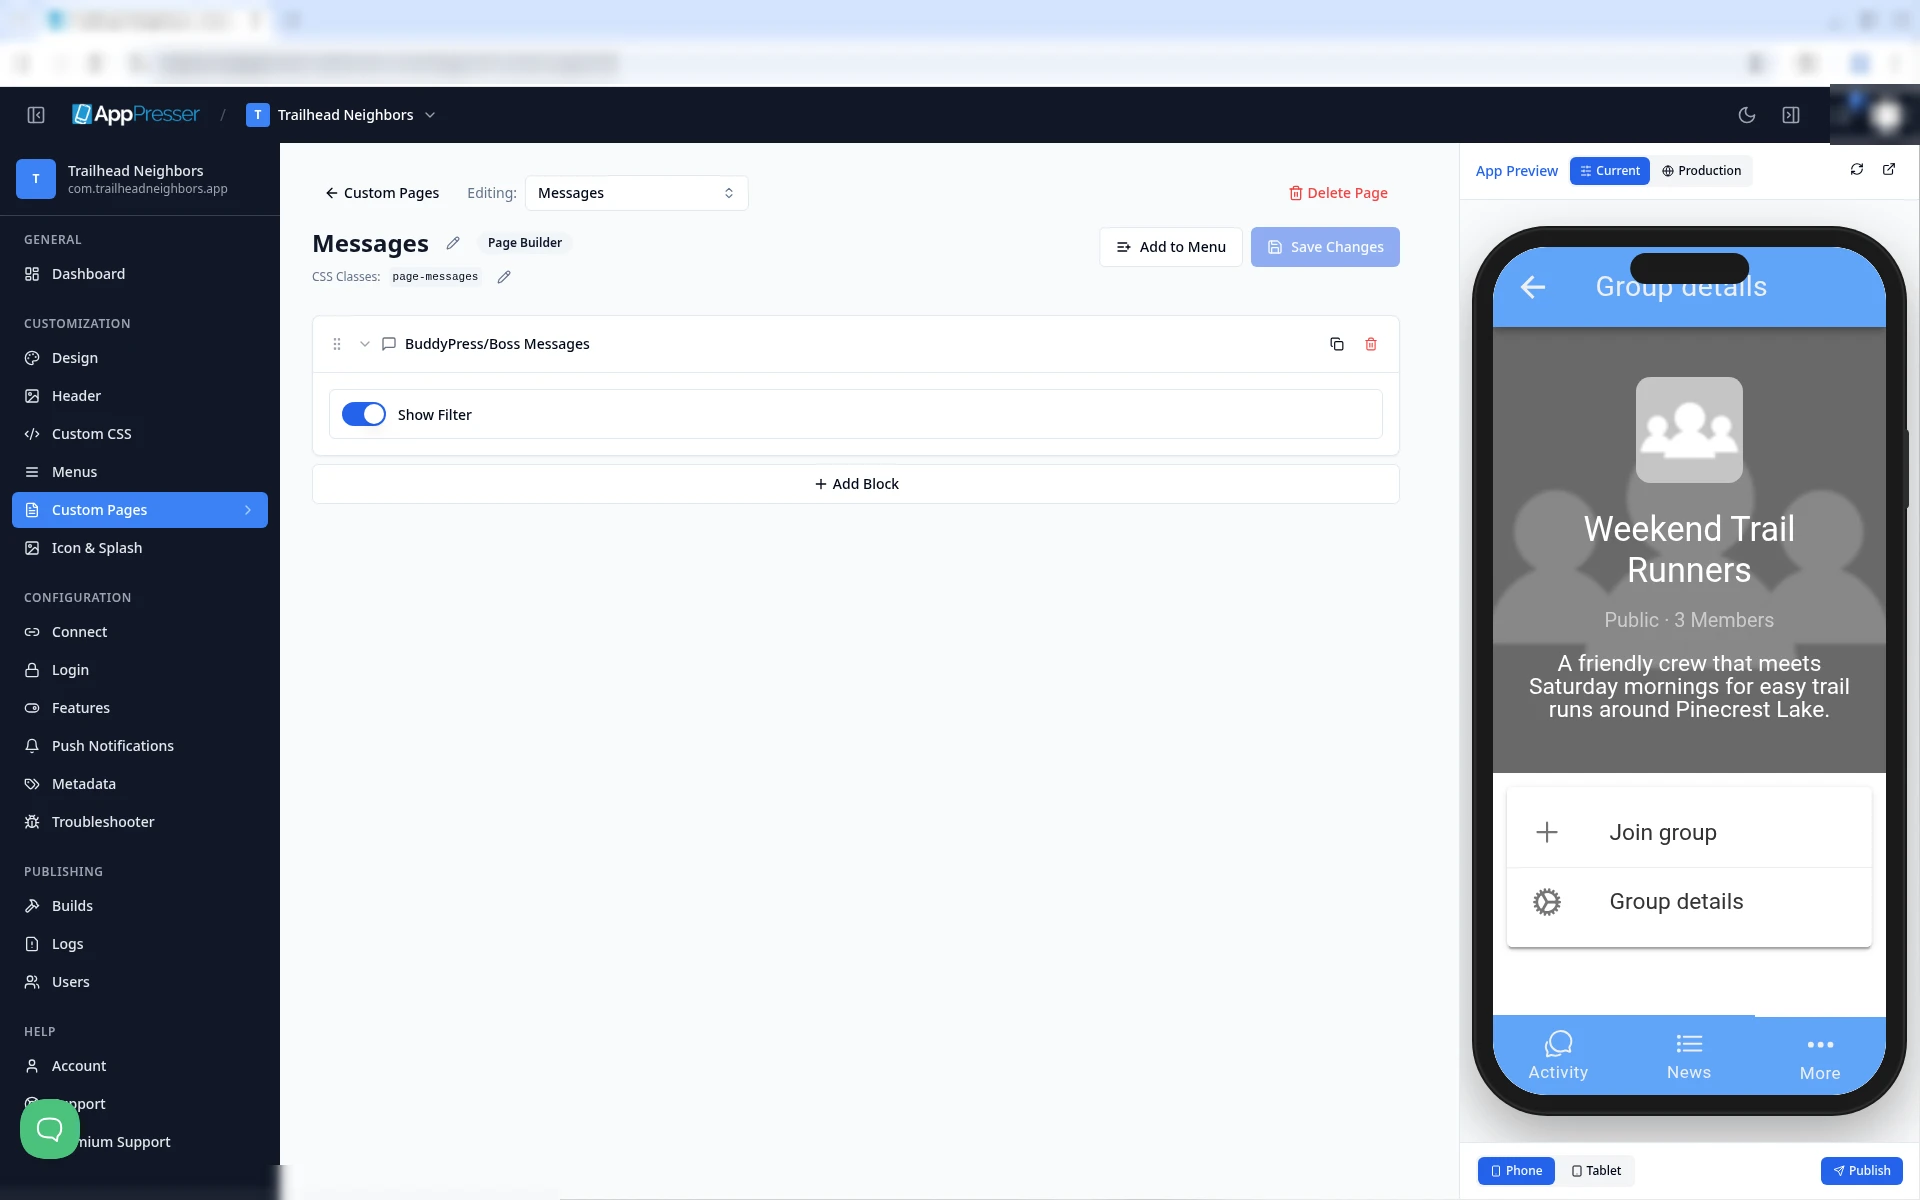
Careful: Join group really joins the group on your website. Use it only with a test member.
Check it as a logged-in member
The App Preview starts logged out, the way a new visitor sees your app. To see what a member sees:
- Make a test member on your WordPress website. Do not use your admin account.
- In the App Preview on the right, click More at the bottom, then click Members.
- Click any member in the list. A Login window opens.
- Type the test member's Username and Password, then click SUBMIT. The preview goes back to the Activity tab, and Messages and Member Profile now show in the More menu.
Tips
Tips
- To move a block, drag it by its handle (the dots on the left). Click the arrow to fold it closed.
- To copy a block, click the Duplicate icon.
- To turn a setting on or off, click the switch itself, not the words next to it.
- After you save, open the page in the App Preview and check your changes.
Careful: The trash icon removes a block right away. Check before you click.
You're done when the block shows on your page in the App Preview.
Next step
Add private messages (BuddyPress/Boss Messages block)
Related articles
Czy to było pomocne?
Wyniki aktualizują się podczas pisania. Naciśnij ukośnik, aby przejść do wyszukiwania.
Nie mogą Państwo znaleźć?
Nasz zespół wsparcia pomoże w konfiguracji, buildach i sprawach sklepów z aplikacjami.