
Add a wishlist (WooCommerce Wishlist block)
Build Your App · AppPresser Docs
Add a wishlist (WooCommerce Wishlist block)
இந்தக் கட்டுரை இன்னும் மொழிபெயர்க்கப்படவில்லை, எனவே ஆங்கிலத்தில் காட்டப்படுகிறது.
Your app journey: step 4 of 9, Add pages and features. New here? Read Start here: build your app with AppPresser first.
What you'll do: Add a wishlist page that shows the products a shopper has saved for later. Shoppers save a product by tapping the heart on the product page.
Before you start
- Install and activate the WooCommerce plugin on your WordPress website, with some published products. WooCommerce is the WordPress plugin for running an online shop.
- Install and activate the AppCommerce plugin, AppPresser's add-on for WooCommerce, on your WordPress website.
- Connect your app to your WordPress website. See Connect your WordPress site and turn on Features.
Add the block
This block has no settings.
- In the left menu, under Customization, click Custom Pages.
- Click the name of the page you want to change. To make a new page instead, click Add New Page, type a title, keep Page Builder selected and click Create Page.
- Below the last block on the page, click Add Block.
- In Search blocks…, type WooCommerce Wishlist, then click the block. It is added to the bottom of the page.
- Click Save Changes at the top of the editor.
- To see a new page in the App Preview, add it to a menu. See Add a page to your app menu.
What you see in the app
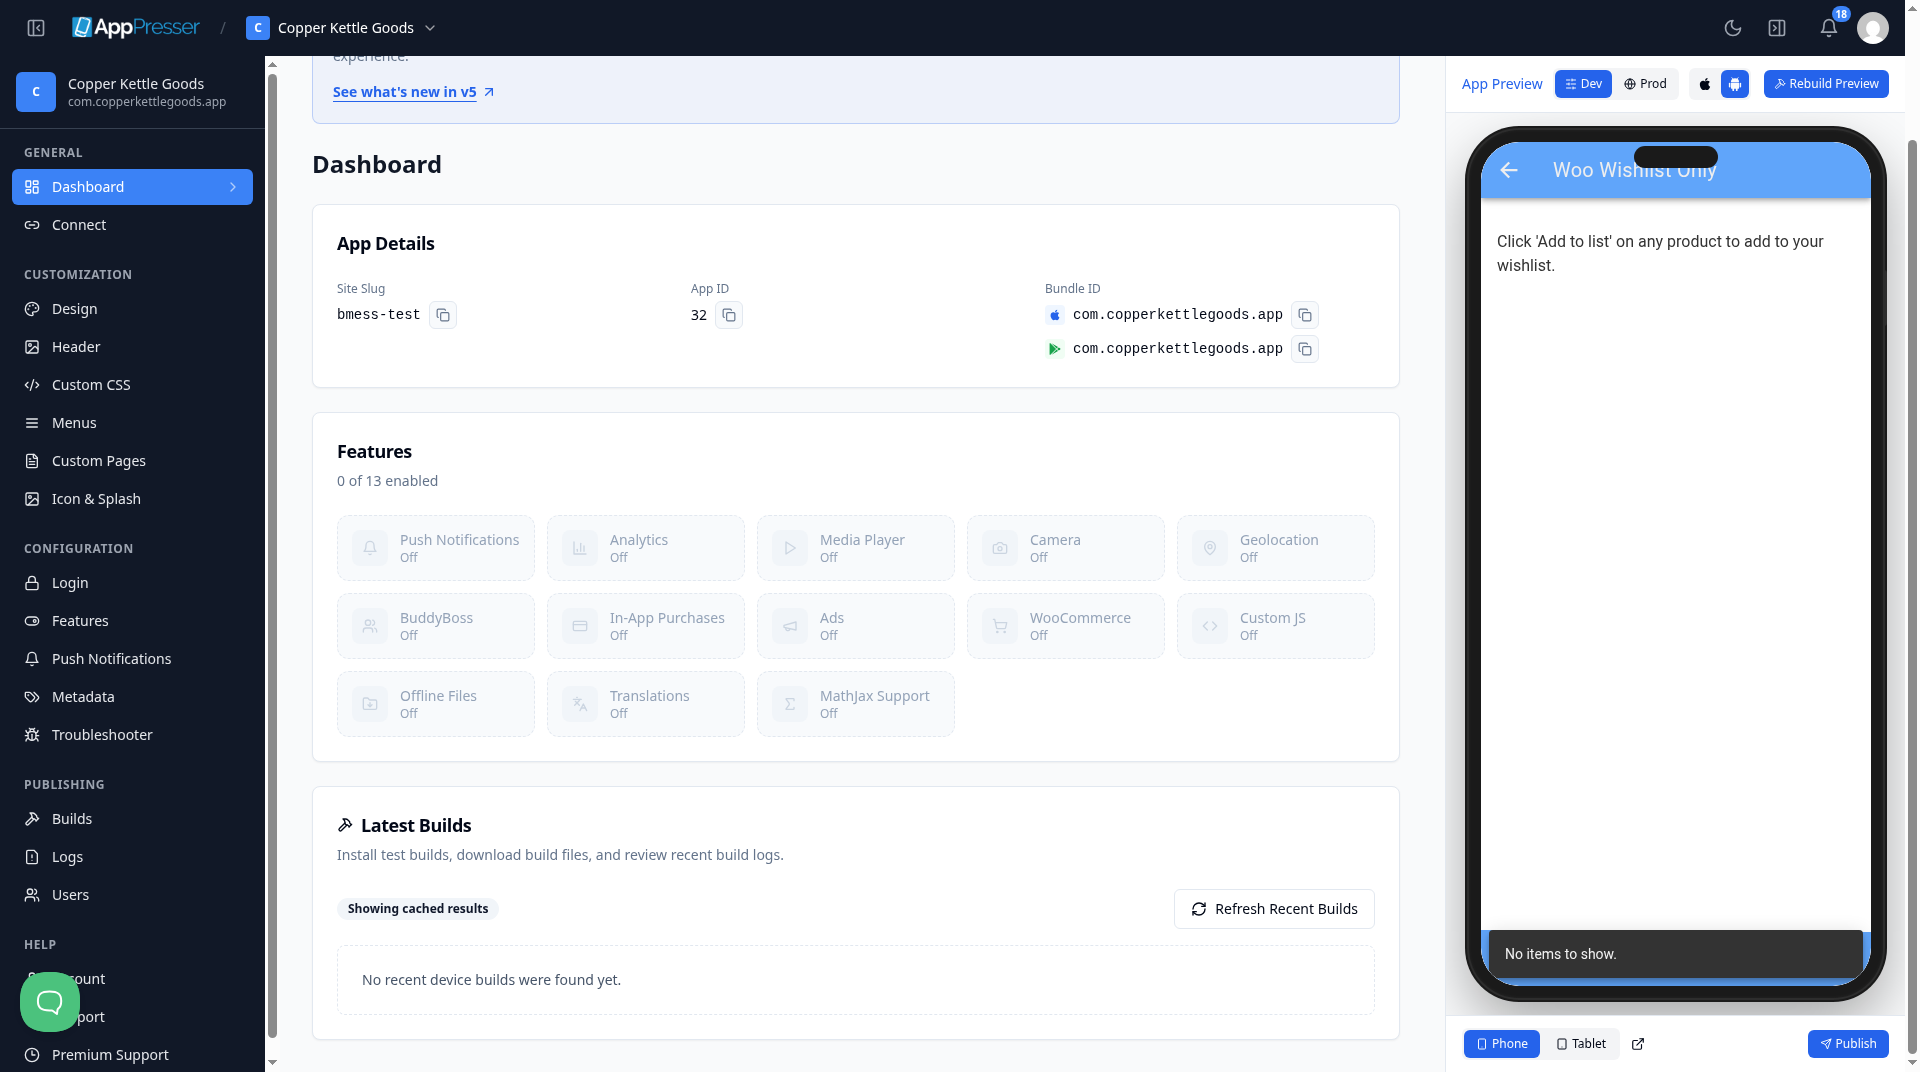
When nothing is saved yet, the block says "Click 'Add to list' on any product to add to your wishlist." A "No items to show." message can also appear at the bottom.
Save a product to the wishlist
Shoppers do not need to be logged in.
- Open the shop and tap a product.
- Tap the heart on the product picture. A message says the product was added to the list.
- Open the Wishlist page. The product is there with ADD TO CART and REMOVE buttons.
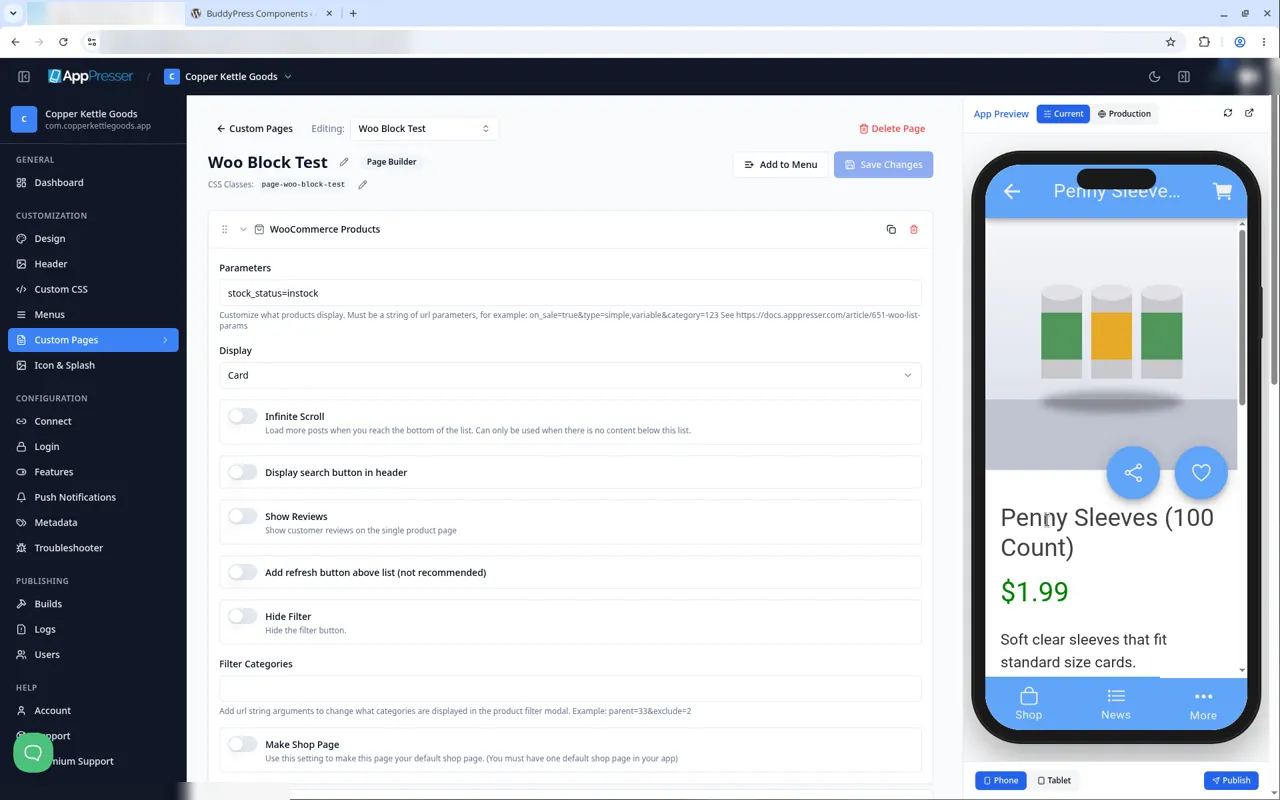
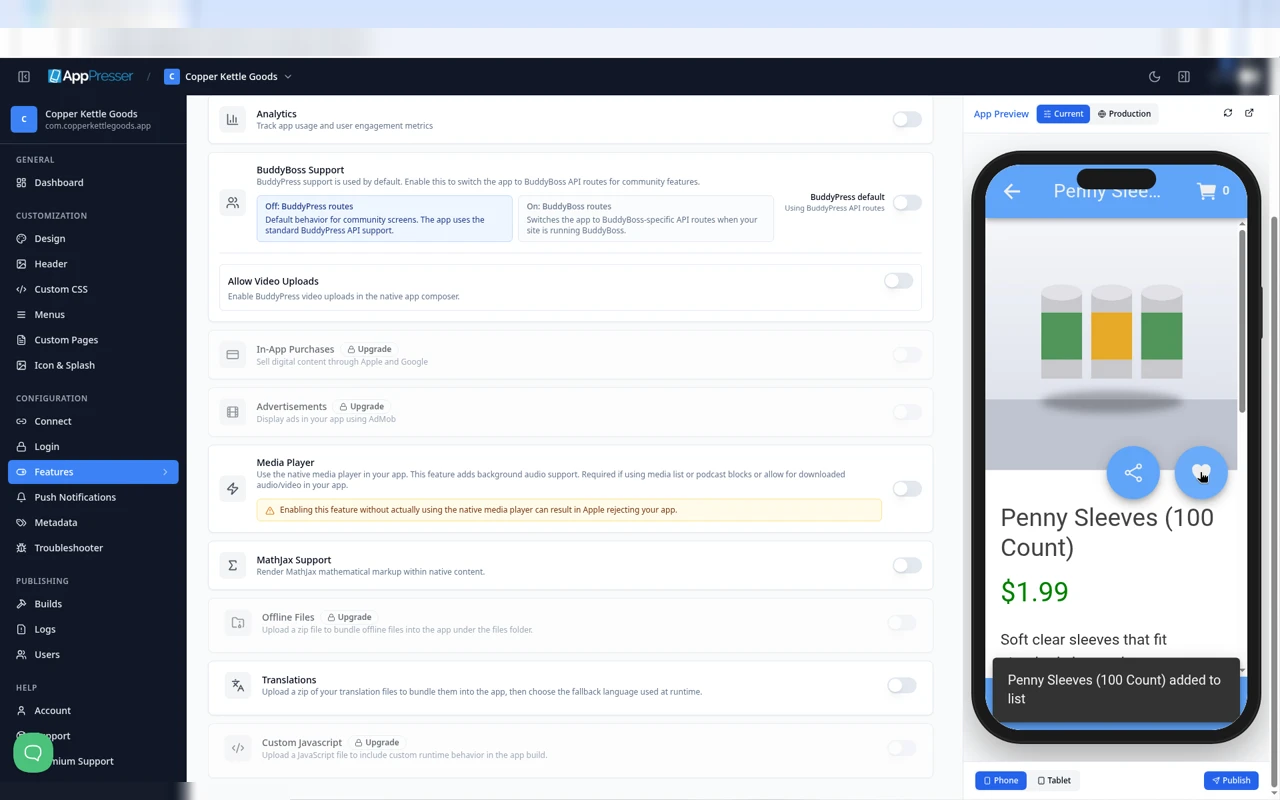
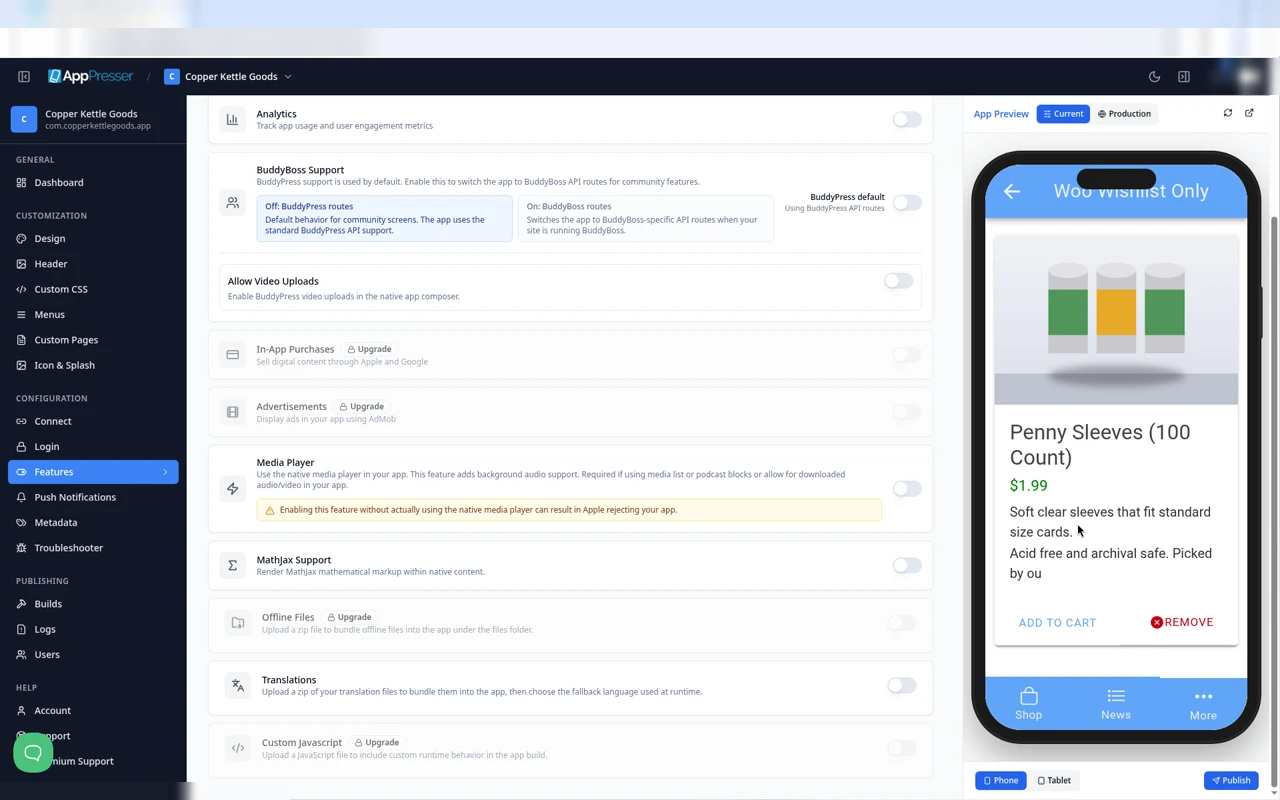
The heart is only on the product page, not on the product cards in the shop list.
Tips
Tips
- To move a block, drag it by its handle (the dots on the left). Click the arrow to fold it closed.
- To copy a block, click the Duplicate icon.
- To turn a setting on or off, click the switch itself, not the words next to it.
- After you save, open the page in the App Preview and check your changes.
Careful: The trash icon removes a block right away. Check before you click.
You're done when the block shows on your page in the App Preview.
Next step
Show orders and account details (WooCommerce Account block)
Related articles
இது உதவியாக இருந்ததா?
தட்டச்சு செய்யும்போதே முடிவுகள் புதுப்பிக்கப்படும். தேடலுக்குச் செல்ல ஸ்லாஷ் அழுத்துங்கள்.
கிடைக்கவில்லையா?
எங்கள் ஆதரவுக் குழு அமைவு, உருவாக்கம் மற்றும் app store கேள்விகளில் உதவ முடியும்.