
Get your AppPresser account
Getting Started · AppPresser Docs
Get your AppPresser account
Dit artikel is nog niet vertaald en wordt daarom in het Engels getoond.
Your app journey: step 1 of 9, Sign up and sign in. New here? Read Start here: build your app with AppPresser first.
What you'll do: Pick an AppPresser plan, start your 14-day free trial and sign in for the first time. You need a plan before you can build an app.
Before you start
- A WordPress website you manage. WordPress is a popular tool for running a website. Your app shows content from this website.
- An email address you check. AppPresser uses it for your account and for build emails.
Choose a plan
- Go to the AppPresser Pricing page at apppresser.com/pricing.
- Compare the three plans: Standard, Professional and Advanced. Every plan includes an iPhone (iOS) app, an Android app and push notifications.
- Choose to pay monthly or yearly.
- Click the purchase button under the plan you want.
- Fill in your details and finish checkout.
Every plan starts with a 14-day free trial.
Tip: Some features need a bigger plan. Segmented notifications and team members come with Professional and Advanced. In-app purchases and Apple/Google Login come with Advanced.
Sign in for the first time
- Go to myapppresser.com. This is your AppPresser dashboard, where you build your apps.
- Type your username or email address and your password.
Click Sign in. Your Account page opens.
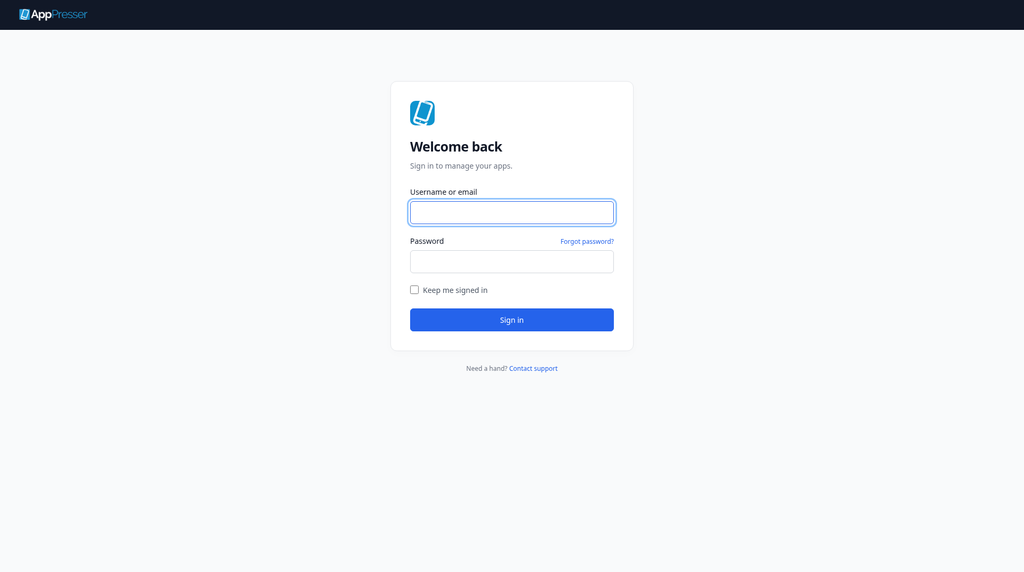
Need help choosing a plan? Click Contact support at the bottom of the sign-in page.
You're done when you can sign in at myapppresser.com and see your Account page.
Next step
Sign in to your AppPresser dashboard
Related articles
Was dit nuttig?
Resultaten worden bijgewerkt terwijl u typt. Druk op slash om naar zoeken te gaan.
Kunt u het niet vinden?
Ons ondersteuningsteam kan helpen bij het instellen, bouwen en app store vragen.