
Get your AppPresser account
Getting Started · AppPresser Docs
Get your AppPresser account
इस लेख का अभी अनुवाद नहीं हुआ है, इसलिए यह अंग्रेज़ी में दिखाया गया है।
Your app journey: step 1 of 9, Sign up and sign in. New here? Read Start here: build your app with AppPresser first.
What you'll do: Pick an AppPresser plan, start your 14-day free trial and sign in for the first time. You need a plan before you can build an app.
Before you start
- A WordPress website you manage. WordPress is a popular tool for running a website. Your app shows content from this website.
- An email address you check. AppPresser uses it for your account and for build emails.
Choose a plan
- Go to the AppPresser Pricing page at apppresser.com/pricing.
- Compare the three plans: Standard, Professional and Advanced. Every plan includes an iPhone (iOS) app, an Android app and push notifications.
- Choose to pay monthly or yearly.
- Click the purchase button under the plan you want.
- Fill in your details and finish checkout.
Every plan starts with a 14-day free trial.
Tip: Some features need a bigger plan. Segmented notifications and team members come with Professional and Advanced. In-app purchases and Apple/Google Login come with Advanced.
Sign in for the first time
- Go to myapppresser.com. This is your AppPresser dashboard, where you build your apps.
- Type your username or email address and your password.
Click Sign in. Your Account page opens.
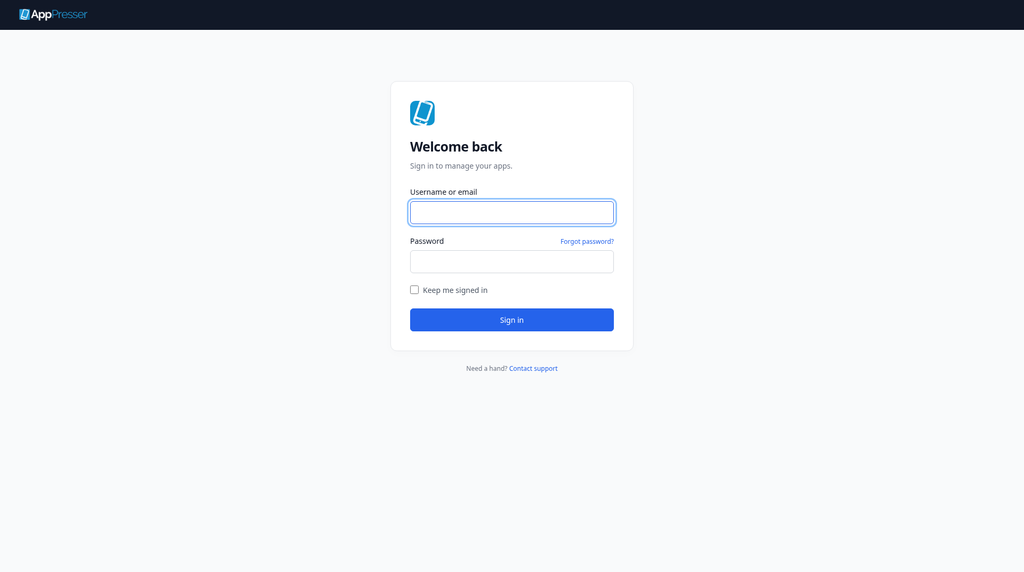
Need help choosing a plan? Click Contact support at the bottom of the sign-in page.
You're done when you can sign in at myapppresser.com and see your Account page.
Next step
Sign in to your AppPresser dashboard
Related articles
क्या यह मददगार था?
टाइप करते ही परिणाम अपडेट होते हैं। खोज पर जाने के लिए स्लैश दबाएँ।
नहीं मिल रहा?
हमारी सहायता टीम सेटअप, बिल्ड और app store से जुड़े प्रश्नों में मदद कर सकती है।