
Add private messages (BuddyPress/Boss Messages block)
Build Your App · התיעוד של AppPresser
Add private messages (BuddyPress/Boss Messages block)
מאמר זה טרם תורגם, ולכן הוא מוצג באנגלית.
Your app journey: step 4 of 9, Add pages and features. New here? Read Start here: build your app with AppPresser first.
What you'll do: Add a page where logged-in members read, send and reply to private messages.
Before you start
- Install and activate the BuddyPress or BuddyBoss plugin on your WordPress website. These plugins add a community to your site, with members, groups and messages.
- In BuddyPress, turn on the User Groups, Friend Connections and Private Messaging parts. You find them in your WordPress admin under Settings, then BuddyPress, then the Components tab.
- Install and activate the AppCommunity plugin, AppPresser's add-on for BuddyPress and BuddyBoss, on your WordPress website.
- Connect your app to your WordPress website. See Connect your WordPress site and turn on Features.
- Let members log in to your app. They must be logged in to use messages.
Add the block
- In the left menu, under Customization, click Custom Pages.
- Click the name of the page you want to change. To make a new page instead, click Add New Page, type a title, keep Page Builder selected and click Create Page.
- Below the last block on the page, click Add Block.
- In Search blocks…, type BuddyPress/Boss Messages, then click the block. It is added to the bottom of the page.
- Leave Show Filter on, or turn it off. This is the only setting.
- Click Save Changes at the top of the editor.
- To see a new page in the App Preview, add it to a menu. See Add a page to your app menu.
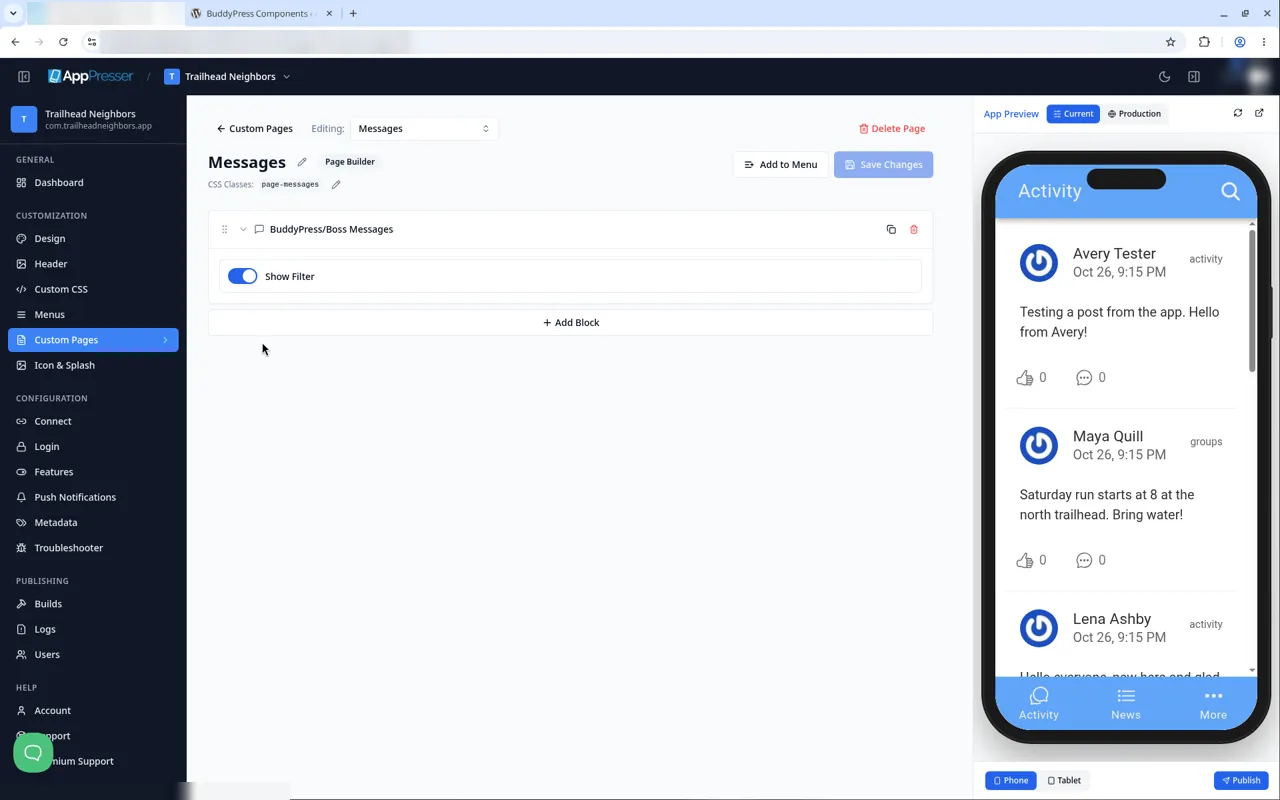
If you chose BuddyPress or BuddyBoss when you made your app, AppPresser already made a Messages page. It also added Messages to the More menu. That item is set to Only show when logged in, so visitors who are not logged in do not see it.
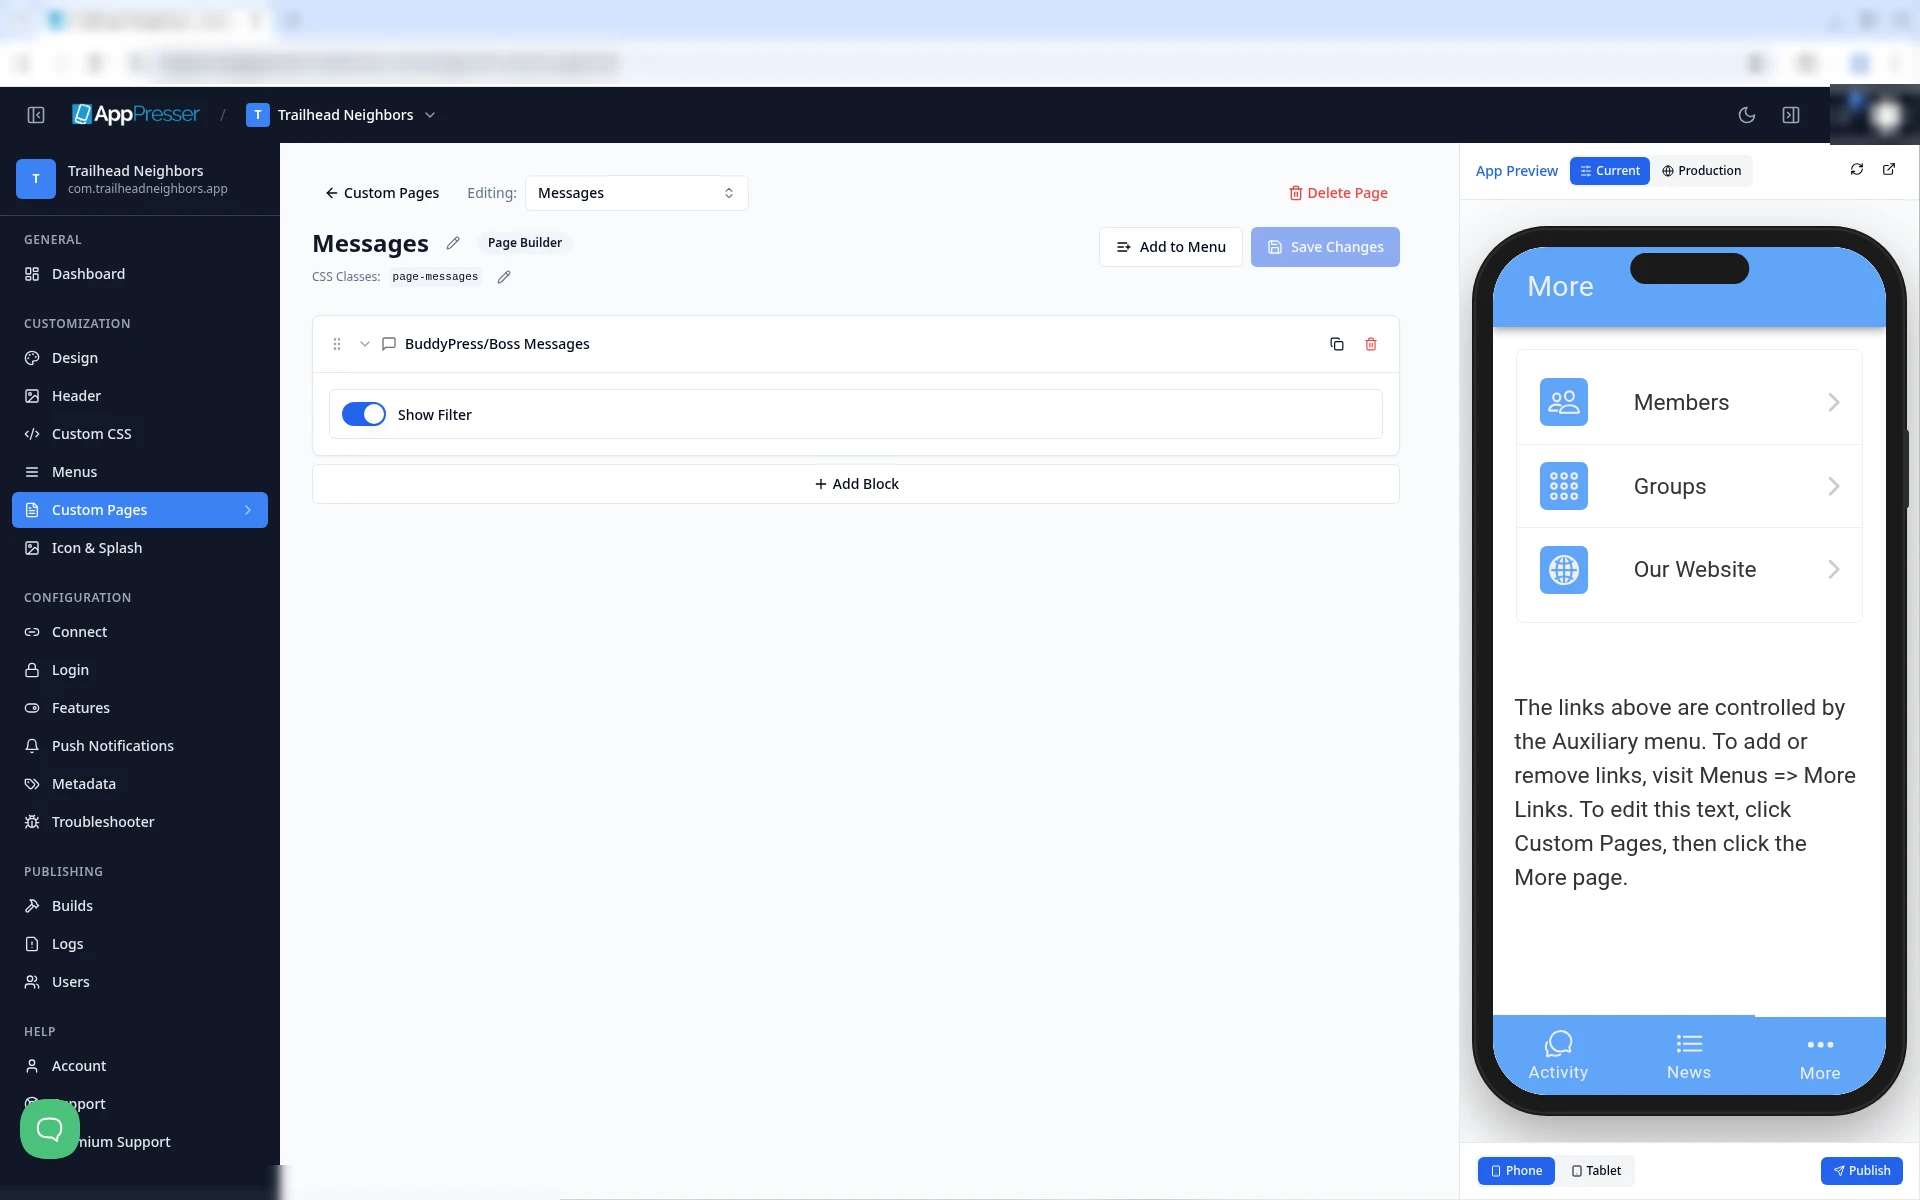
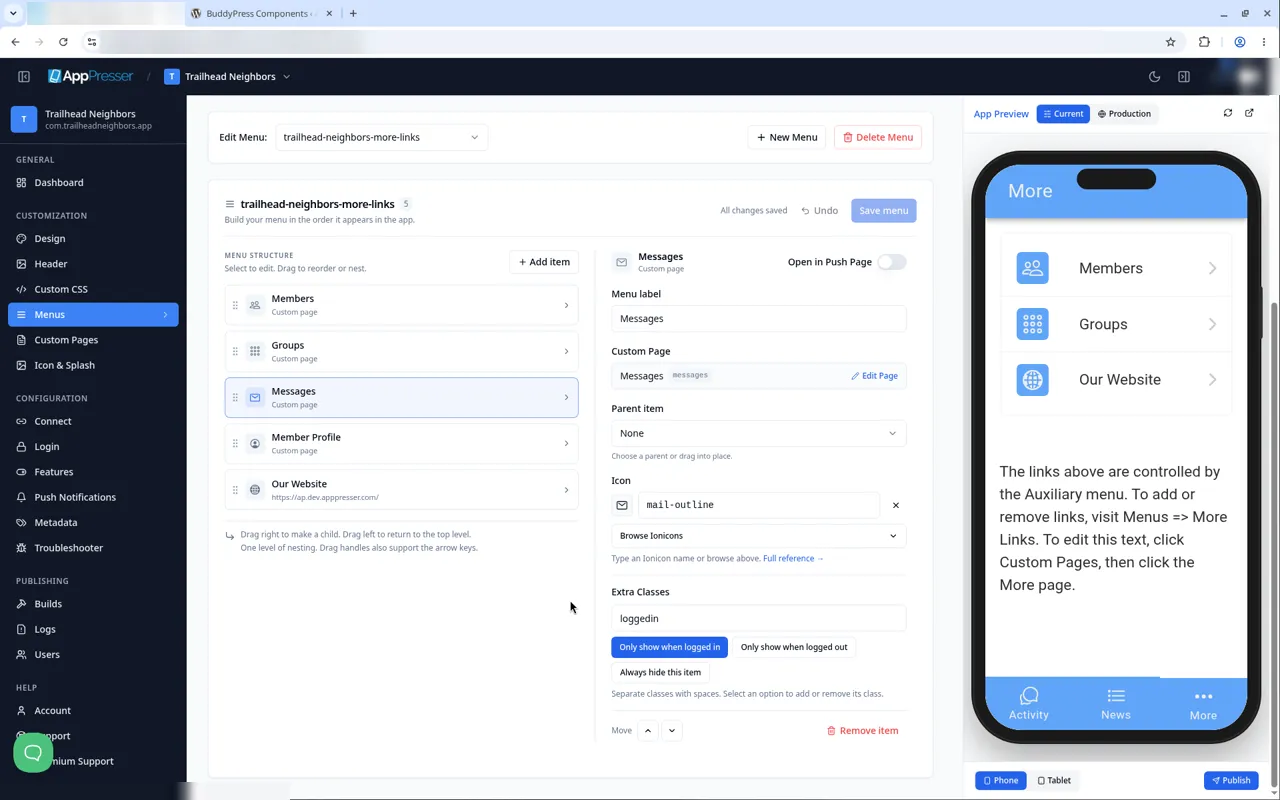
Show the Messages item to everyone
- In the left menu, under Customization, click Menus.
- Under Edit Menu, choose your More menu.
- Click the Messages item.
- Under Extra Classes, remove loggedin. This is the setting for Only show when logged in.
- Click Save menu.
Read and send messages
- Tap More, then Messages. The inbox lists each conversation with who sent it and its subject.
- Tap a conversation to open it. Messages show as chat bubbles. At the bottom are a Type message… box, a camera button to add a photo and a send button.
- To switch between received and sent messages, tap the Filter bar, choose Inbox or Sent, then tap OK.
- To write a new message, tap the new message icon at the top right.
- Fill in To, Subject and Your message, then tap SEND MESSAGE.
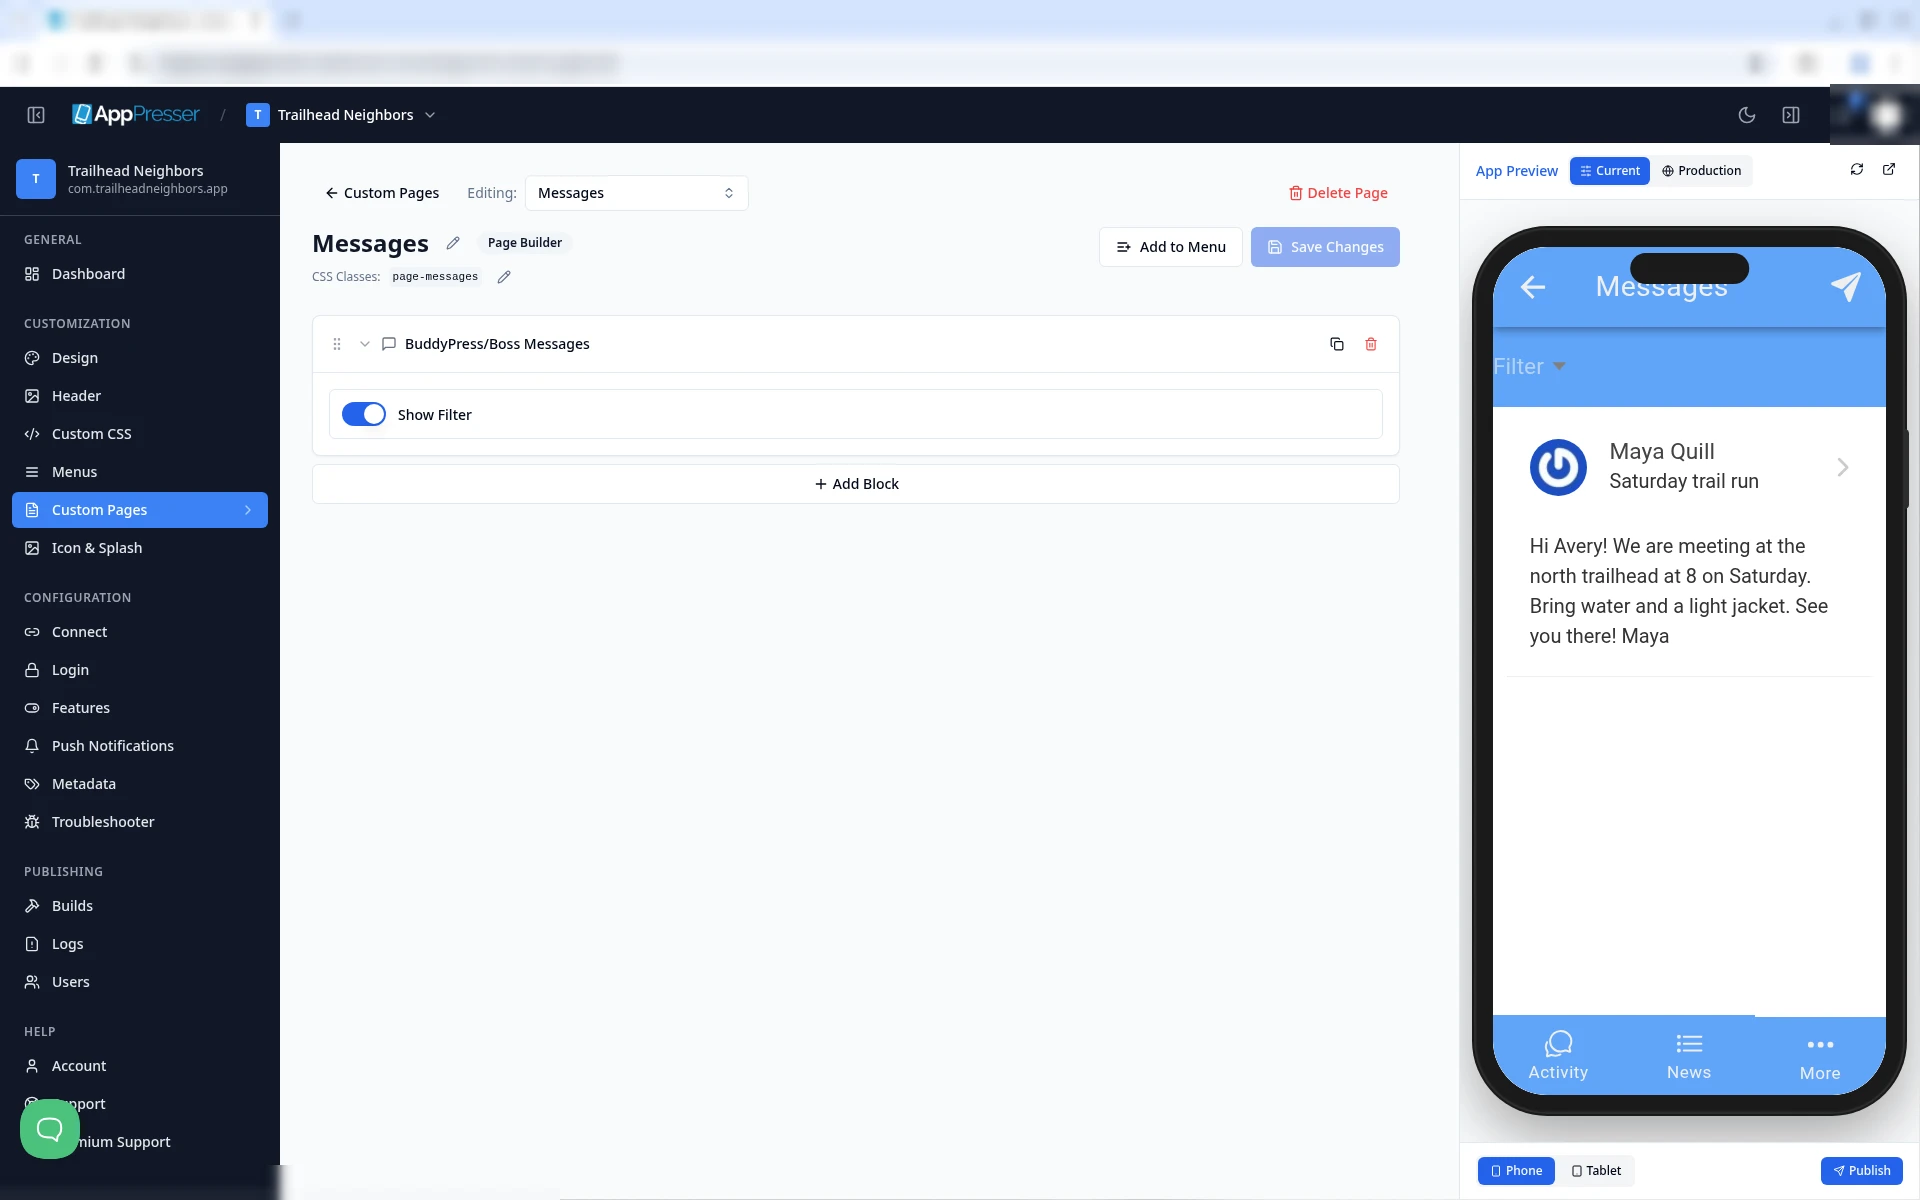
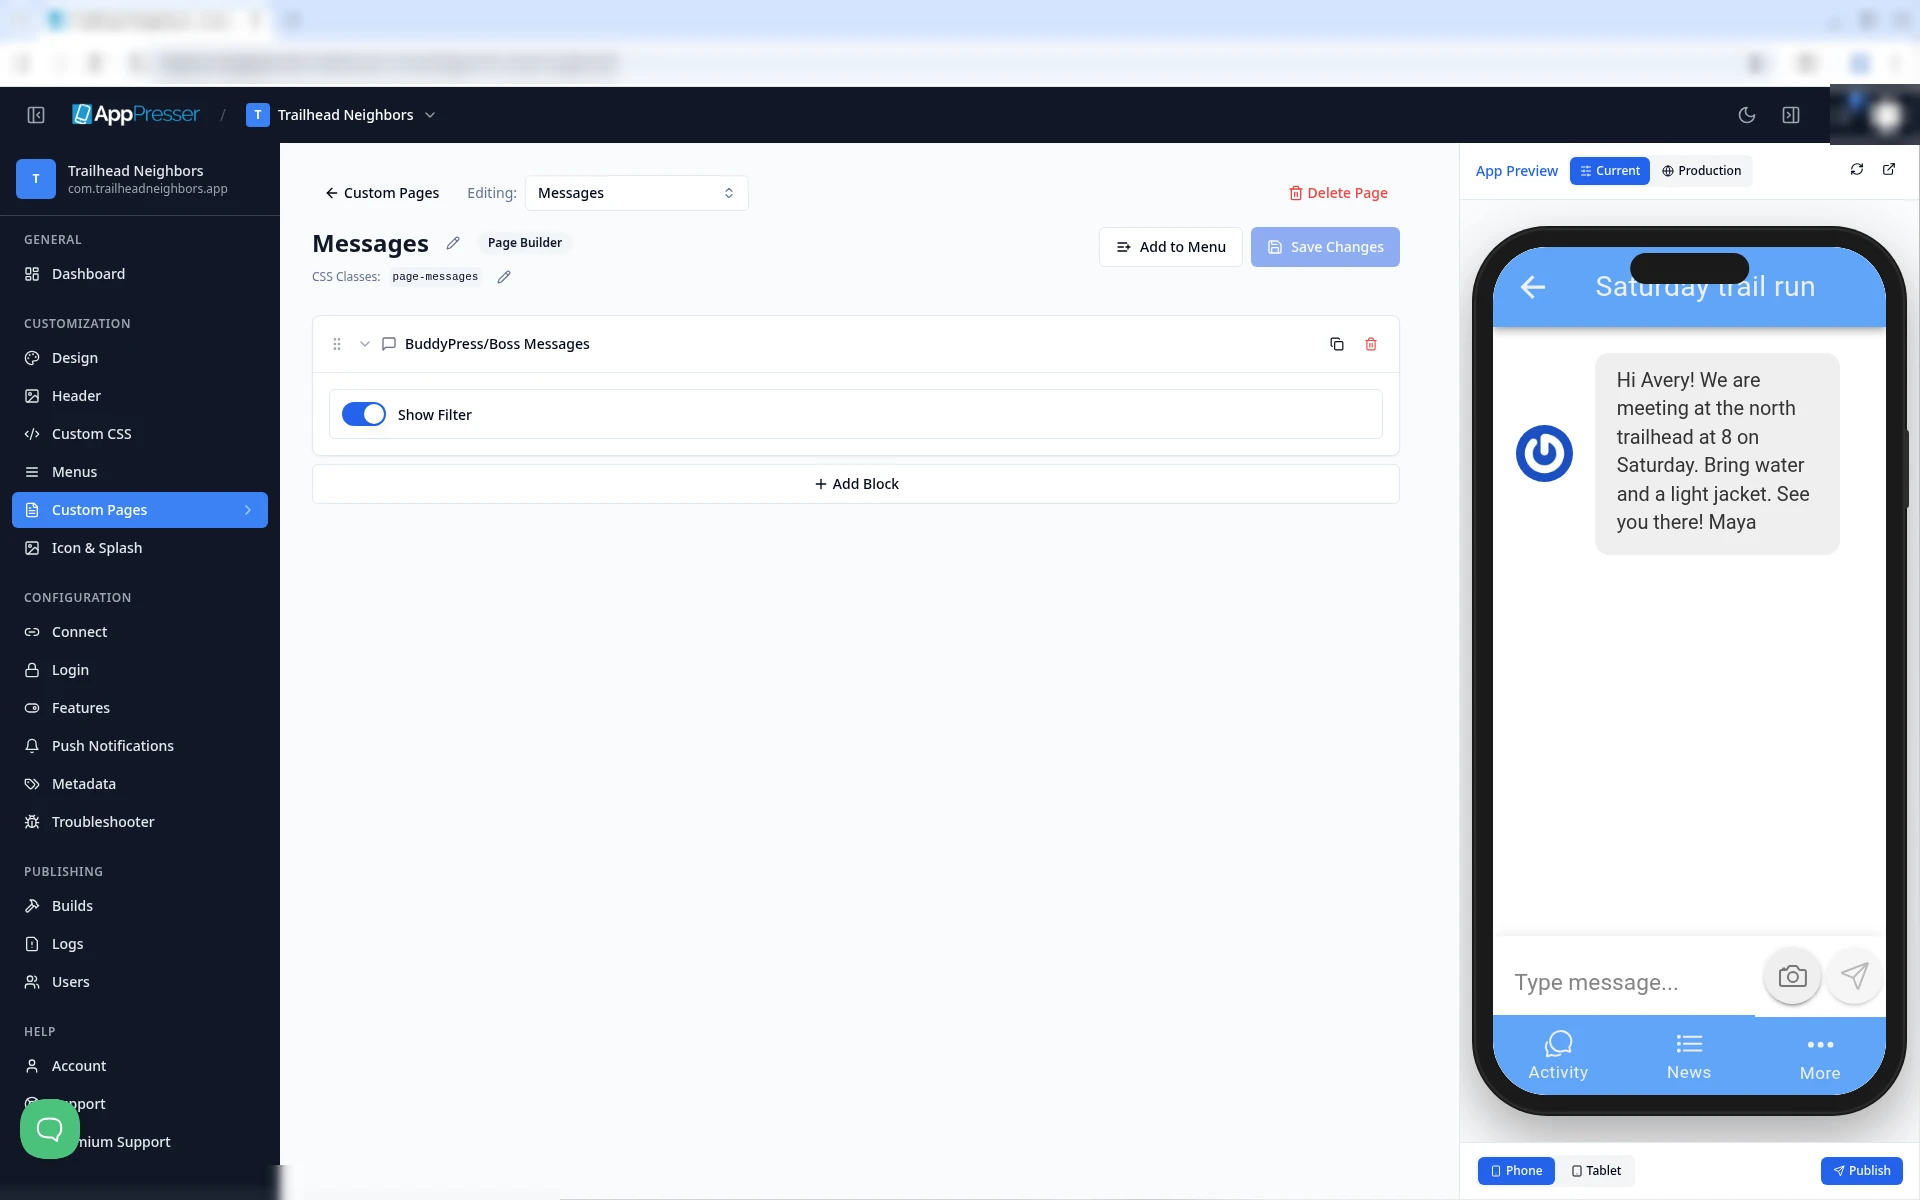
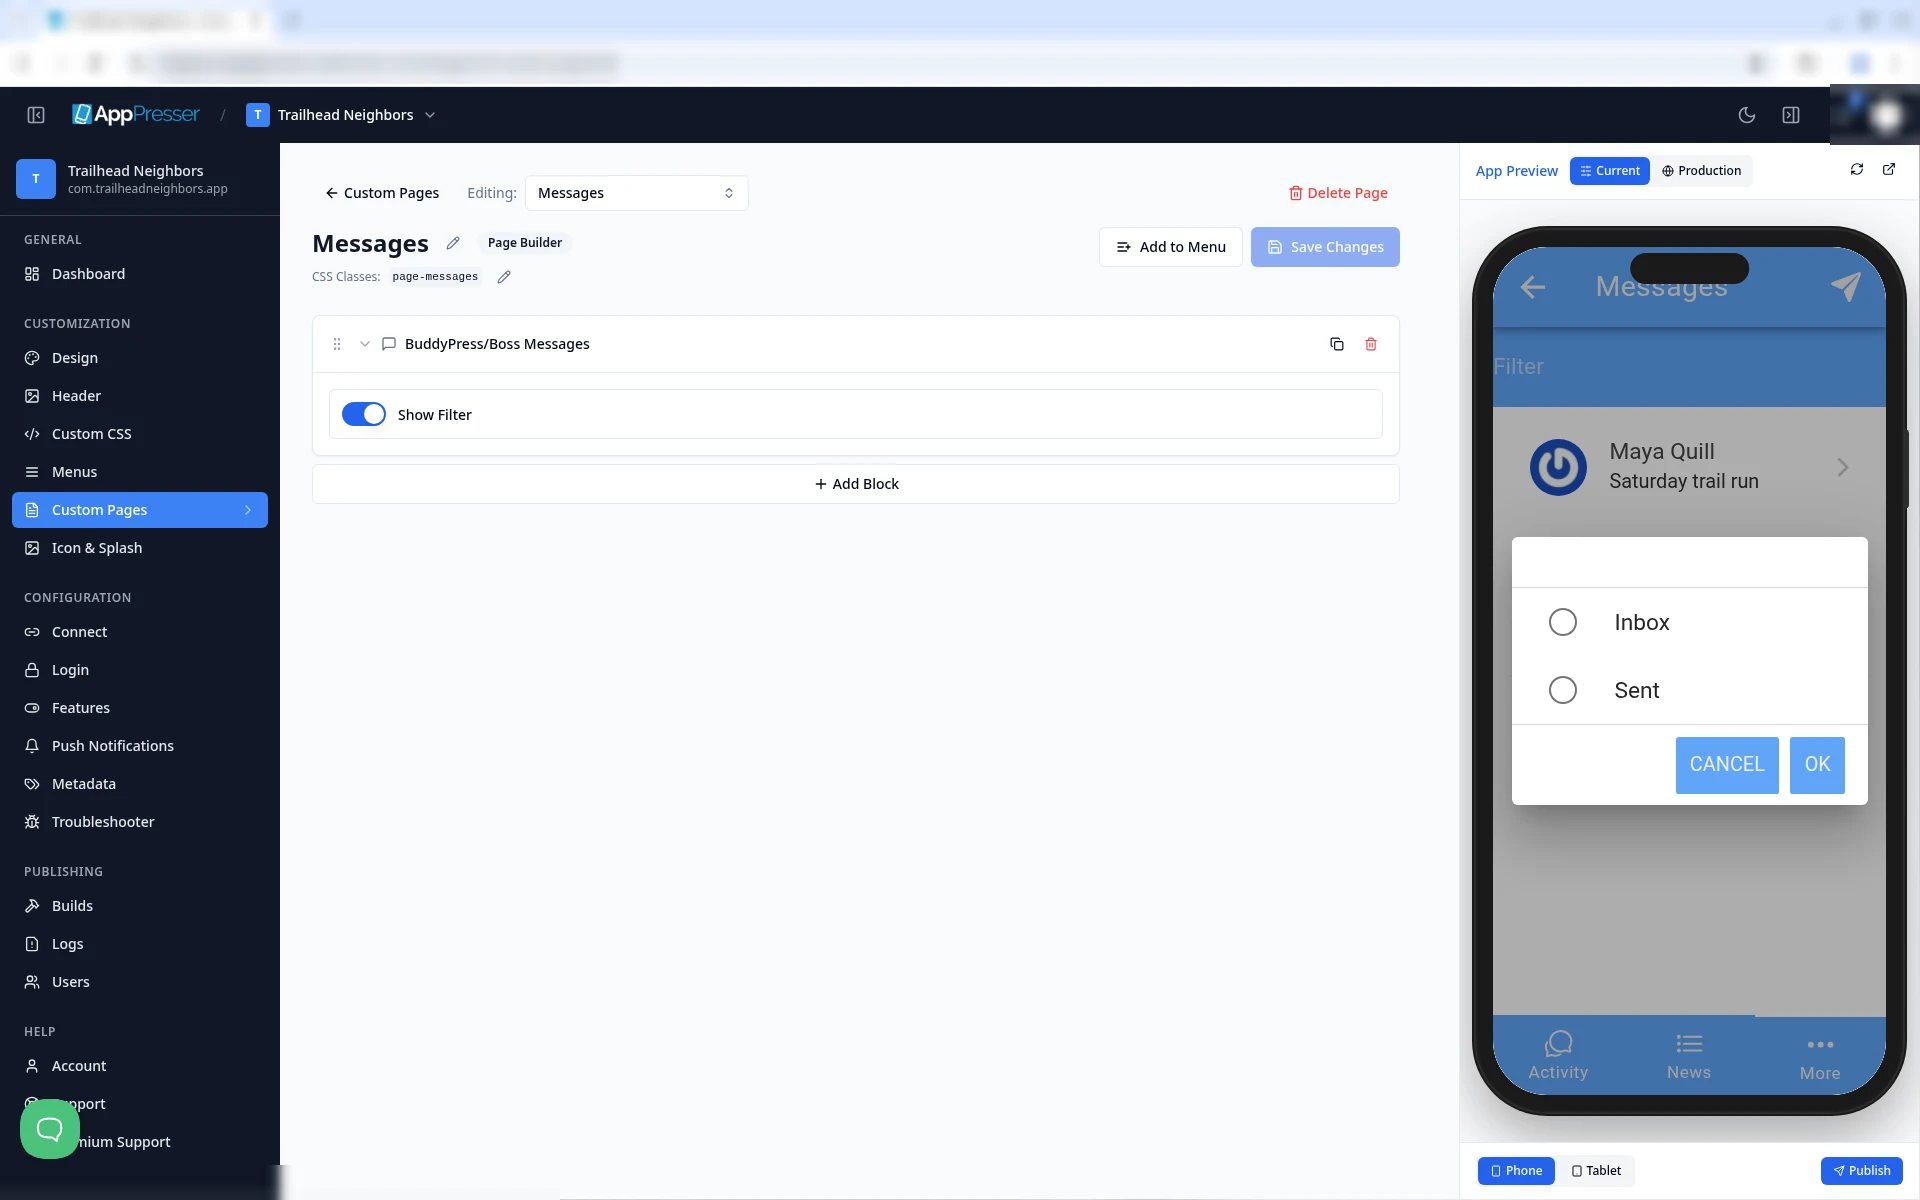
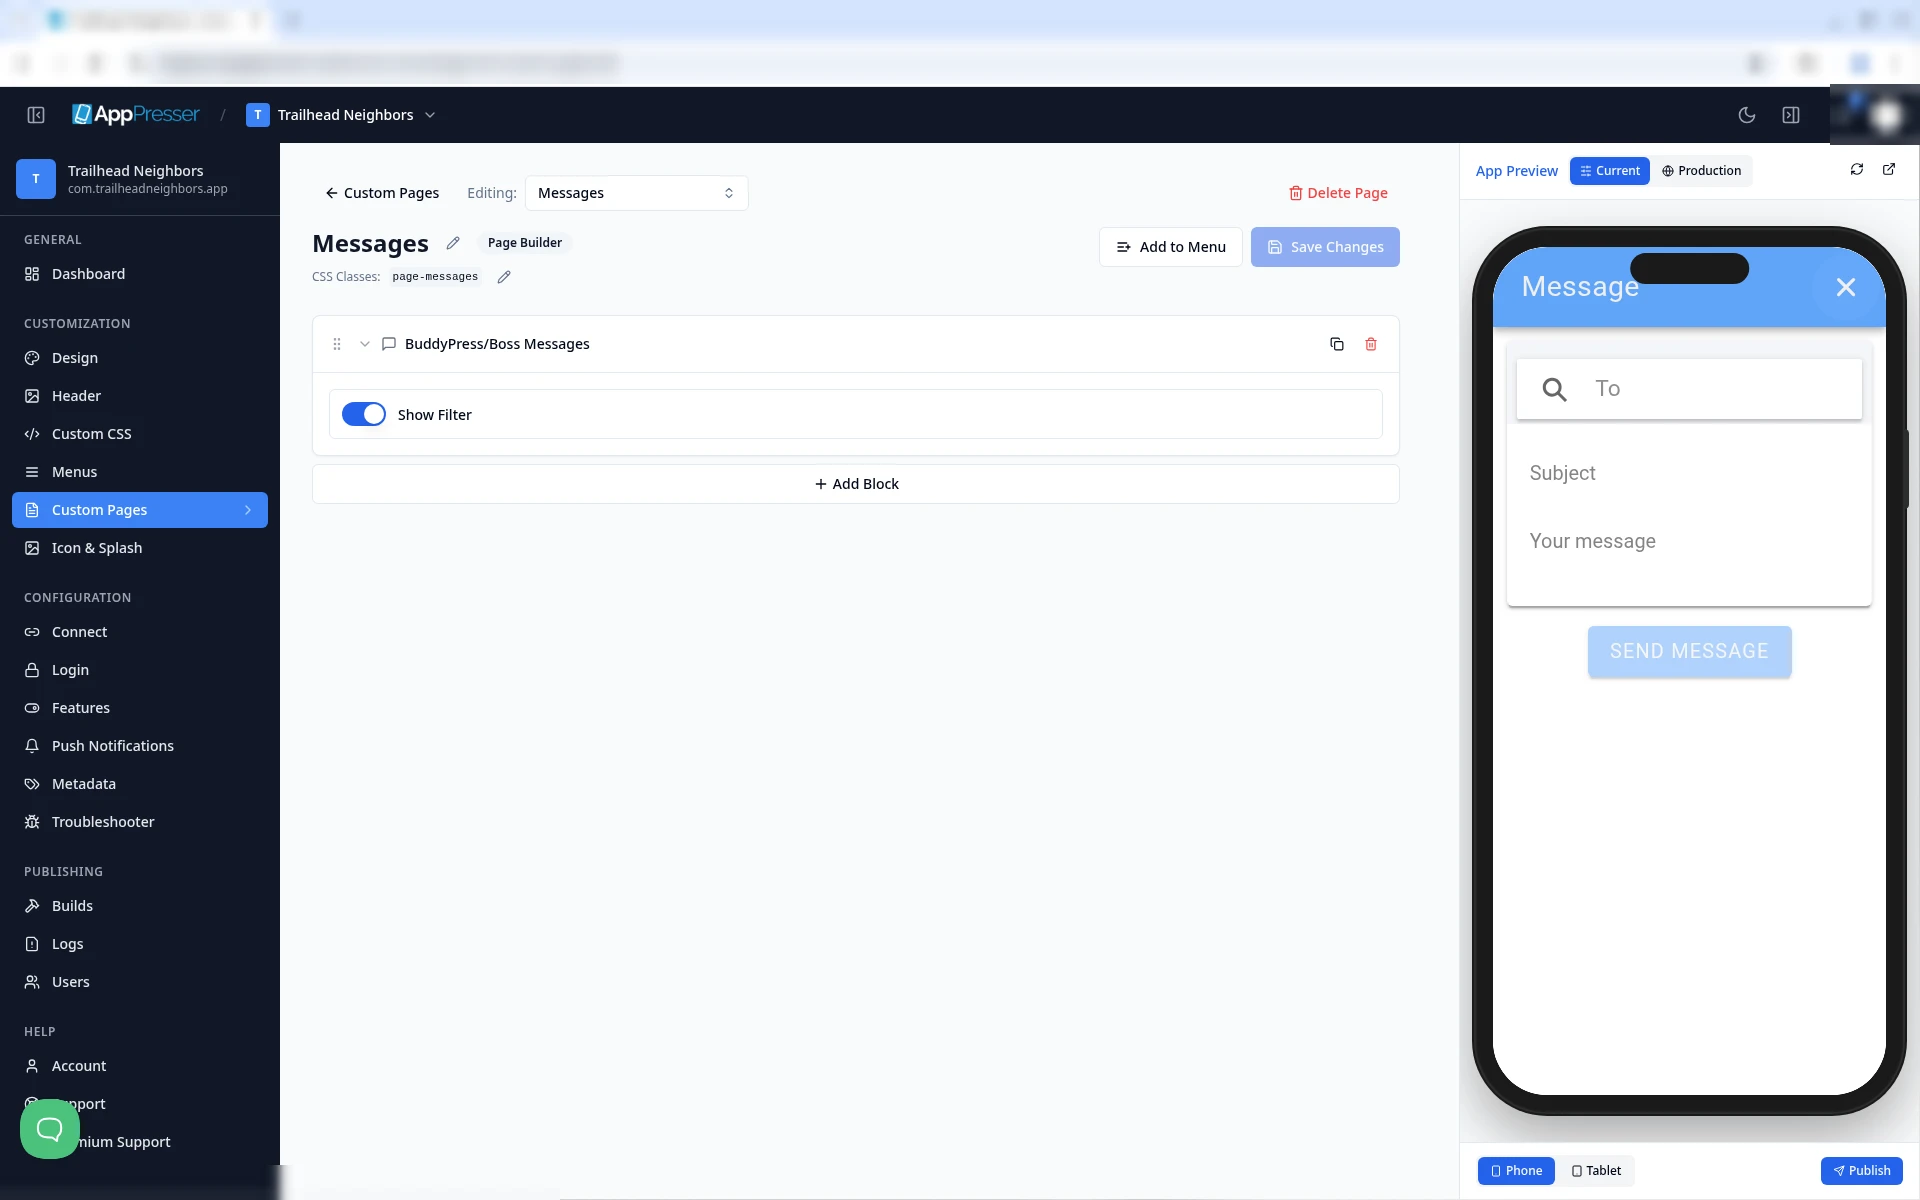
Careful: Messages are really sent. Send only to test members while you check your app.
Check it as a logged-in member
The App Preview starts logged out, the way a new visitor sees your app. To see what a member sees:
- Make a test member on your WordPress website. Do not use your admin account.
- In the App Preview on the right, click More at the bottom, then click Members.
- Click any member in the list. A Login window opens.
- Type the test member's Username and Password, then click SUBMIT. The preview goes back to the Activity tab, and Messages and Member Profile now show in the More menu.
Tips
Tips
- To move a block, drag it by its handle (the dots on the left). Click the arrow to fold it closed.
- To copy a block, click the Duplicate icon.
- To turn a setting on or off, click the switch itself, not the words next to it.
- After you save, open the page in the App Preview and check your changes.
Careful: The trash icon removes a block right away. Check before you click.
You're done when the block shows on your page in the App Preview.
Next step
Add a member profile (BuddyPress/Boss Profile block)
Related articles
האם זה עזר?
התוצאות מתעדכנות תוך כדי הקלדה. הקישו על לוכסן (/) כדי לעבור לחיפוש.
לא מצאתם?
צוות התמיכה שלנו יכול לעזור בהגדרה, בבנייה ובשאלות על החנויות.