
Get to know the app builder
Getting Started · AppPresser Docs
Get to know the app builder
ఈ వ్యాసం ఇంకా అనువదించబడలేదు, కాబట్టి ఇది ఇంగ్లీష్లో చూపబడుతోంది.
Your app journey: step 2 of 9, Create your app. New here? Read Start here: build your app with AppPresser first.
What you'll do: Take a tour of the app builder, where you set up your app. You'll learn what each screen in the left menu is for.
Before you start
- Create an app. See Create your first app.
Open the app builder
- In the sidebar, click your app's name. The builder opens on your app's Dashboard.
The menu on the left puts the screens in groups: General, Customization, Configuration, Publishing and Help.
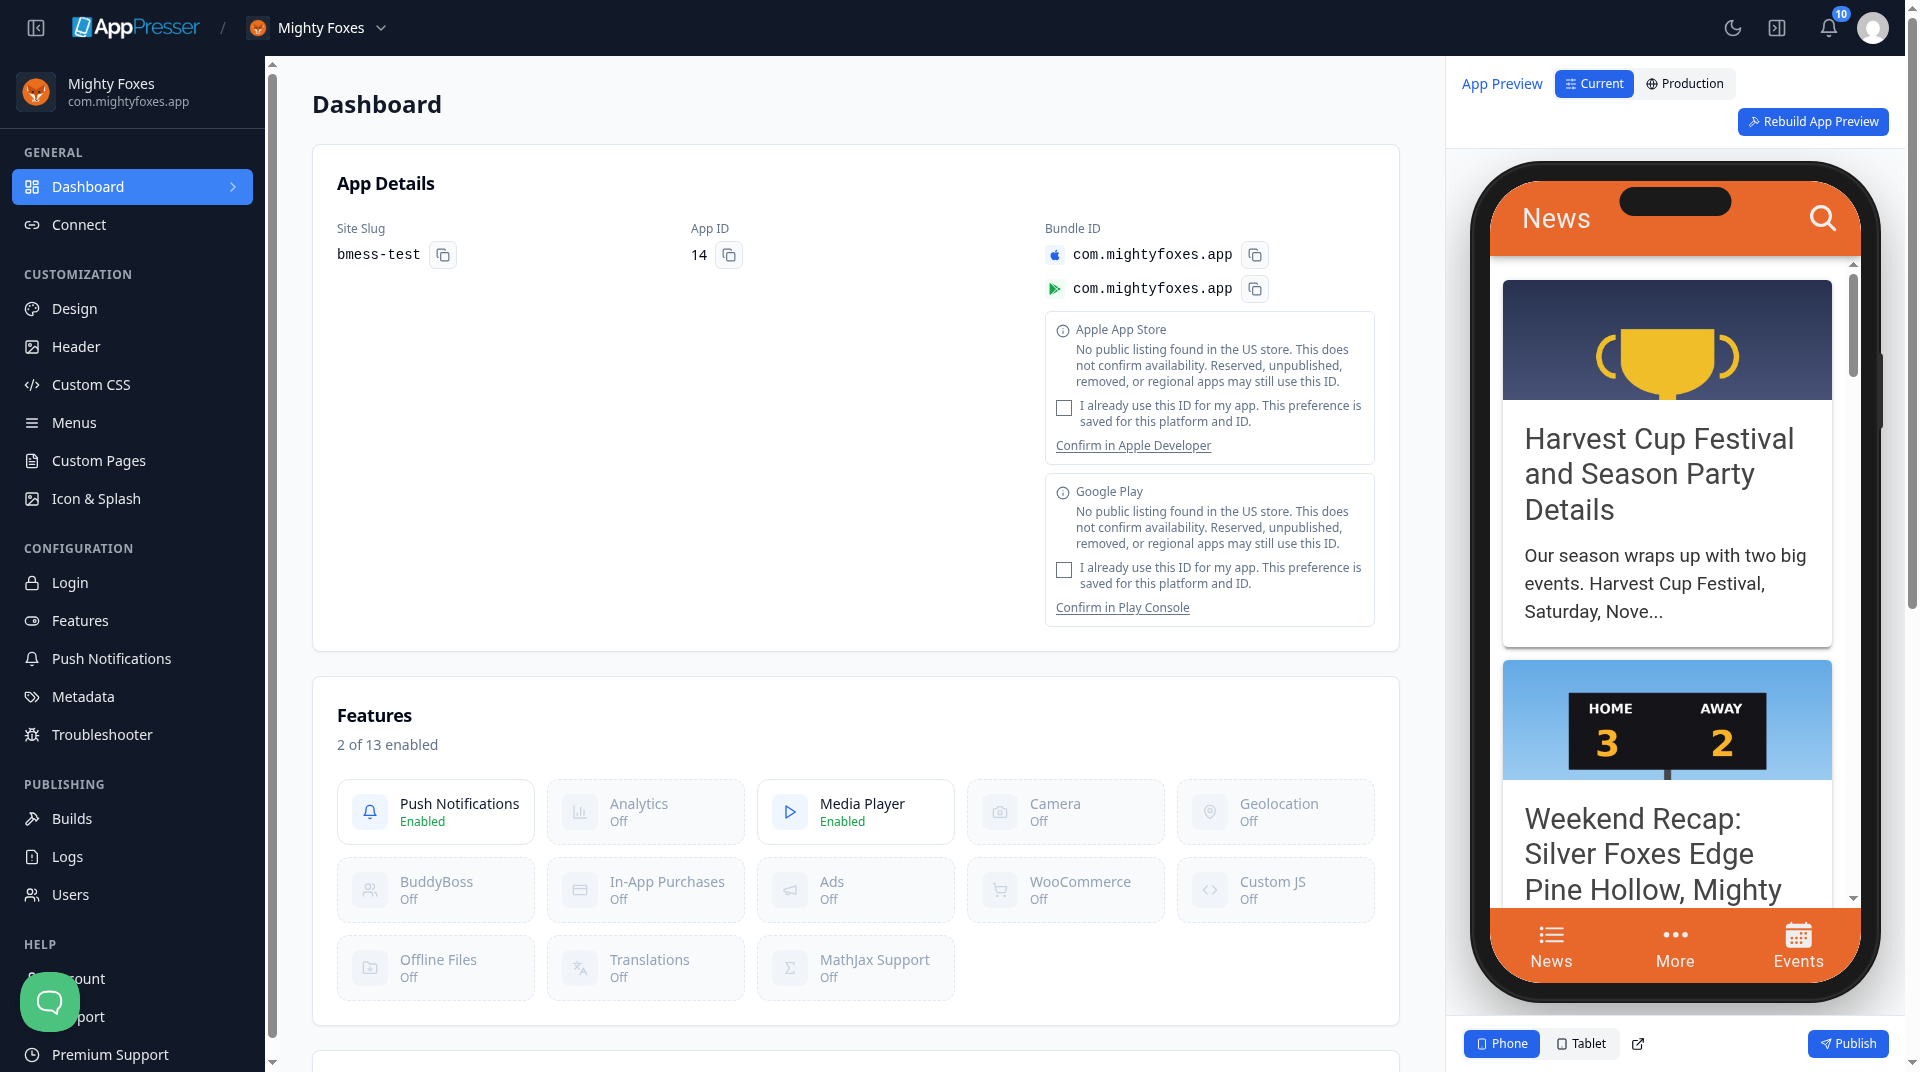
General
- Dashboard. Your app's details: Site Slug, App ID and Bundle ID. A bundle ID is the unique name the app stores use for your app, for example com.example.myapp. The Dashboard also shows which features are on, how many people get your push notifications and your latest builds.
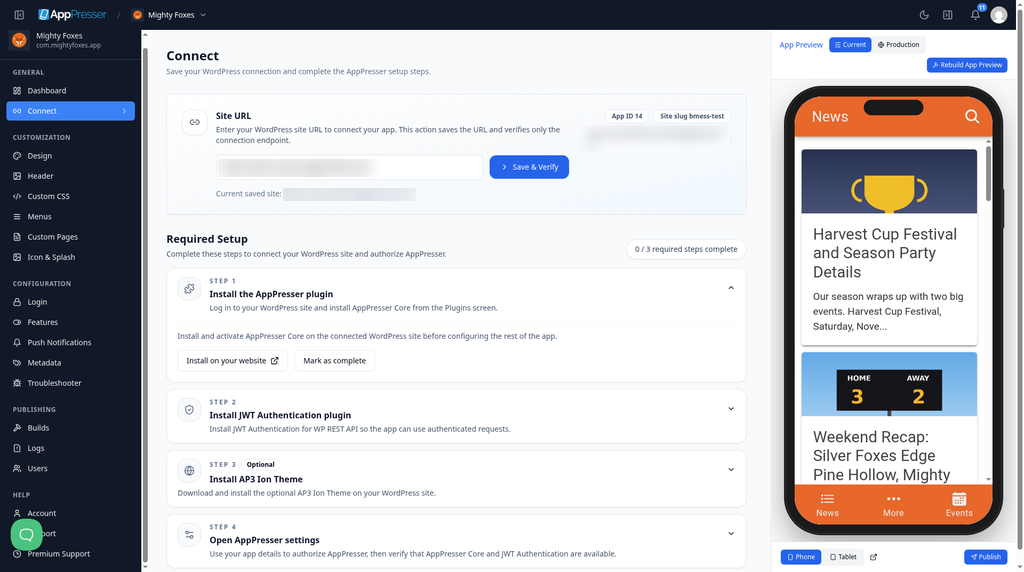
- Connect. Link your WordPress website and finish the setup steps. See Connect your WordPress site and turn on Features.
Customization
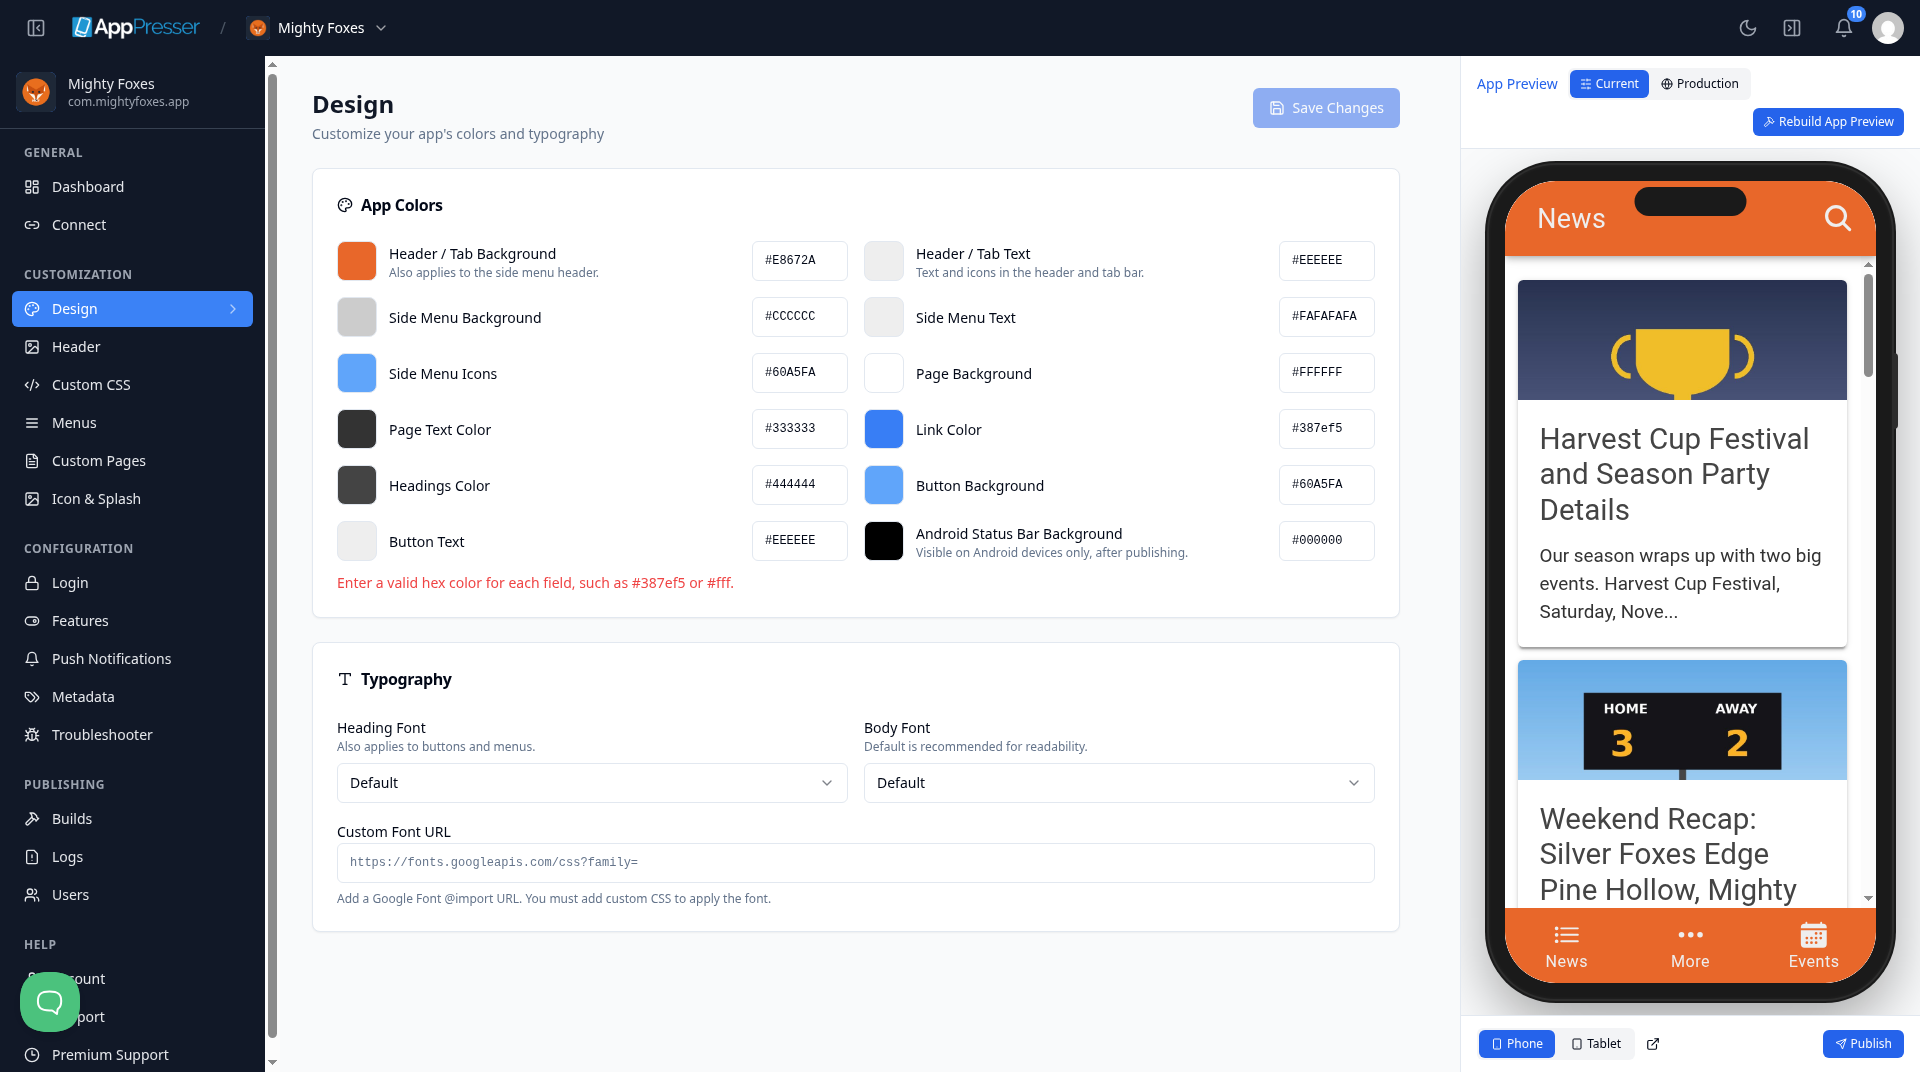
- Design. Your app's colors and fonts. See Choose your app colors and fonts (Design).
- Header. Your header logo, the status bar text and the share buttons. See Set up your app header (Header).
- Custom CSS. Extra style rules for people who know CSS, the code that controls how pages look. See Add your own styles (Custom CSS).
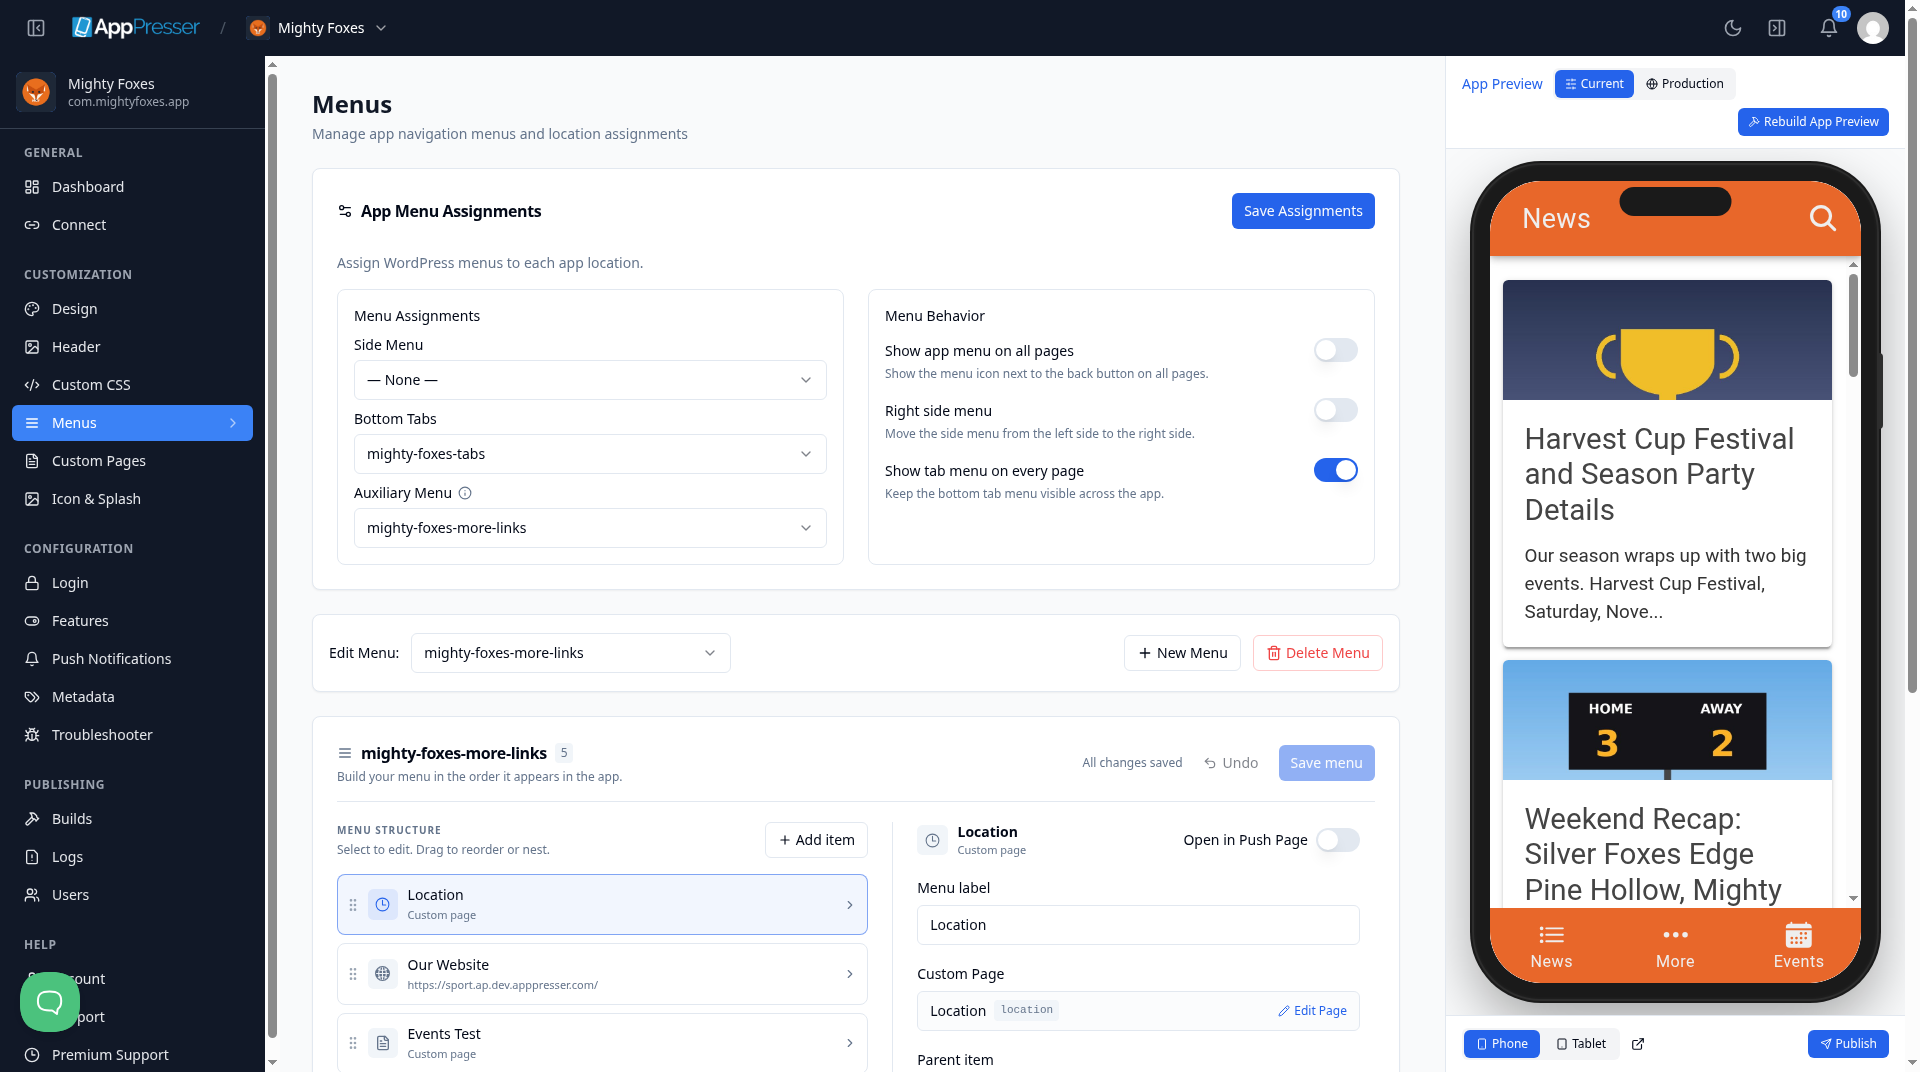
- Menus. Your side menu, bottom tabs and extra links menu. See Set up your menus and bottom tabs (Menus).
- Custom Pages. The pages in your app. Each page shows its type, for example Page Builder, Media Playlist or Custom HTML. See Build app pages with blocks (Custom Pages).
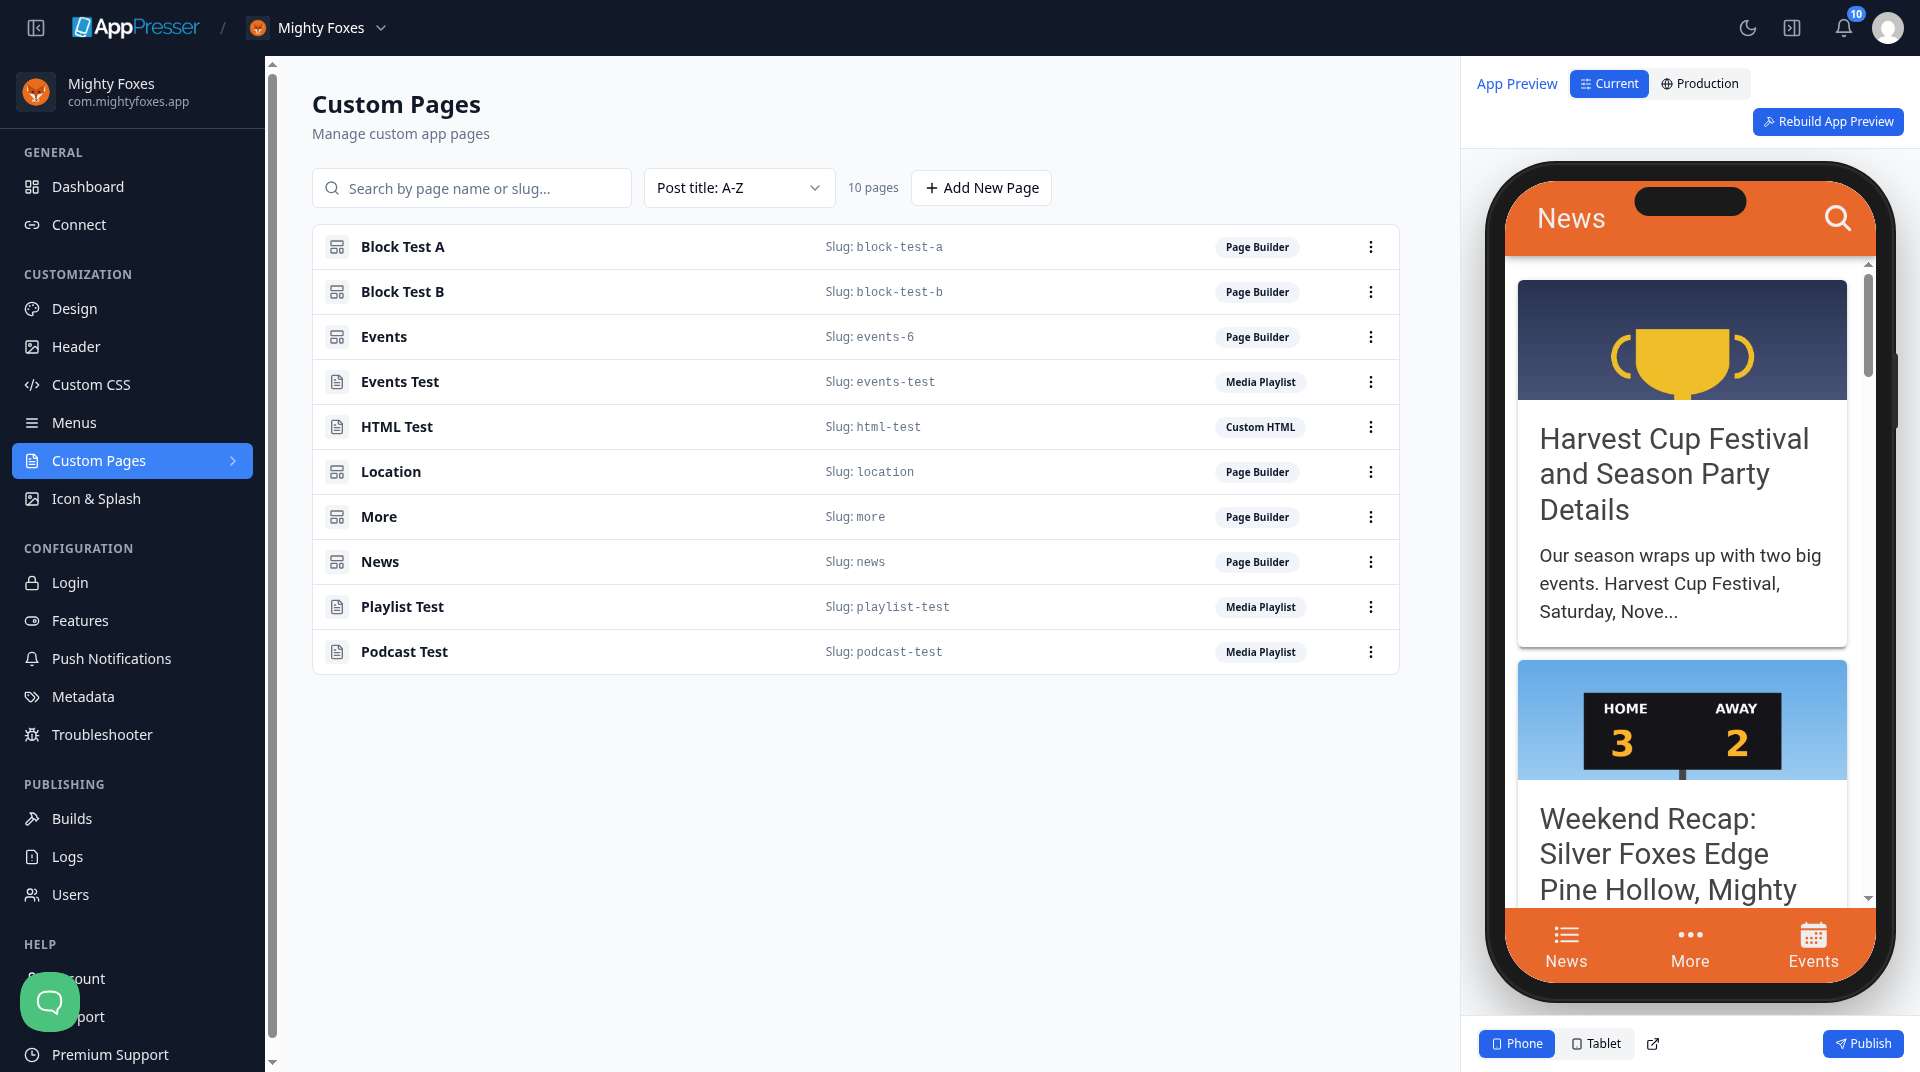
- Icon & Splash. Your app icon and splash screen. The splash screen is the picture people see while your app opens. See Add your app icon and splash screen (Icon & Splash).
Configuration
- Login. How people log in to your app. See Set up login (Login).
- Features. Turn extras on or off, such as Camera, Geolocation (location) and Analytics. See Turn on app features (Features).
- Push Notifications. Send messages that pop up on people's phones. See Turn on push notifications and send a message.
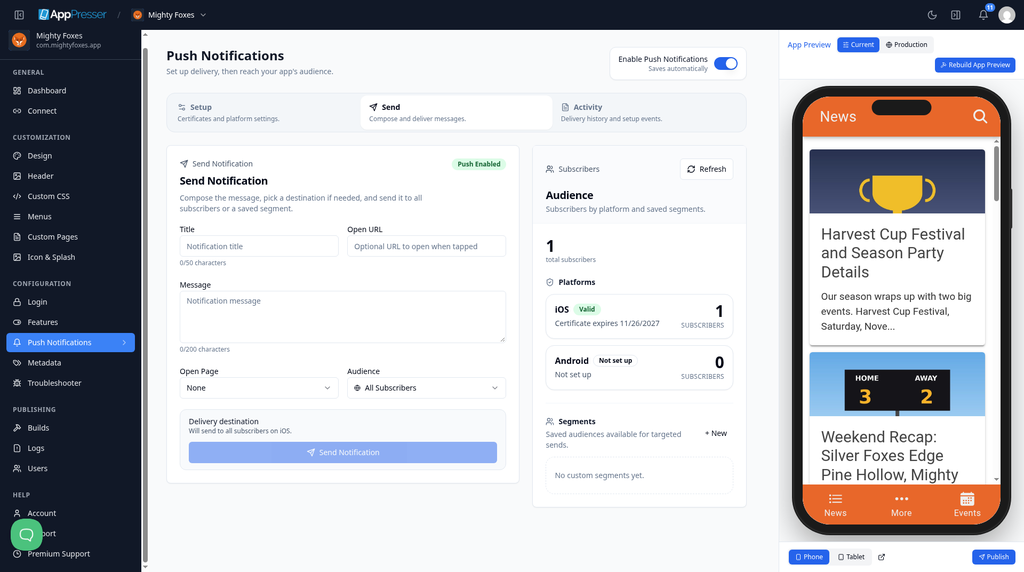
- Metadata. Your app's name, version, IDs and app store details. See Add your app details (Metadata).
Publishing
- Builds. Make your app files for iPhone (iOS) and Android. See Build your iOS and Android apps (Builds tab).
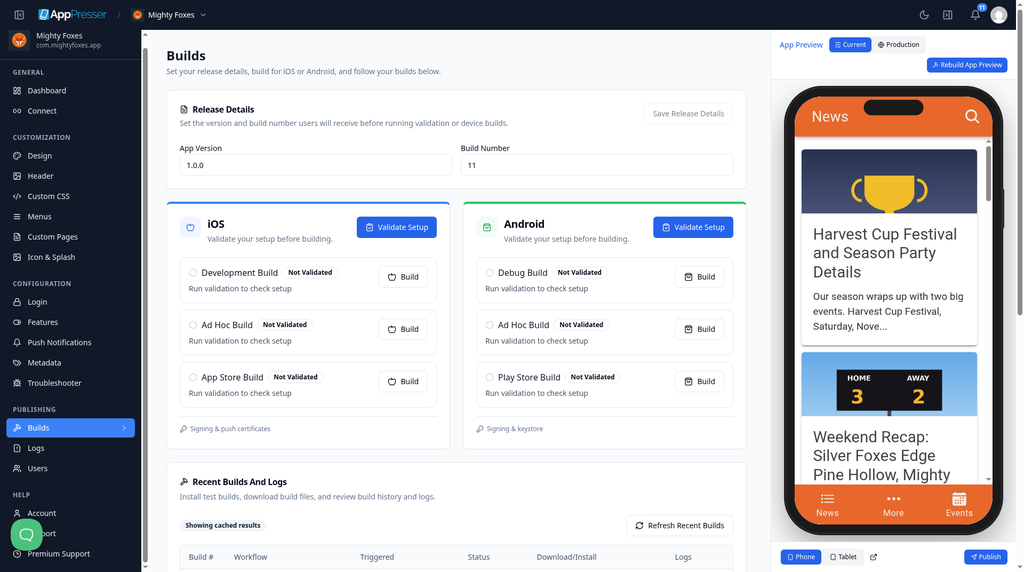
- Logs. Messages about your builds, push notifications and app errors. See Check your app logs (Logs).
- Users. People who can edit your apps. See Add team members (Users).
Help
- Account, Support and Premium Support. Your account details and ways to get help. See Help and troubleshooting FAQ.
The App Preview
The App Preview panel on the right shows how your app looks.
- Dev shows your app with your latest changes.
- Prod shows the version people get. Until you publish, a note at the top of the preview says you are still seeing your current settings.
- Phone and Tablet change the screen size.
- Rebuild Preview refreshes the preview when it does not show your latest changes.
The pictures in this guide show an earlier version of the panel, where Dev is called "Current", Prod is called "Production" and Rebuild Preview is called "Rebuild App Preview". See Preview your app (App Preview) for more.
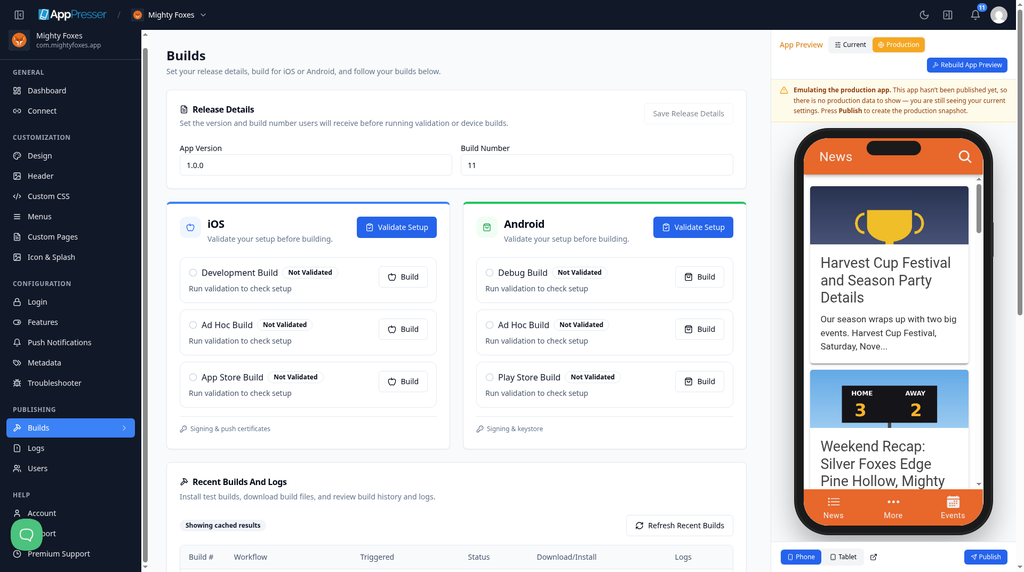
You're done when you can open each screen from the left menu and switch the App Preview between Dev and Prod.
Next step
Related articles
ఇది సహాయకరంగా ఉందా?
టైప్ చేస్తూనే ఫలితాలు అప్డేట్ అవుతాయి. శోధనకు వెళ్లడానికి స్లాష్ నొక్కండి.
కనుగొనలేకపోయారా?
మా సపోర్ట్ టీమ్ సెటప్, బిల్డ్లు మరియు app store ప్రశ్నలలో సహాయపడగలదు.