
Using Tab Navigation In Your App
Tab navigation is a popular way to get around an app, in this post we’ll show you how to use tab navigation with your AppPresser app. We are also excited to release global tab navigation, a new feature you can use today.
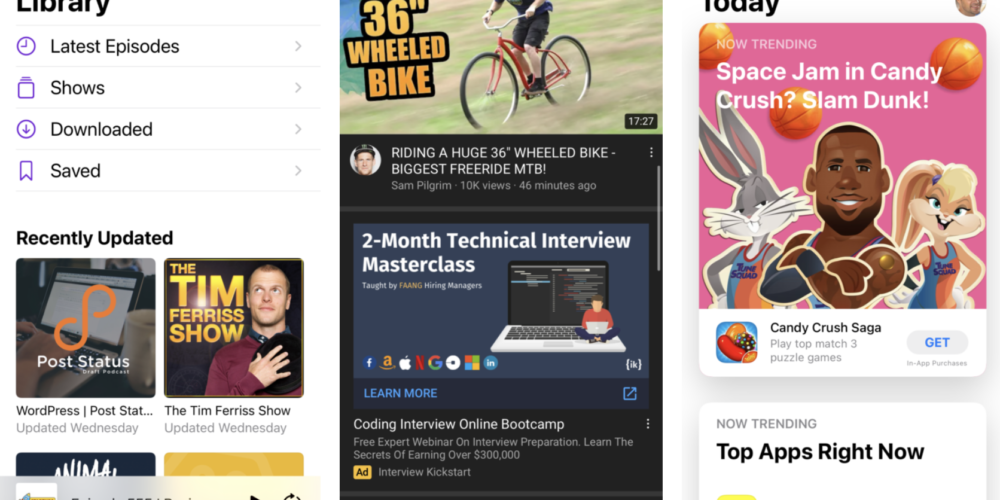
A lot of popular apps use tab navigation, including the Apple Podcast app, YouTube, the App Store, Stripe, Slack, and more. It’s hard to find an app on my phone that does not use tab navigation.
Let’s look at how to add a tab menu to your app, and some tricks for getting around with only a few menu items.
Create a Tab Menu With AppPresser
AppPresser works like a WordPress site, any page in the menu shows up in the app. To use tab navigation, we create a menu, add some pages, and assign it to the Tab position.
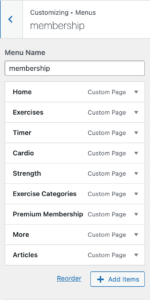
To create a tab menu, visit the Menus tab in the app customizer, click Add New Menu. Add some pages to your menu.
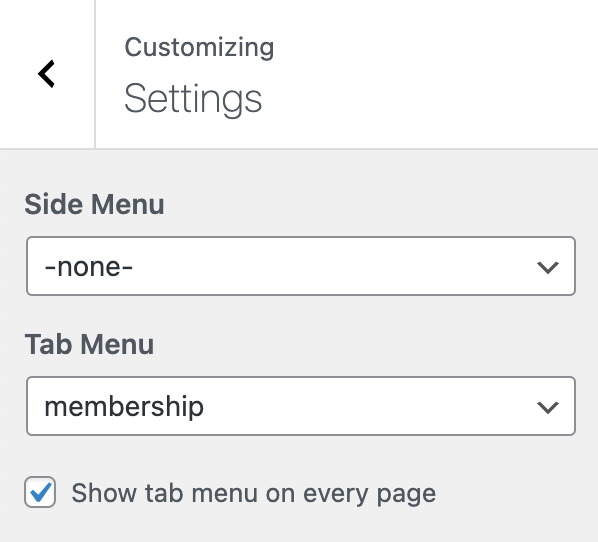
Next you need to set your menu. Visit the Settings tab in the app customizer, choose your tab menu, and save. You’ll also notice another setting, “Show tab menu on every page.” This will make sure you can see the tab menu everywhere you go in the app. If this is unchecked, when you click to a new page, it will cover up the tab menu.
This tab menu will look something like this.
That’s it! One of the issues you might have with this navigation is that you have more than 4 pages in your app. Let’s look at how to create a page in your menu that has more links.
How to Add More Navigation Links Using a More Page
If you have more than 4 pages in your app, you can’t just stuff them into the tab menu. The best way to handle this is to create a page that has your secondary links.
In the example above, the page is called More, and it has as many links as we need to other pages in the app. To create this page, visit the Custom Pages tab in the App Customizer. Create a new custom page, and choose the page builder. See this document for help.
Add a custom content block, then you can link to other pages in the app like this:
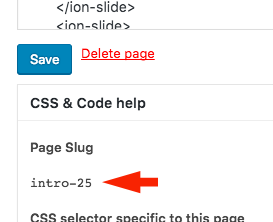
<a href="#" data-apppage="articles">Articles</a>The important part is the data-apppage attribute. You add the page slug and this will link to the page. To find the page slug of your custom pages, open the custom page editor, scroll down, and click the “CSS & Code Help.”
If you want to get fancy, you can use some Ionic tags like we did in our example app.
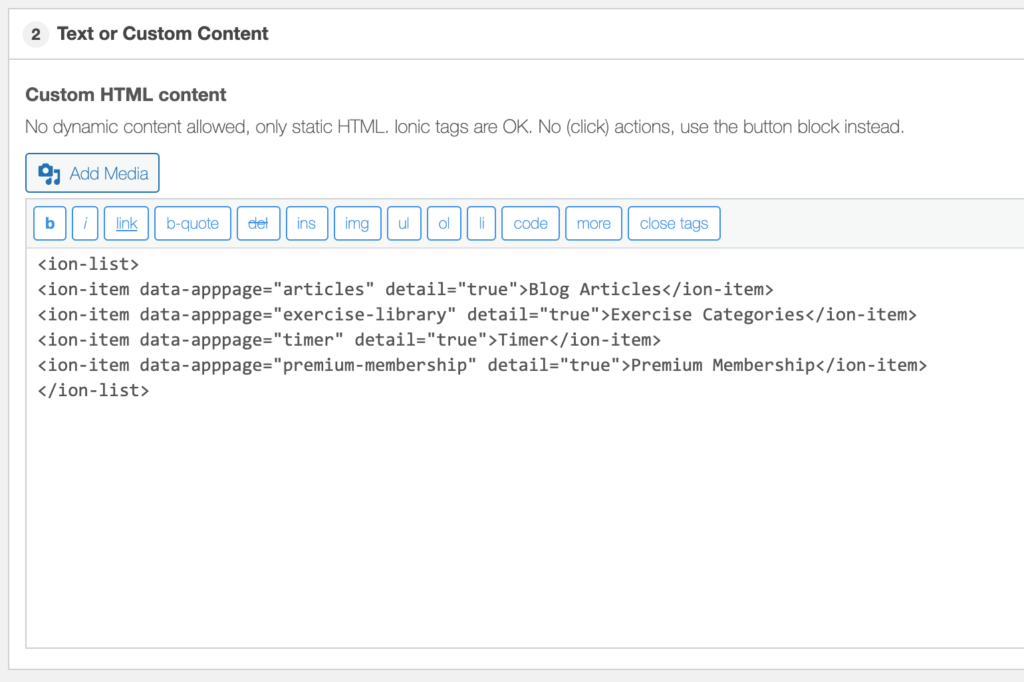
Here’s that code if you want to use it in your app:
<ion-list>
<ion-item data-apppage="articles" detail="true">Blog Articles</ion-item>
<ion-item data-apppage="exercise-library" detail="true">Exercise Categories</ion-item>
<ion-item data-apppage="timer" detail="true">Timer</ion-item>
<ion-item data-apppage="premium-membership" detail="true">Premium Membership</ion-item>
</ion-list>
After you create this page, add it to your tab menu. That allows you to add as many links as you want without adding a drawer, or side menu. With AppPresser, you can use a side menu and a tab menu at the same time, but it’s not a common navigation pattern, so it might be confusing to your app users.