
Getting Pushy with Push Notifications
NOTE: The content in this post relates to AppPresser 2 only. For AppPresser 3, please check out this post
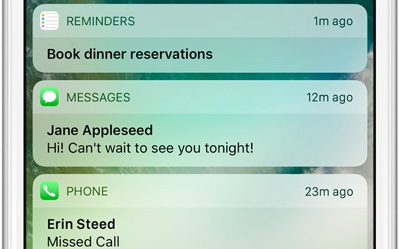
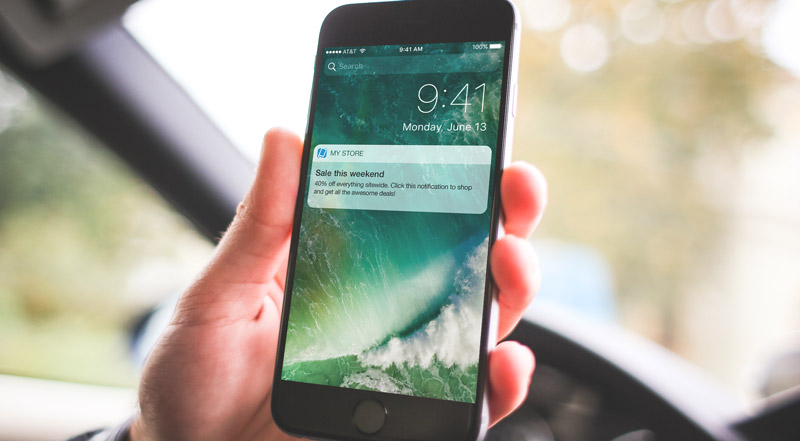
If you’ve built your app and your users have it installed on their phones, you want to make sure to keep them engaged. One way to ensure your app doesn’t get forgotten and to make sure your users are seeing your latest content is with the use of push notifications.
With AppPresser, setting up your app to use push notifications is pretty simple. You start by installing the push notification plugin (AppPush) and setting up a free account at pushwoosh.com. (Note: If you submitted your app prior to doing this, you will need to resubmit your app in order to send push notifications.)
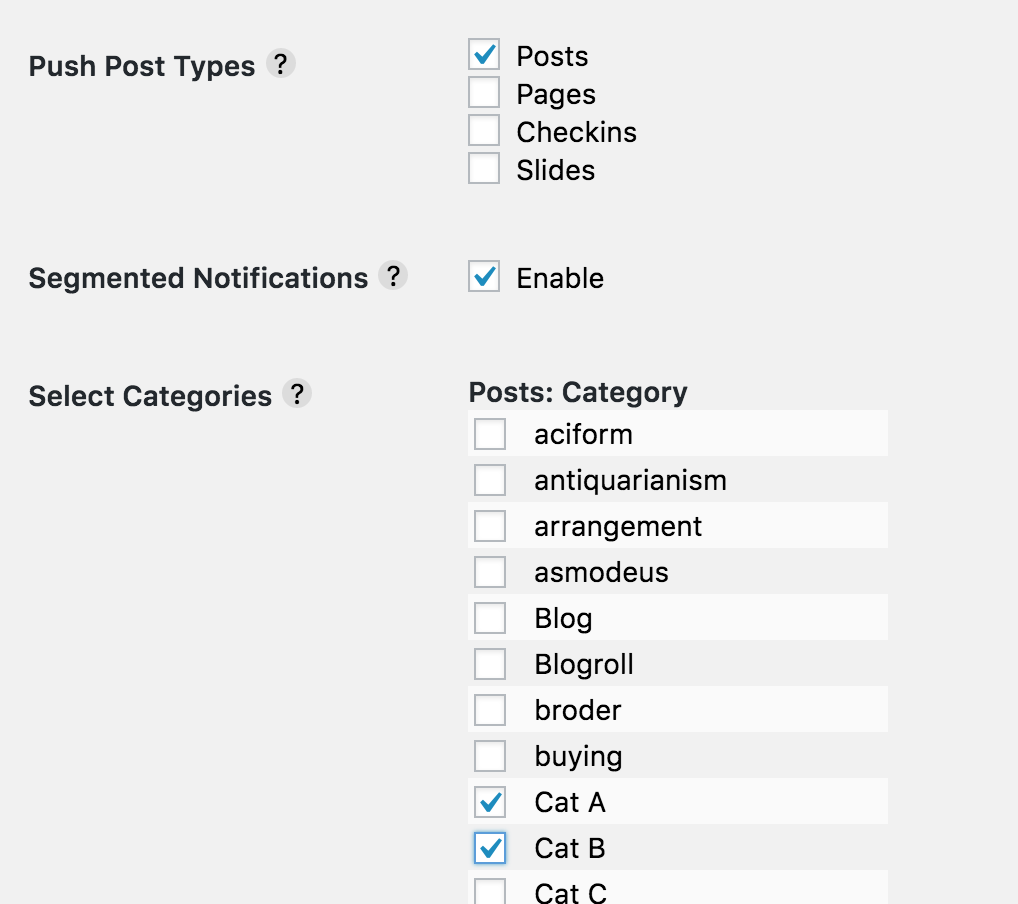
In their simplest form, push notifications can be set to automatically send a notification to users any time new content is created on your site by checking the boxes for the appropriate boxes on the AppPresser -> Settings -> Notifications tab, as shown below.
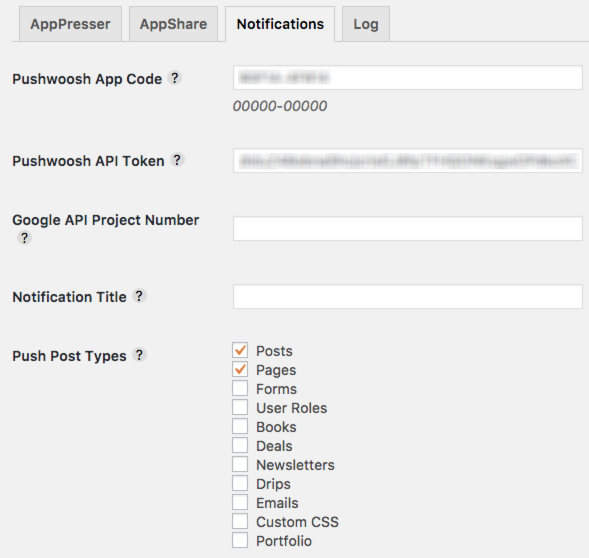
In my example, any time a new page or post is published, all your app users who agreed to receive push notifications will be sent a notification within a few seconds. How cool is that?
Manual Push Notifications
If you post to your blog daily or even multiple times per day, automatic notifications may be too much for your users. Instead, you will probably want to use one of two available methods for sending push notifications manually.
The first option for sending manual push notifications is available right inside your WordPress dashboard by clicking AppPresser -> Notifications.
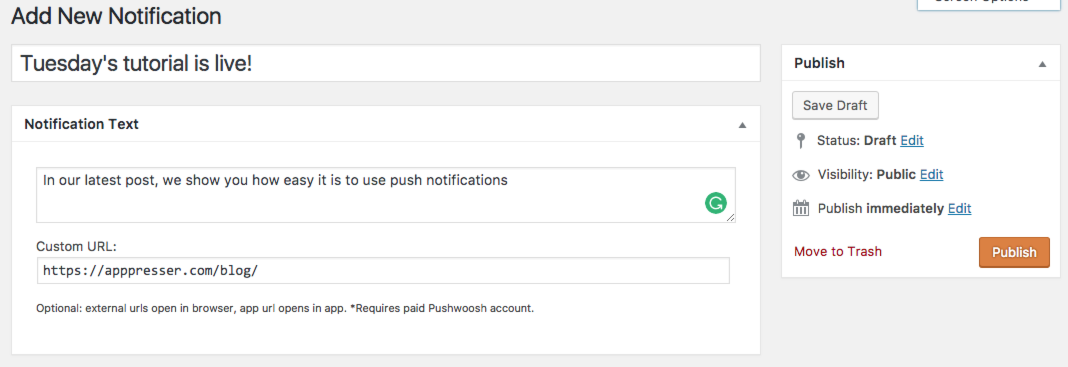
Sending notifications from your dashboard is as easy as publishing a post. You can type your message and click publish to have the notifications sent to all your users immediately, or you can change the publish date and time to schedule the notification to be delivered at a later date.
Keep in mind, if you are using a free account at pushwoosh.com, the custom URL field is ignored. A user who clicks on your push notification will have the app open on their mobile device and they’ll be shown the home page of your app.
While it’s quick and easy to send simple notifications from right inside your WordPress dashboard, for a more advanced set of tools, you’ll want to take a look inside your pushwoosh.com account. I’m going to break down the page into two separate sections to focus on the features of each.
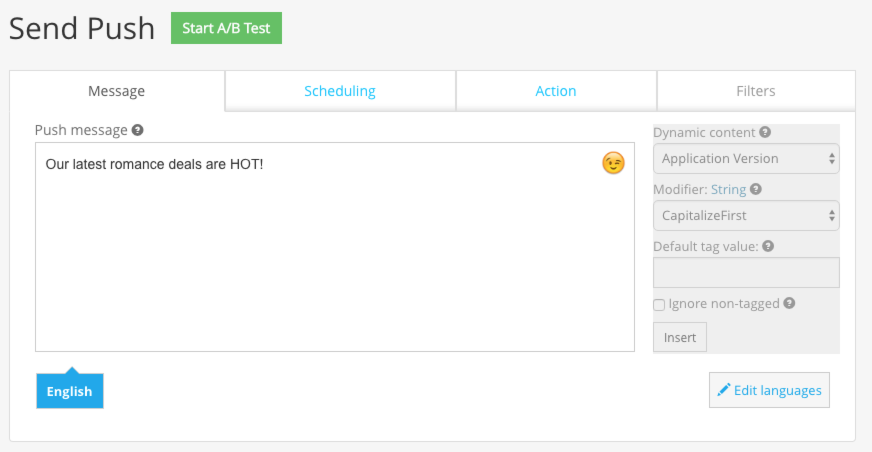
Like the WordPress notification tool, it’s easy to send a quick notification by typing in your message, scrolling to the bottom and hitting send. But, as you can see from the screenshot, there are a number of additional options for us to explore. You may also notice that some of the items in the screenshot are greyed out. Those options are only available with a paid pushwoosh account. For this post, I wanted to show what is available as part of the free account. Let’s dig in.
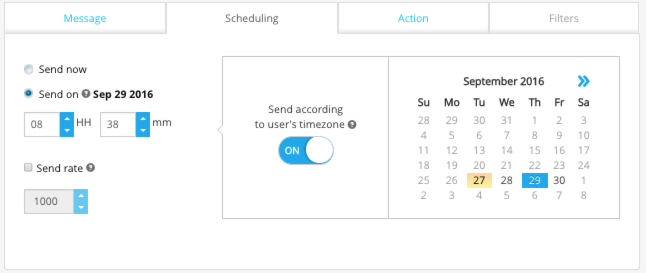
Scheduling
Similar to setting a future post date/time in the WordPress editor, scheduling in Pushwoosh lets you pick when the notification will be sent. But, unlike the WordPress counterpart, you can also choose to have the notifications sent according to the user’s timezone.
Action
Here you can decide what will happen when your user clicks your notification. By default, your app will be opened to the home screen. You can also have it open a URL in a web view, or display rich media inside a media viewer.
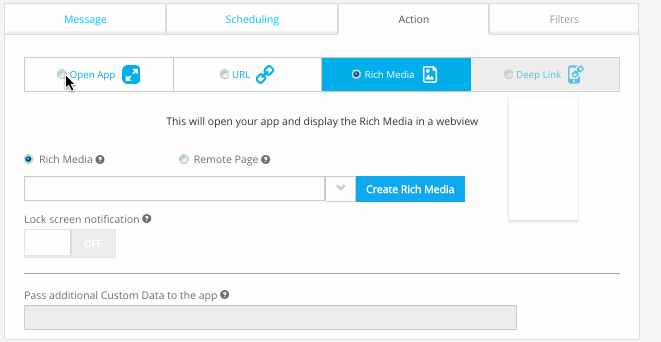
Previously I mentioned that features in grey were only available with a paid account. I wanted to mention that the A/B testing feature, though not grey, also requires a paid account. For marketers, this feature alone is likely worth upgrading to a paid account.
Platform Settings
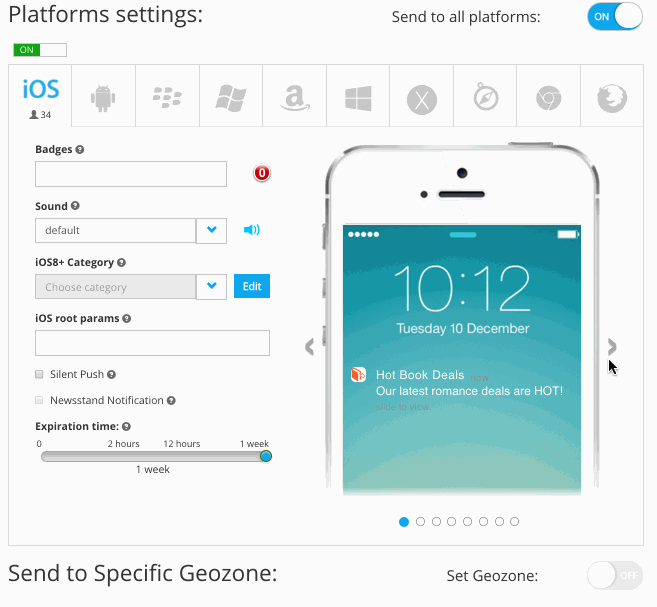
The platform settings section provides an example of how your post will look on each platform that your app has been deployed. If you’ve deployed to multiple platforms, you’ll have the ability to send the notification to all platforms at once or pick which platform receives the notification.
Each platform has its own set of specific settings, so I won’t go through them all here. But, as you can see from the screenshot above, you have the ability to set badges, sounds (if you’ve included one in your build), expiration time and more.
Segmented Push Notifications
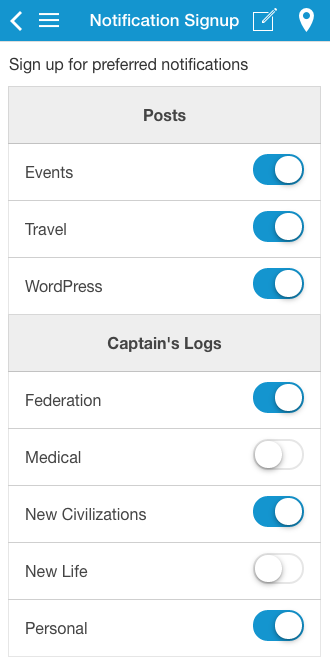
AppPresser recently added the ability to send notifications to segmented groups of users. This is done by first selecting which taxonomies you want your users to be able to select from.
Then, create a page in your app using the shortcode [appp-notification-signup show_headers=”yes”] where users can choose the notification options they want to receive.
And finally, when you’re sending your notification via the WordPress dashboard, select all of the categories who should receive this notification. You can also choose to send the notification to all users.
While you may have thought push notifications were simply a tool for pinging your users, as you can see by the tools available to you in AppPresser and PushWoosh, they are an extremely powerful tool you can use to keep your users returning to your content!
Happy pushing!