
AppPresser 3 Feature Spotlight: Push Notifications API
AppPresser 3 includes free push notifications with your account, along with a new API that makes notifications more flexible than ever.
You can send notifications that open up specific pages in the app, or even send people to an external url. Send to individual devices for logged in users, for example when a BuddyPress user sends a private message.
Notifications can be sent from anywhere using our API, including from your WordPress site, the command line, or any application. Using our AppPush plugin on your WordPress site, you can send pushes manually, or when a new post is published. You can even use custom code to integrate pushes with any plugin or custom website feature.
Let’s look at how AppPresser 3 push notifications work.
Setting Things Up
AppPresser now provides push notifications with no 3rd party setup. You just need to configure the apps to receive the notifications:
- iOS requires a push notification certificate and provisioning profile.
- Android requires a (free) Firebase messaging API key and sender ID.
- Build the app with push notifications enabled.
Setting up your iOS certificates is fairly involved, but we have a step-by-step guide in our documentation here.
Android is much easier to setup, you can find that process here.
Once you have the certificates and keys you need, login to myapppresser.com and select your app. Go to the Push Notifications tab, and click the “Notification Profiles” button.
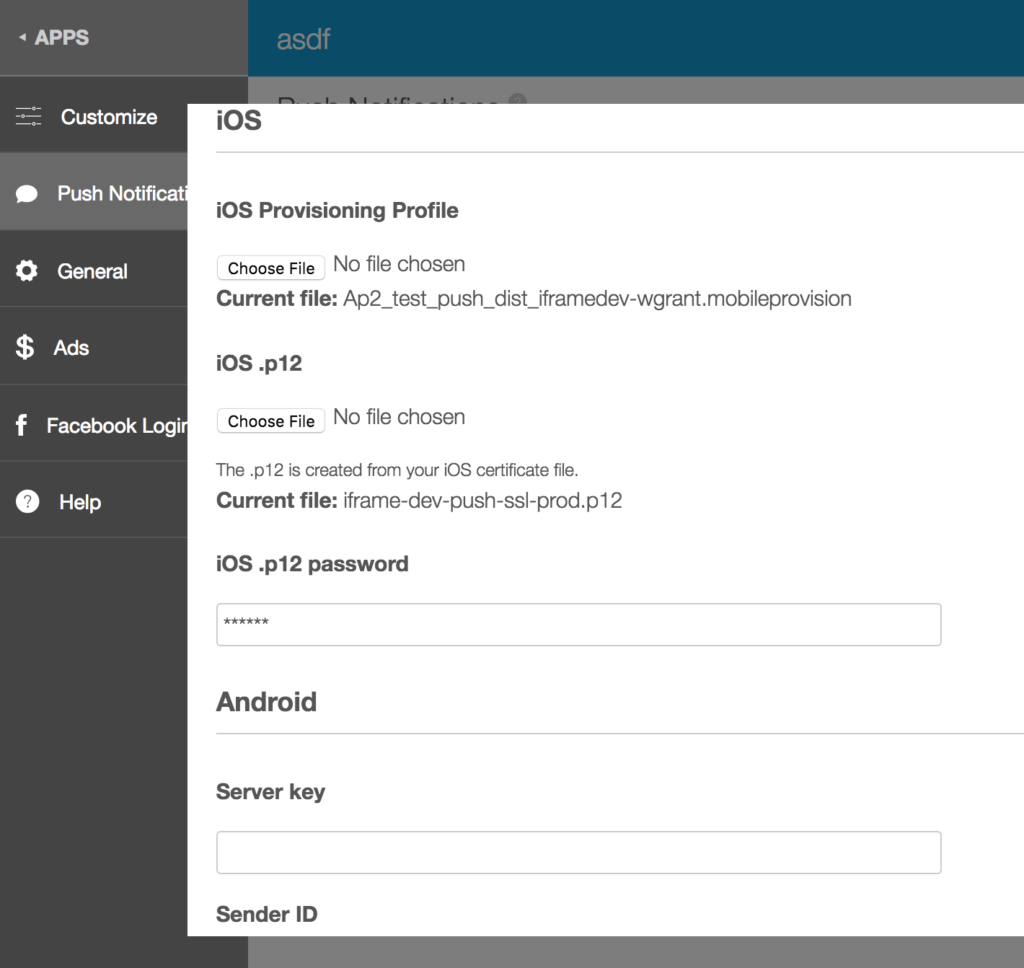
Fill out the necessary fields and save. This will set things up on our server to configure your notifications.
Next, you need to build your app with push notifications enabled. To do that, go to the Customize tab and click on the Customize and Build button to get to the app customizer.
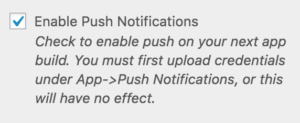
Under Settings, choose “Enable Push Notifications” and save.
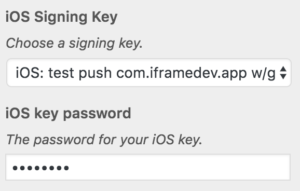
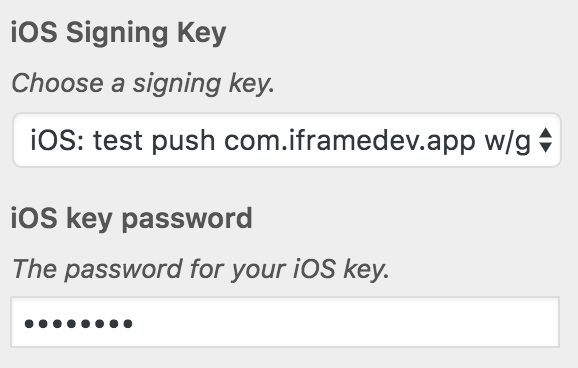
Next, visit the Build tab. If you are only testing Android, you can build your app with PhoneGap Build and test notifications right away. For iOS, make sure you have uploaded the necessary signing keys for push notifications, and choose those keys under iOS keys.
Next, build your app and download to your device, and you’re ready to test.
Go back to the push notifications tab where you uploaded your profiles, and click Send Push. Fill out the title, message, and optionally which page to open, and send. If everything is setup correctly, you should receive a notification on your device. Sweet!
Sending from WordPress
You can send a notification from your WordPress site, integrate BuddyPress, and much more with our AppPush plugin. Make sure you’ve uploaded and activated AppPush, then configure the settings.
You can now send notifications under AppPresser=> Notifications, automatically when a post is published, and much more. You can even program your own custom notifications.
API
You can send push notifications through our Notifications API from anywhere.
To do so, just send a post request (from any language) to:
https://myapppresser.com/[site-slug]/wp-json/ap3/v1/send
You must include the following in your request:
- id: App ID
- message: Notification message
- key: Notifications key
- title: (optional) title of the notification
- page: (optional) page data to send user to a specific page when they open the app.
- device_arns: (optional) array of device identifiers to send to specific devices If omitted, the push will go to all subscribed devices.
You can find your notifications key on your myapppresser.com dashboard by clicking on your app and then “Push Notifications” in the left sidebar. You site slug and app id are under the “General” tab.
Examples
jQuery
var siteslug = "scottsapp";
var api = "https://myapppresser.com/" + siteslug + "/wp-json/ap3/v1/send";
var mykey = "9087hjsdkfjnwoije-";
var mytitle = "My title";
var mymessage = "Hey there!";
var appid = "5";

jQuery.ajax({
  method: "POST",
  url: api,
  data: { id: appid, message: mymessage, key: mykey, title: mytitle }
})
.done(function( msg ) {
  console.log( msg );
});
If you want to send pushes to specific devices we recommend doing this through WordPress, since device_arns are saved in user meta. If you’d like to look these up, you can get them with the user meta key: ‘ap3_endpoint_arns’.
For example:
<?php get_user_meta( 32, 'ap3_endpoint_arns', 1 ); ?>
PHP
Here is an example of sending a push with custom PHP.
To open a specific page in the app, you must send a serialized array of page data that looks like this:
<?php
$page = array(
    'title' => "My Page",
    'page_type' => "list", // or "default"
    'slug'    => "my-page", // only for custom HTML pages
    'type'    => "apppages", // or null
    'url' => "http://mysite.com/page", // only for WordPress pages
    'list_route' => "http://mysite.com/wp-json/wp/v2/posts", // only for list pages
    'favorites' => "true", // or "false"
    'target' => "_blank" // only for external web links
);

$page = serialize($page);
// you would then send $page as 'page' in your request
For a full example, look in the AppPush plugin, file /inc/AppPresser_Notifications_Update.php, notification_send() function.
It’s recommended that you send the notification through our WordPress plugin, or through the myapppresser.com dashboard if you have trouble formatting this data.