
Advanced Webinar, Code Snippets, and more
Yesterday we had a webinar about advanced features and coding in AppPresser 3, and we covered lots of great customization tips.
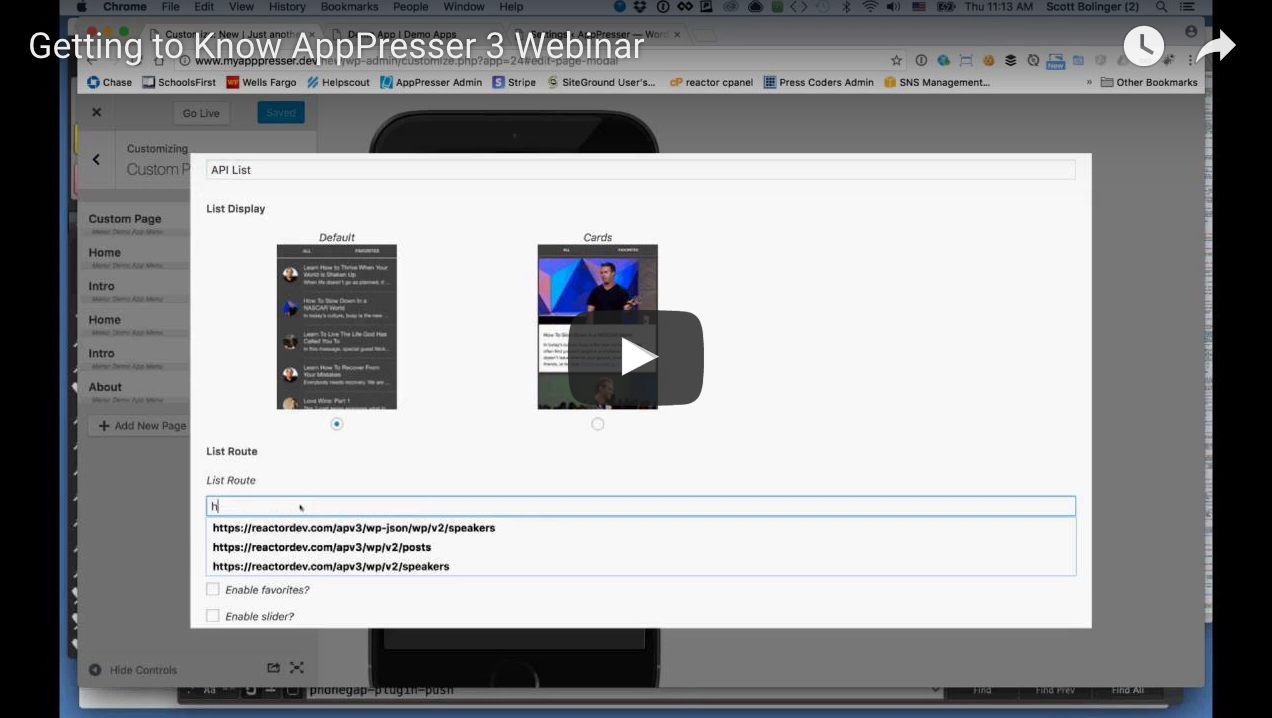
The webinar recording is below, along with some code snippets and further explanation of what was discussed in the webinar.
Adding Comments with Template Hooks
One of the things we covered in the webinar was using template hooks to add custom data to your API lists. We already covered the basics of template hooks in another post, but here’s a code snippet to add comments to your API list post detail view.
| <?php | |
| /* | |
| * This code goes in a WordPress plugin or child theme functions.php file | |
| * Customize the HTML tags on line 43 if you want, then add custom CSS in the app customizer, for example: | |
| .comment { | |
| clear:both; | |
| overflow:hidden; | |
| width: 100%; | |
| border-top: 1px solid #eee; | |
| margin-bottom: 10px; | |
| } | |
| .comment h4 { | |
| font-size: 1.4rem; | |
| } | |
| */ | |
| add_action( 'rest_api_init', 'appp_register_my_template_hook' ); | |
| function appp_register_my_template_hook() { | |
| register_rest_field( 'post', // any post type registered with API | |
| 'appp', | |
| array( | |
| 'get_callback' => 'appp_comments', | |
| 'update_callback' => null, | |
| 'schema' => null, | |
| ) | |
| ); | |
| } | |
| function appp_comments( $object, $field_name, $request ) { | |
| $data = []; | |
| $comments = get_comments( array( 'post_id' => $object['id'] ) ); | |
| foreach($comments as $comment) : | |
| $data['post_detail']['below_content'] .= '<div class="comment"><h4>' . $comment->comment_author . '</h4><p>' . $comment->comment_content . '</p></div>'; | |
| endforeach; | |
| return $data; | |
| } |
 by
by This code loops through the comments and displays them in a div with a class of “comment.” You can then add custom CSS in the app customizer to style the comments.
I think you’ll see that you can put almost any WordPress data you want in your API lists just by customizing the data in the callback function (appp_comments() in this case).
In our previous post we showed how to use post meta to add an event date to our list view, using the same process. You can see how these API lists can be fully customized using the power of template hooks.
Cool Stuff with Custom HTML Pages
We’ve also covered custom HTML pages before, but here’s some fun new stuff including a FAB element with social links.
| <!-- A bunch of random sample code you can use in custom HTML pages --> | |
| <!-- Just a normal card --> | |
| <ion-card> | |
| <ion-card-header> | |
| Card Header | |
| </ion-card-header> | |
| <ion-card-content> | |
| <p>My Custom demo page</p> | |
| </ion-card-content> | |
| </ion-card> | |
| <!-- A list with a static item, then displaying your menu items underneath --> | |
| <ion-list> | |
| <ion-item> | |
| <ion-avatar item-left> | |
| <img src="img/icon-user-default.png"> | |
| </ion-avatar> | |
| <h2>Frank</h2> | |
| <p>Is great.</p> | |
| </ion-item> | |
| <ion-item (click)="updateData()"> | |
| <ion-icon name="refresh" item-left></ion-icon> | |
| Update Data | |
| </ion-item> | |
| <button ion-item *ngFor="let p of pages.menus.items" (click)="pushPage(p)" [ngClass]="p.extra_classes"> | |
| <ion-icon *ngIf="p.class" name="{{p.class}}" item-left></ion-icon> | |
| {{p.title}} | |
| </button> | |
| </ion-list> | |
| <!-- A fab sharing button with different types of links. The first opens the in app browser, second is social sharing, third opens an app page --> | |
| <ion-fab right bottom> | |
| <button ion-fab><ion-icon name="arrow-dropleft"></ion-icon></button> | |
| <ion-fab-list side="left"> | |
| <button ion-fab onclick="window.open('https://apppresser.com', '_blank')"><ion-icon name="globe"></ion-icon></button> | |
| <button ion-fab onclick="window.plugins.socialsharing.share('This!')"><ion-icon name="logo-twitter"></ion-icon></button> | |
| <button ion-fab (click)="pushPage(pages.menus.items[0])"><ion-icon name="home"></ion-icon></button> | |
| </ion-fab-list> | |
| </ion-fab> |
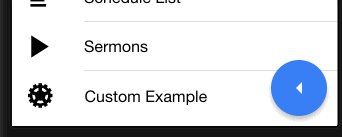
That code would go into one of your custom HTML pages, obviously you can only use the parts of it you want. The FAB button at the bottom is really cool, check it out in action.
In the code, we’ve added a social sharing link, a link to our website, and a link to another page in the app. You can customize this as much as you want, check out the Ionic docs.
You’ll also notice a “Refresh App” item in our list. This will go fetch new data for your app, and works great on a settings page so your users can always stay up to date. (Note: this button only gets API data such as colors and menus, not new custom HTML pages or offline files.)
Debugging Your App
We touched on debugging your app in the browser console, which is really helpful. Check out this article to learn more.