
Test in-app purchases on iOS and Android (step by step)
ప్రచురించి వృద్ధి చేయండి · AppPresser Docs
Test in-app purchases on iOS and Android (step by step)
ఈ వ్యాసం ఇంకా అనువాదం చేయబడలేదు, కాబట్టి ఇది ఇంగ్లీష్లో చూపించబడుతోంది.
Your app journey: step 7 of 9, Publish to the stores. New here? Read Start here: build your app with AppPresser first.
What you'll do: Test the in-app purchases in your AppPresser app for free, on an iPhone with TestFlight and on an Android phone with Google Play, before real customers pay.
Buying works only in the app on a real phone, not in the App Preview. So you put a test version of your app on your phone, buy your product with test money, and check that everything works.
Before you start
- Make sure you are on the Advanced plan. In-app purchases need this plan.
- Turn on the In-App Purchases feature. See Turn on app features (Features).
- Add the In App Purchase Form block to a page and put that page in your app menu. See Sell in-app purchases (In App Purchase Form block).
- Set up your product in Apple's App Store Connect and, if you sell on Android too, in the Google Play Console. The product ID in the block must match the store exactly.
- After you change features or blocks, make a new build so the change reaches your phone. See Build your iOS and Android apps (Builds tab).
Which way to test
ఈ టేబుల్ మిగిలిన భాగాన్ని చూడడానికి పక్కకు స్వైప్ చేయండి.
| Phone | How you test | Do you pay? | How fast subscriptions renew |
|---|---|---|---|
| iPhone | Install your app from TestFlight and buy as normal | No. Purchases in TestFlight are free. | Once a day, up to 6 times, then it stops |
| iPhone (optional) | TestFlight with a Sandbox Apple Account, for faster subscription tests | No | You can choose a faster speed in the sandbox settings |
| Android | Install your app from Google Play internal testing, signed in as a license tester | No, but only if the tester is on your license tester list | A monthly subscription renews about every 5 minutes, up to 6 times |
Test on iPhone with TestFlight
TestFlight is Apple's free app for trying your app on a real iPhone before it is in the App Store. Apps from TestFlight always use Apple's test system, so nobody is charged.
Step 1: Check your Apple setup
- Sign in to App Store Connect (కొత్త ట్యాబ్లో తెరుస్తుంది).
- Open Business and check that the Paid Apps agreement says Active. In-app purchases don't work without it. Only the Account Holder can accept it.
- Open Apps, then your app, and find your in-app purchase or subscription. Check that it has a reference name, a product ID, a display name and a price.
- Check that the product ID is exactly the same as the one in your In App Purchase Form block.
Step 2: Put your app on your iPhone
- Make an App Store Build and send it to TestFlight.
- Add yourself as a tester and install the app with the TestFlight app.
Both steps are explained in Publish your iOS app to TestFlight (step by step).
Step 3: Make a test purchase
- Open your app from TestFlight.
- Go to the page with your purchase form.
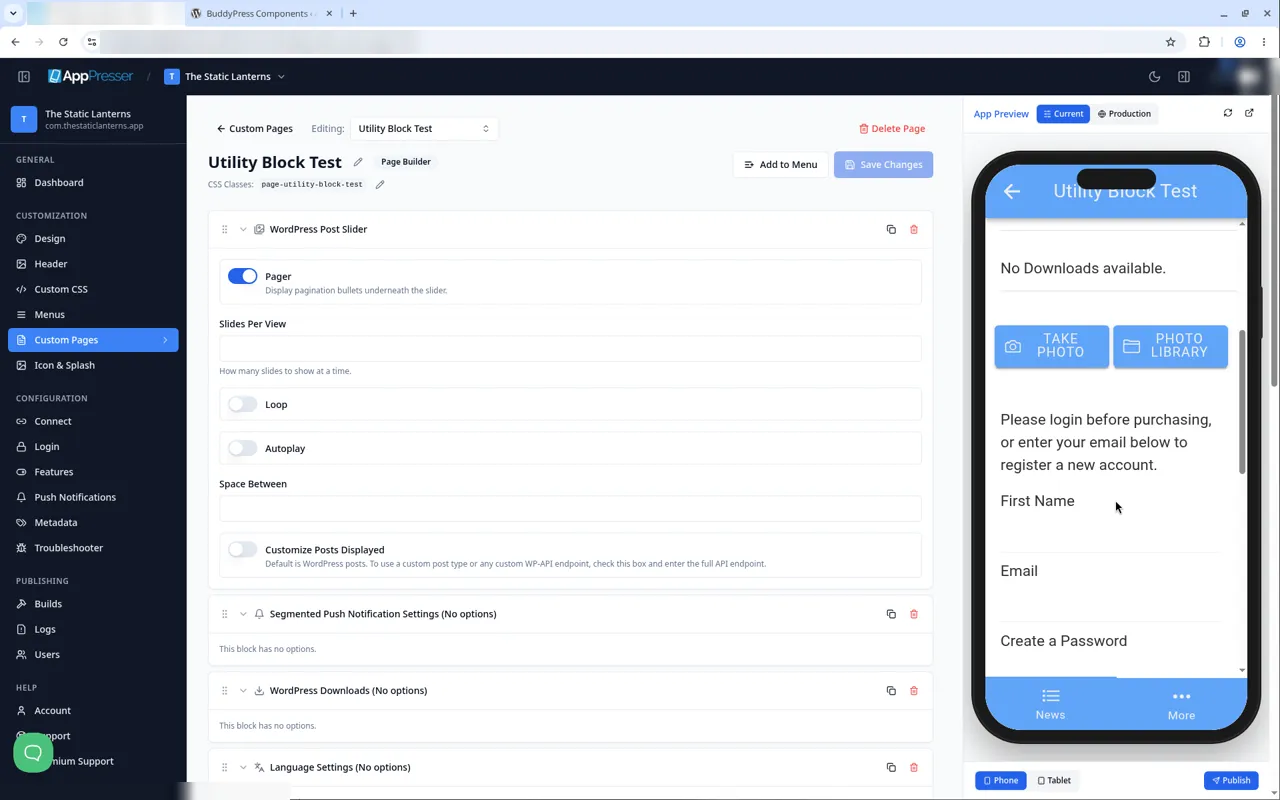
- Log in. If you don't have an account yet, fill in First Name, Email and Create a Password.
- Tap PURCHASE.
- Apple's purchase window opens. Confirm the purchase. You are not charged.
- Check that you get what you sell, for example your members-only content.
Step 4: Test Restore purchases
Restore purchases lets people who already paid get their purchase back, for example on a new phone.
- Delete the app from your iPhone.
- Install it again from TestFlight.
- Go to the page with your purchase form and tap Restore purchases.
- Check that you get your purchase back without paying again.
Good to know: Purchases made in TestFlight are only for testing. They don't carry over to the App Store version of your app.
Optional: Test subscriptions faster with a Sandbox Apple Account
In TestFlight, a subscription renews once a day. To see renewals faster, use a Sandbox Apple Account. This is a test-only Apple account you make in App Store Connect. It can't buy anything real.
Make a Sandbox Apple Account
- In App Store Connect (కొత్త ట్యాబ్లో తెరుస్తుంది), click Users and Access.
- Click Sandbox, then click the plus (+). The first time, you may see Create Test Accounts instead.
- Type a first and last name.
- Type an email address that has never been used for an Apple Account. Using an existing Apple Account causes errors.
- Type a strong password and keep it in your password manager.
- Choose an App Store country or region, then click Create.
You can't change the name, email or password later. If you make a mistake, delete the tester and make a new one.
Use it on your iPhone
- Install your app from TestFlight first, while signed in with your normal Apple Account.
- Open Settings, tap your name, then tap Media & Purchases and tap Sign Out.
- Go back to Settings and tap Developer.
- Under Sandbox Apple Account, sign in with your sandbox email and password.
- Open your app and make a test purchase as in Step 3.
- When you're done, sign back in to Media & Purchases with your normal Apple Account.
The Developer menu shows only when Developer Mode is on. If you don't see it, skip this part. Testing with TestFlight alone is enough to check that your purchase works.
Test on Android with Google Play
On Android, you test with a version of your app on Google Play's internal testing track. A license tester is a Google account that Google Play lets buy with test payments, so it isn't charged.
Careful: Testers who are not on your license tester list pay real money, even in a test version of your app.
Step 1: Put your app on internal testing
- Make a Play Store Build and put it on the Internal testing track in the Google Play Console.
- Add your testers to the internal testing list and send them the join link.
Both steps are explained in Publish your Android app to Google Play (step by step).
Step 2: Check your product
- In the Google Play Console (కొత్త ట్యాబ్లో తెరుస్తుంది), open your app and find your in-app product or subscription.
- Check that it is active (published). Google can't test a product that isn't.
- Check that the product ID is the same as the one in your block. If your Android product ID is different from your Apple one, it goes in Android Product ID in the block.
Step 3: Add license testers
- In the Google Play Console, go to the License testing page. Google lists it under Manage account > Play apps settings > Monetization settings > License testing.
- Choose Email lists, then pick your list or click Create list.
- Add the Google account email of each person who will test purchases.
- Click Save changes.
The Google account that owns your Play Console is always a license tester.
Step 4: Make a test purchase
- On your Android phone, sign in with a license tester Google account.
- Install your app from Google Play using the internal testing link. A new release can take a few hours to show up.
- Go to the page with your purchase form and log in or sign up.
- Tap PURCHASE.
- Google Play's purchase window opens with a note in the middle saying this is a test purchase. If you don't see that note, stop: the purchase is real.
- Choose the test payment method Test card, always approves and confirm.
- Check that you get what you sell.
- To test Restore purchases, delete the app, install it again from the same link and tap Restore purchases.
Test subscriptions renew fast and end by themselves after 6 renewals.
If something goes wrong
ఈ టేబుల్ మిగిలిన భాగాన్ని చూడడానికి పక్కకు స్వైప్ చేయండి.
| What you see | What to do |
|---|---|
| Nothing happens when you tap PURCHASE in the App Preview | Purchases work only in the app on a real phone. Install a build from TestFlight or Google Play. |
| In-App Purchases shows an Upgrade label | In-app purchases need the Advanced plan. Compare plans at apppresser.com/pricing. |
| Your changes don't show on your phone | Make a new build after you change features or blocks, then install the new version. |
| The purchase window doesn't open, or shows no product (iPhone) | Check that the Paid Apps agreement is Active and that the product ID in the block matches App Store Connect exactly. |
| The purchase window doesn't open, or shows no product (Android) | Check that the product is active in the Google Play Console and that the Android product ID in the block matches. |
| A sandbox sign-in fails | Use a sandbox email that has never been an Apple Account. If needed, make a new Sandbox Apple Account. |
| An Android tester was charged | Add their Google account email on the License testing page before they test again. |
| Your build is not in TestFlight | See Publish your iOS app to TestFlight (step by step). |
| You want to see error messages | In the left menu, under Publishing, click Logs, then open App Logs. See Check your app logs (Logs). |
You're done when a test purchase goes through on each phone you sell on, you get what you bought, and Restore purchases brings it back after you reinstall.
Next step
Related articles
ఇది సహాయకరంగా ఉందా?
మీరు టైప్ చేస్తున్నప్పుడు ఫలితాలు అప్డేట్ అవుతాయి. శోధనకు వెళ్లడానికి స్లాష్ నొక్కండి.
కనుగొనలేకపోయారా?
మా సపోర్ట్ టీమ్ సెటప్, బిల్డ్లు మరియు app store ప్రశ్నలలో సహాయపడగలదు.