Interested in customizing the look of your AppPresser app? You’re in the right place.
Changing Colors
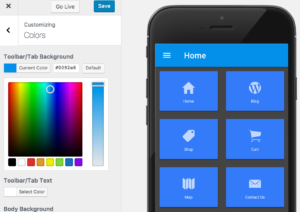
In AppPresser 3 we introduced a brand new interface for building your app called MyAppPresser. One of the many great features of MyAppPresser is the live preview window that shows your updates as you make them. This makes changing your colors an instantly gratifying experience using the WordPress style customizer to select the colors for your app.
Adding Custom CSS
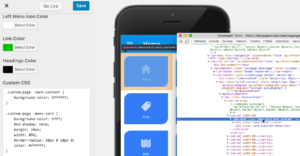
We have more information about custom color pickers in our documentation.
You can check out a few example code snippets here.
Adding a Custom Logo
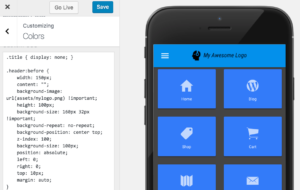
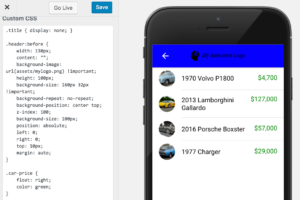
For the logo itself, you tweak the CSS to reference the logo graphic from a live website by simply putting in the full URL to the graphic. But, a better way would be to include the logo in an assets file that gets built into your app and would then be available to all users, even if they weren’t online at the time. To do this, you’ll need to upload a zip file to the Offline Assets found on the MyAppPresser settings page.
For additional information about working with offline assets, please check out our documentation.
Using a Child Theme
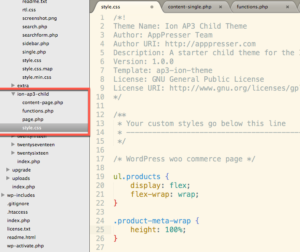
For starters, take a minute to read the child theme information in our documentation. There, you will be able to download a copy of AppPresser child theme to get you started.
During the webinar, we talked about copying specific files into the child theme folder in order to make changes and override the default display that lives in the parent theme. In my example, I copied the content-page.php template from the original theme and added it to our child theme. I then copied a chunk of code from the content-single.php file and added it to the content-page.php file in our child theme folder in order to add the ability to display a featured image for static pages, just like the single blog post pages do. You’re welcome to download my example child theme here.
Custom Metadata With Template Hooks
To learn more about template hooks and metadata, check out our documentation. But to see an example of how to set it up, you may want to watch our previous webinar where Scott gives a great demonstration on how it works.
Just getting started
These examples are only the tip of the iceberg. When building an app with AppPresser, you’re only limited by your imagination. Have fun and try new things!
Be on the lookout for future webinars where we’ll dive deeper into other aspects of AppPresser and mobile web development.

