
AppPresser 3 offers full translation and RTL (right to left) support.
You can translate all of the text in your app, as well as posts and pages in WordPress using the WPML plugin.

tl;dr – Download sample translation files, edit and upload to your offline assets. Full explanation below.
How it works
Your app has text such as menu items and page titles, and it also has pages and posts from your WordPress site. Translating your WordPress content requires a separate plugin, but first let’s look at translating your menu items, and other text that appears in your app.
Translation requires 3 steps:
- Create your translation files and upload them to your app.
- Create a language settings page so users can change languages.
- Rebuild your app and test.
Creating your translation files
Translations are JSON files with your translation strings in them. In layman’s terms, it’s a text file where you add each word that needs to be translated.
They look like this:
{
	"Language Name": "Deutsch",
	"Logout": "Ausloggen",
	"Back": "Zurück"
}
The only required field is “Language Name”, the rest is optional. If you have a menu item called “Events” that you want translated, you would add that to the file like this:
{
	"Language Name": "Deutsch",
	"Logout": "Ausloggen",
	"Back": "Zurück",
	"Events": "Veranstaltungen"
}
Tips: Don’t forget the commas and double quotes. Do not use Microsoft Word or google docs to edit these files, use a text editor. Invalid JSON will cause errors.
Continue adding strings for all menu items, page titles, and anything you want translated (that is not from WordPress).
Create a new language file for each language you need in your app. The filenames are [language code].json, so the file above would be de.json. An english file would be en.json, and so on.
You can download sample translation files here.
Uploading the files to your app
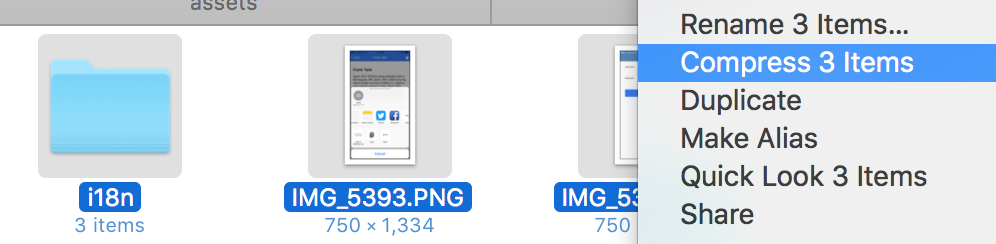
When you are done with your translation files, put them in a folder named i18n. If you downloaded the sample files, they are already in this folder.
Zip the i18n folder with your translation files inside. This will be used as your offline assets folder, so if you have other assets such as images, include them in your zip package.

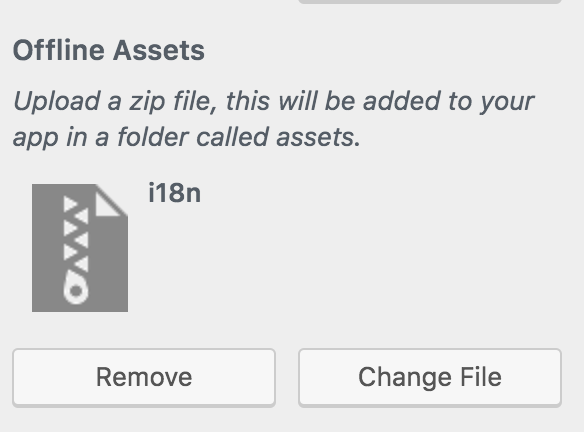
Next, visit your app customizer, and go to the Settings tab. Scroll down to offline assets (not available in Starter plans). Upload your zip file and save.

We will rebuild your app in a moment, but first let’s add a language settings page.
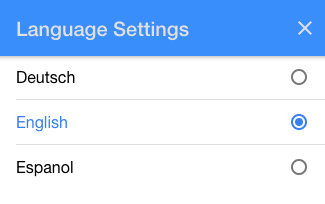
Adding a settings page
The next step is to create a settings page that allows your app users to change the language.
To do that, visit your app customizer and create a new custom HTML page.
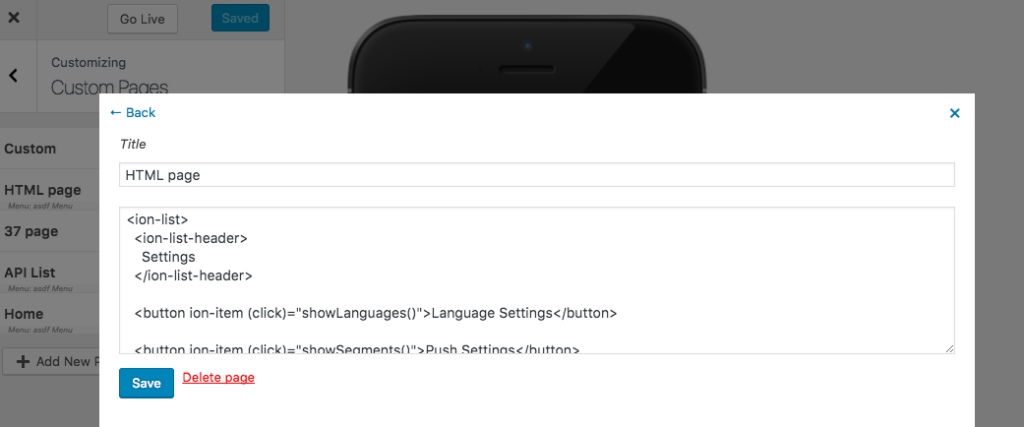

Add this code to your page:
<ion-list>
  <ion-list-header>
    Settings
  </ion-list-header>

  <button ion-item (click)="showLanguages()">Language Settings</button>

  <!--ion-item (click)="updateData()">
    <ion-icon name="refresh" item-left></ion-icon>
        Update Data
    </ion-item-->

</ion-list>
You can create a custom layout if you like, the only thing required is a button with the showLanguages() click function.
You’ll notice an “Update Data” button, this has nothing to do with translations. You can uncomment it, and when pressed it fetches new API data to update colors and menus. It’s handy for testing.
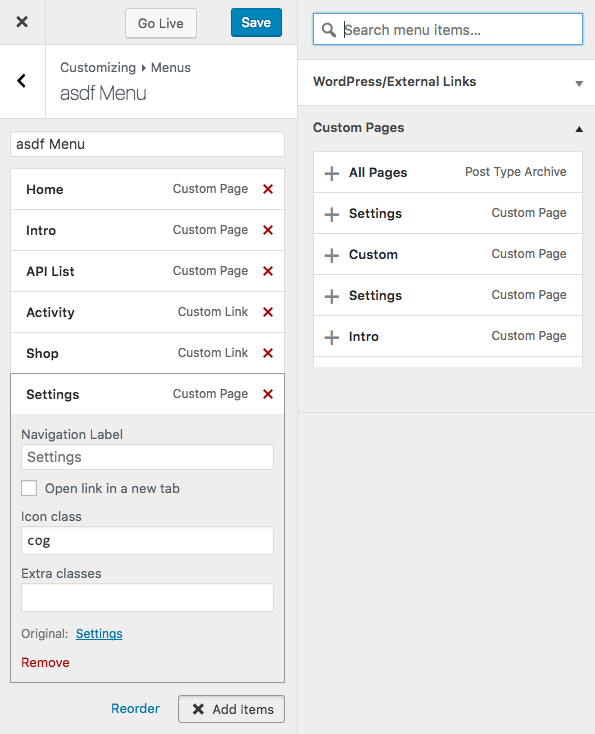
Save the page, then add it to your app menu.
Rebuild your app, and test out the language settings in the browser app preview. Pretty sweet!
Note: this feature does not work in the AppPresser 3 Preview app as of this writing.
Translating WordPress with WPML
Above we translated any text in the app, such as menu items. If you are showing WordPress pages, or using WP-API lists, you need the WPML plugin to translate the text.
This plugin is very popular for translating WordPress, and costs as little as $29.
Once you configure WPML and add your translations, your app will automatically load translated WordPress pages and posts based on your language settings page. API list pages are also translated. No special setup is required, but you should make sure you have done the following:
WPML Settings
In our testing, we found the following settings are required:
- Language url format has to be “Language name added as a parameter (http://mysite.com?lang=de – German)”
- Add these to “Preserve URL arguments” – appp,list_type,num You must also add any custom parameters you are using for WordPress list pages, such as category, author, etc.
- Disable browser language redirect (checked)
WordPress App List Page
If you are using the App List page, go to your WordPress admin and edit the App List page. On the right side of the screen, select these check boxes and click “duplicate”:
![]()

All WordPress content needs to be manually translated with the WPML plugin, and certain things like custom post types and custom fields require extra setup. Please consult WPML for help, we do not provide technical support for translating your WordPress site.
RTL
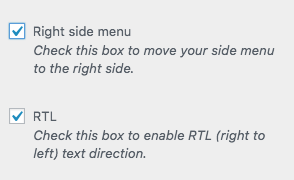

Right to left support is quite easy, visit your app customizer and click the Settings tab.
Check the RTL box, and optionally the right side menu as well. Save and refresh your app.
You won’t be able to test translations in our preview app, but you can see them work in the browser preview or your own test app.