
This article is for an older version of AppPresser, please see our documentation for an up to date article on creating a page like this.
Many mobile apps have custom home screens.
Let’s look at a popular icon based home screen layout, and how you can create one for your AppPresser app.
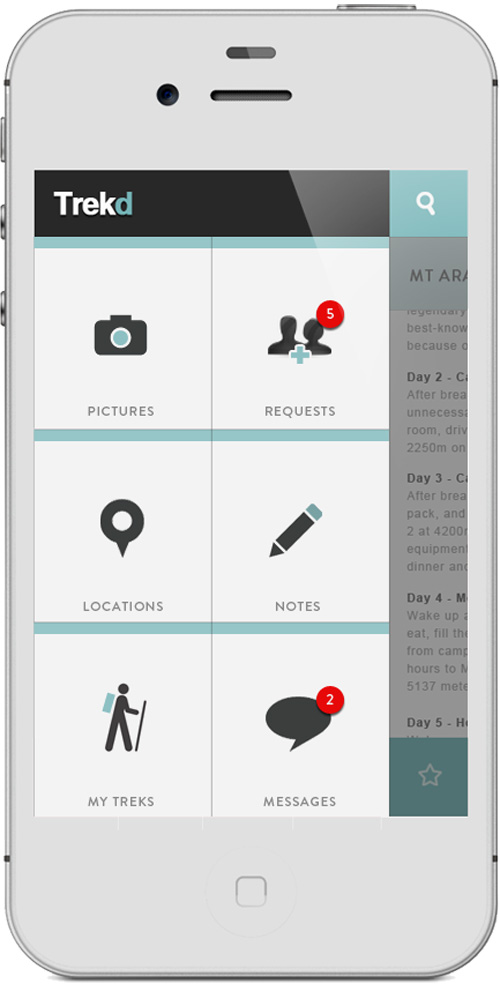
Many people like the icon navigation layout on their home screen, like this design I found on Pinterest.
I like the style of these icons, they are clean and simple. This is a very common layout, and it’s easy to achieve with AppPresser.
In this tutorial, I’ll show you how to make a similar homepage for your own app.
Use a Child Theme
First, you are going to need somewhere to put the custom code for this homepage. If you are using the AppTheme (or any other theme), you will want to create a child theme.
A child theme ensures that our customizations do not get overwritten when the theme is updated. You can download a blank starter child theme for AppTheme here, or download the child theme with finished code below.
(The AppTheme must be installed to use this child theme)
To use this theme with AppPresser, you’ll need to install the child theme, and select it as your app theme in the AppPresser settings. We’ll put all of our customizations in the style.css file of the child theme.
Create the Custom Homepage
Create a new page on the site you are using for your app. Add the code below to that page.
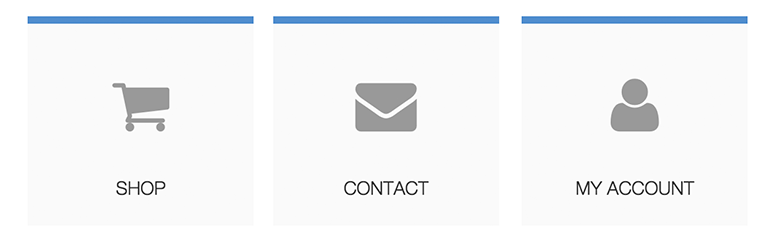
<div class="item-icon">
<a class="ajaxify" href="#">
<i class="fa fa-picture-o"></i>
PHOTOS
</a>
</div>

<div class="last-col item-icon">
<a class="ajaxify" href="#">
<i class="fa fa-calendar"></i>
EVENTS
</a>
</div>

<div class="item-icon">
<a class="ajaxify" href="#">
<i class="fa fa-shopping-cart"></i>
SHOP
</a>
</div>

<div class="last-col item-icon">
<a class="ajaxify" href="#">
<i class="fa fa-envelope"></i>
CONTACT
</a>
</div>

<div class="item-icon">
<a class="ajaxify" href="#">
<i class="fa fa-user"></i>
MY ACCOUNT
</a>
</div>

<div class="last-col item-icon">
<a class="ajaxify" href="#">
<i class="fa fa-sign-in"></i>
SIGN IN
</a>
</div>
It’s pretty simple, since all we need are some boxes with icons and text. The AppTheme already has Font Awesome bundled with it, so if you want to change any of the icons take a look at the markup on their site.
To change an icon link to something else, you’d edit this:
<i class="fa fa-picture-o"></i>
PHOTOS
and change it to something like this:
<i class="fa fa-home"></i>
HOME
Font Awesome has a lot of different icons, so you should be able to find the one you need for your app.
You’ll need to change out the links with your own site urls. For example, change href=”#” to href=”http://mysite.com/mypage”. The ajaxify class is built into AppTheme, so that your page loads quickly.
That will be the base of the page, it doesn’t look like much yet. Next we’ll use custom CSS to style it.
Custom CSS
We need to make the boxes line up in columns, and make them look better. Time for some CSS magic!
(This CSS is all in the finished child theme)
.item-icon {
    width: 48%;
    float: left;
    margin-bottom: 20px;
    margin-right: 4%;
    text-align: center;
    border-top: 6px solid #538fcc;
    background-color: #fafafa;
}

.item-icon.last-col {
    margin-right: 0;
    clear: right;
}

.item-icon a {
    display: block;
    padding: 2rem;
    color: #538fcc;
}

.item-icon .fa {
    font-size: 5rem;
    margin-bottom: 3rem;
    color: #999;
}
The finished homepage should look like this:
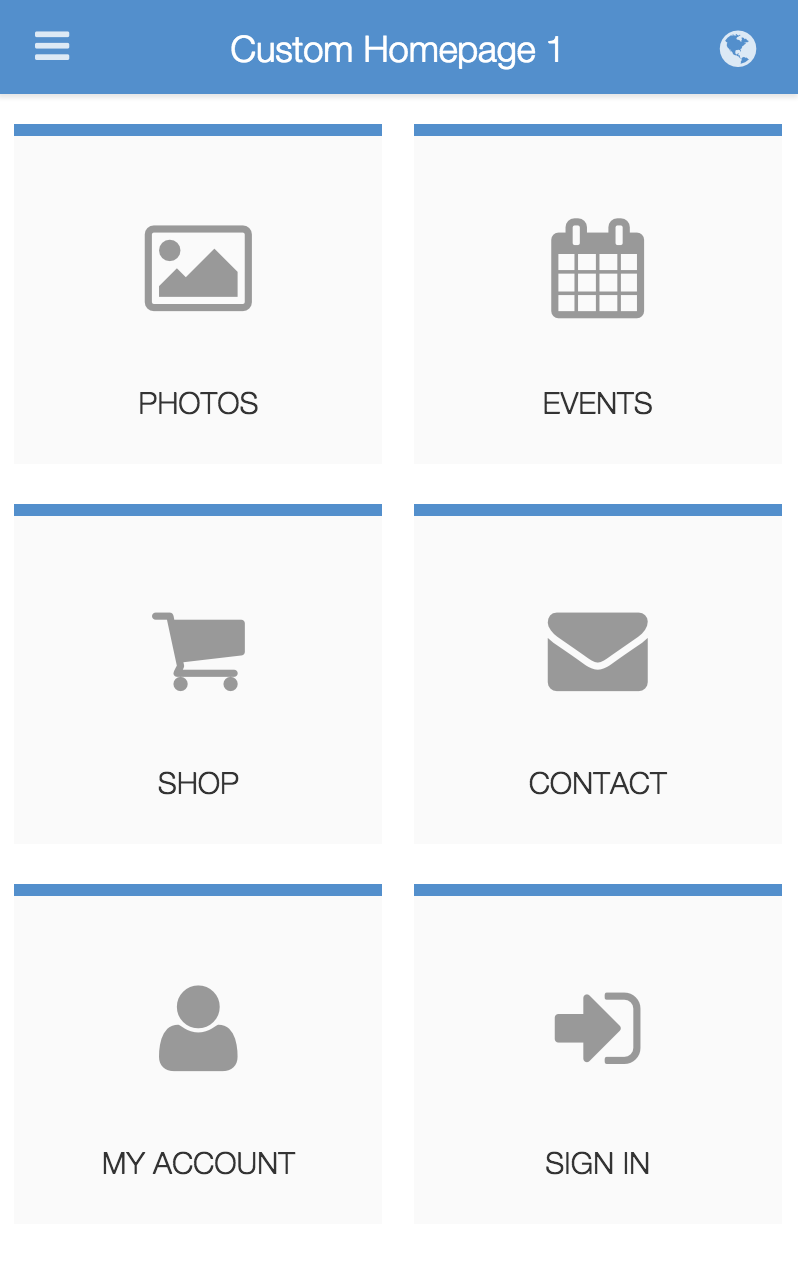
You can customize the colors, icons, and more. Put a touch slider above the icons using the AppSwiper extension, make it yours.
Cheers!