
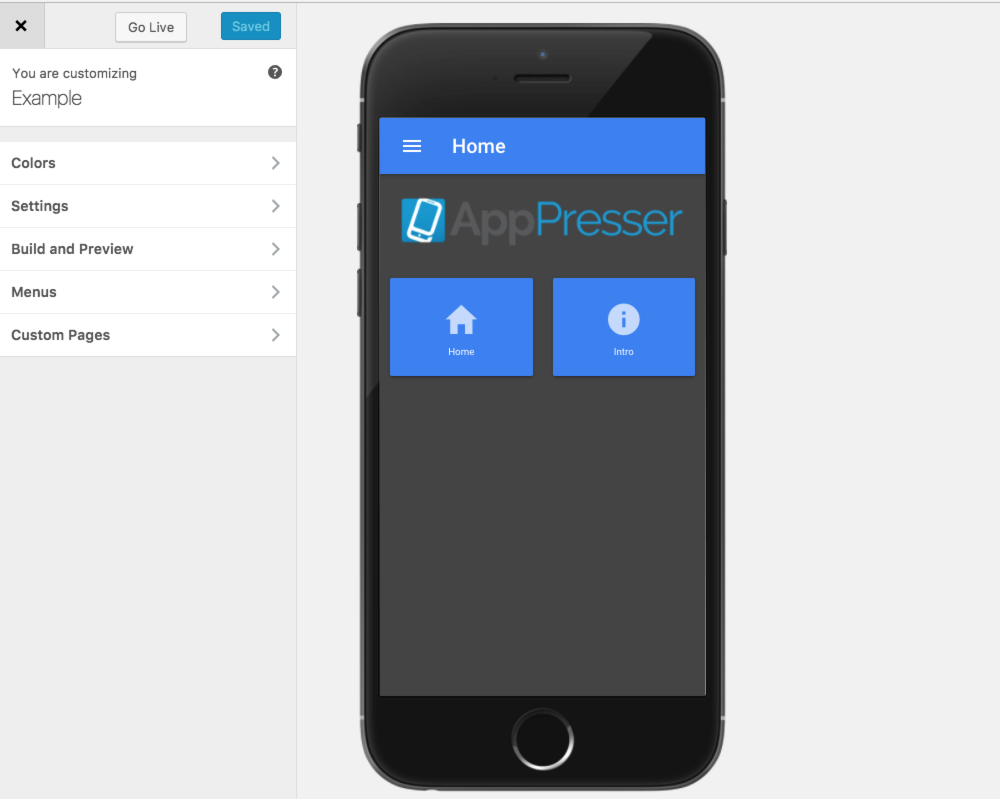
As you’re building an app, one of the most important parts of the process is testing the app to see how it looks and how it behaves. In AppPresser 3, we’ve made the process of testing much simpler by moving the bulk of the development into the WordPress Customizer. This new process gives you a working preview of your app as you’re building it. While building an app this past weekend, I found that the new Customizer view dramatically increased the speed in building out the app.

While the Customizer is a great tool for giving you quick access to view and test pages and content, to test device specific tools, like the camera, GPS and sharing tools, the app needs to be installed and tested on an actual device. AppPresser 3 has made that process easier, as well. I’ll share that process with you here.
Before We Begin
Before you can submit your finished app to an app store, and even before you’re able to build a test version to try on your phone, there are a few steps you will need to complete:
- Sign up for a developer’s license
To submit an app to the iOS or Google Play app store, you will need a developer’s license for each. - Sign up for an account at build.phonegap.com
AppPresser uses Adobe’s PhoneGap Build service in order to produce the final files that will be submitted to the app stores. - Create iOS Certificates
You’ll need iOS certs in order to test an app on your phone and to submit to the app store. Read these instructions on the process.
Collect Some Assets
There are a handful of graphics that you’ll want to have ready before you build your app. Those images would be:
- App Icon
1024px by 1024px PNG file - Portrait Splash Screen Image
1550px by 2755px PNG file - Landscape Splash Screen Image
2755px by 1550px PNG file
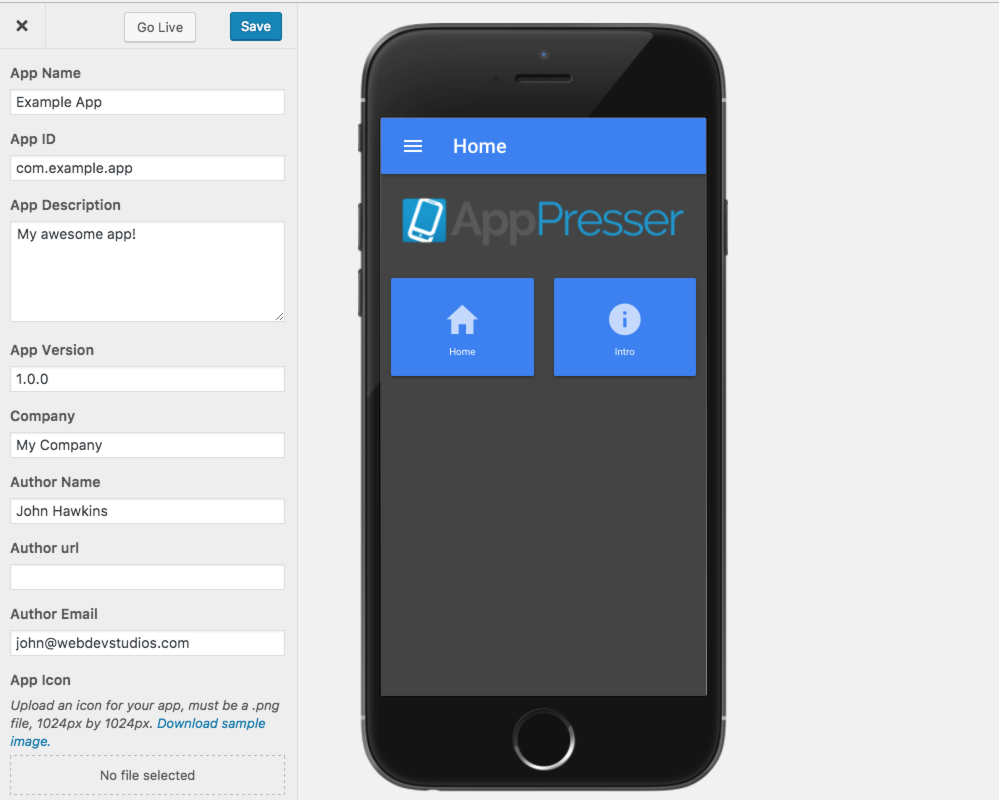
Once you have these graphics, log into your myapppresser.com dashboard and navigate to the customizer screen for your app. Click on the Settings menu option and fill in the appropriate information for your App. Information like the App name, description, version number, and author information are entered here. And just below that information, you’ll find the location to upload the icon and splash screen graphics. If you haven’t had a chance to create your images just yet, you can build the app without them, and AppPresser will use generic placeholder images for each until your graphics are ready.

Build and Preview
OK! You’ve built your app, created your certs, and added your app information and graphics. Now it’s time to create the build files and test it out on your phone.
Before you are able to build an app for preview the first time on MyAppPresser, even if you have previously used AppPresser and PhoneGap to build apps, you will need to log into your PhoneGap account and visit the Client applications page to locate your Phonegap Build Auth Token. Copy the token to the clipboard and you’ll use it in the next step.
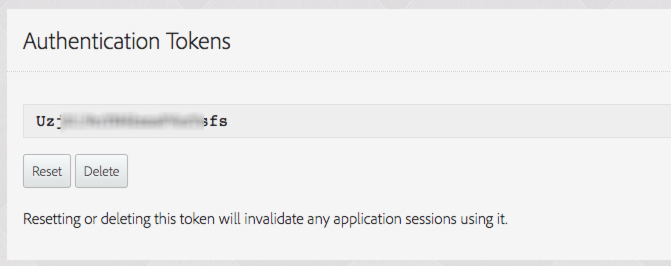

Back in your MyAppPresser account, click the Build and Preview button. You’ll want to paste the auth token into the box marked Phonegap Build Auth Token. Click the Save button at the top and then refresh the page.
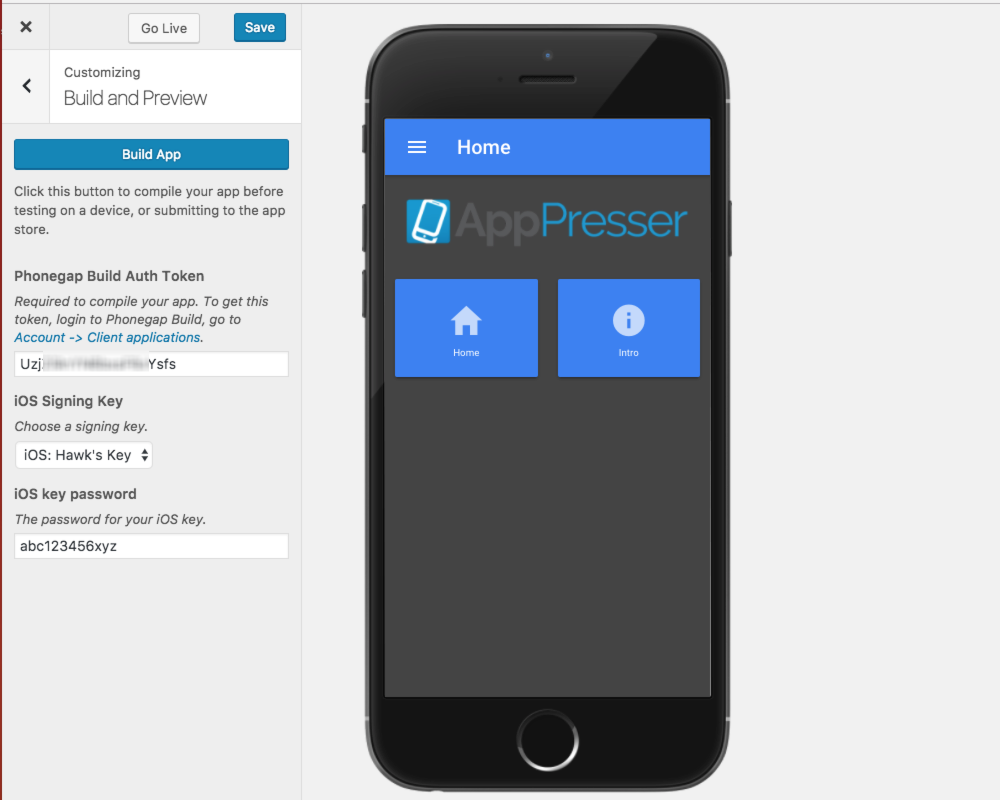

Click the Build App button to kick off the build process. Keep in mind that it can take a few moments to finish. But when it’s completed, you’ll be provided with a QR code you can scan with your mobile device to install and test the app.
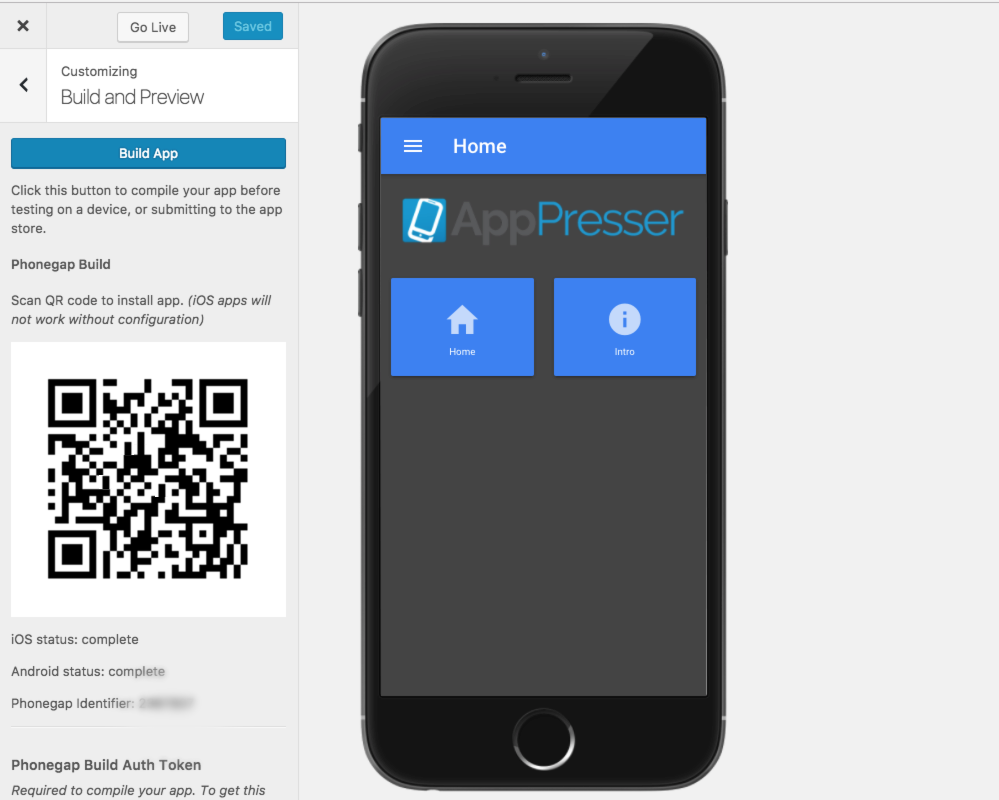
If you are using an Android device, you’ll be able to test the app right away. But for iOS, it will require that you have created signing keys and added them to your Phonegap account and filled in those fields on the Build and Preview page.
With the authentication token in place, you can now click the Build App button each time you want to compile the app for your device.
When to Rebuild?
We often get asked, how often do I need to rebuild my app? And the answer is: not often. For example, if you have made some color changes or added custom CSS, there’s no need to rebuild the app. If you make a change to a WordPress page or a menu item, you don’t need to rebuild. It will show up in the app automatically.
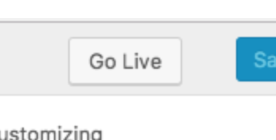
To see color changes or new menu items in your app on a device, you need to click the “Go Live” button.

This tells the app it needs to get new content the next time it opens. Next, open and close your app a couple of times. Your app should refresh with the new data.
This will refresh the data for all live apps, such as those in the app store, as well.
You need to rebuild your app if you have added a new custom page to your menu, or if you want to add or remove a major feature like push notifications. And you’ll also need a rebuild if you add or remove any of the graphics on the settings page (app icon or splash graphics), add a new assets file, or a config.xml file.
It’s important to remember that rebuilding the app via My AppPresser will have no effect on your live app, and it doesn’t push anything to the app stores. If you make a change that needs a rebuild, you’ll have to resubmit your app to the app stores.
I hope this has helped you get an idea of how easy it is to build and preview your app with AppPresser 3. If you have any questions, please let us know!